
A bench vise is quite the useful tool to have in the garage or workshop, especially for firearms owners that do their own maintenance and gunsmithing. Several months back I came down with the desire for a portable bench vise solution that I could keep in my truck. There were only a few options out there, such as mounting the vise on a flat board to clamp down on another bench or mounting the vise directly to the tailgate.
I then came across vise mounts that attached to a trailer hitch mount. These options varied in design. Harbor Freight sells a very inexpensive hitch vise mount which was essentially a straight bar with a plate attached to one end. But it didn’t provide enough horizontal clearance from the tailgate. The tailgate would obstruct access to the vise while the tailgate was down.
I came across a more operator friendly design called the Portavise, which is a hitch mount with an L-shaped design. The mount extends horizontally out from the hitch mount clearing the tailgate, then another bar comes up vertically bringing the actual bench vise platform to waist / abdomen height level.
This was really cool, but the price was over $200 and I was wanting to do this on the cheap.
After consulting my father who can DIY with the best of them, I went over to KH Metals and Supply, a local metal shop here in Riverside (CA), and I picked up a 4 foot piece of 2″ x 2″ square tubing and a couple of steel plates (8″ x 8″, IIRC). Then I picked up a some bolts, nuts, wing nuts, and a hitch pin from Lowe’s.
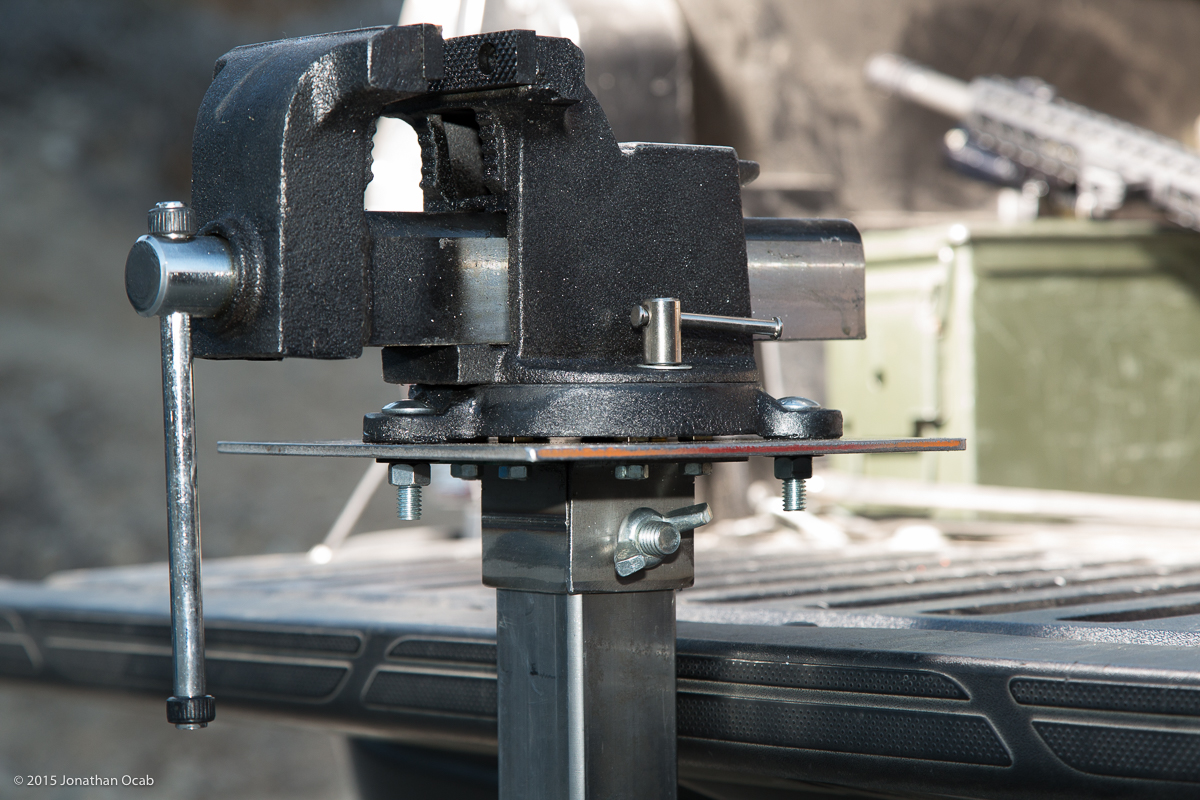
A few hours later this was the end result.
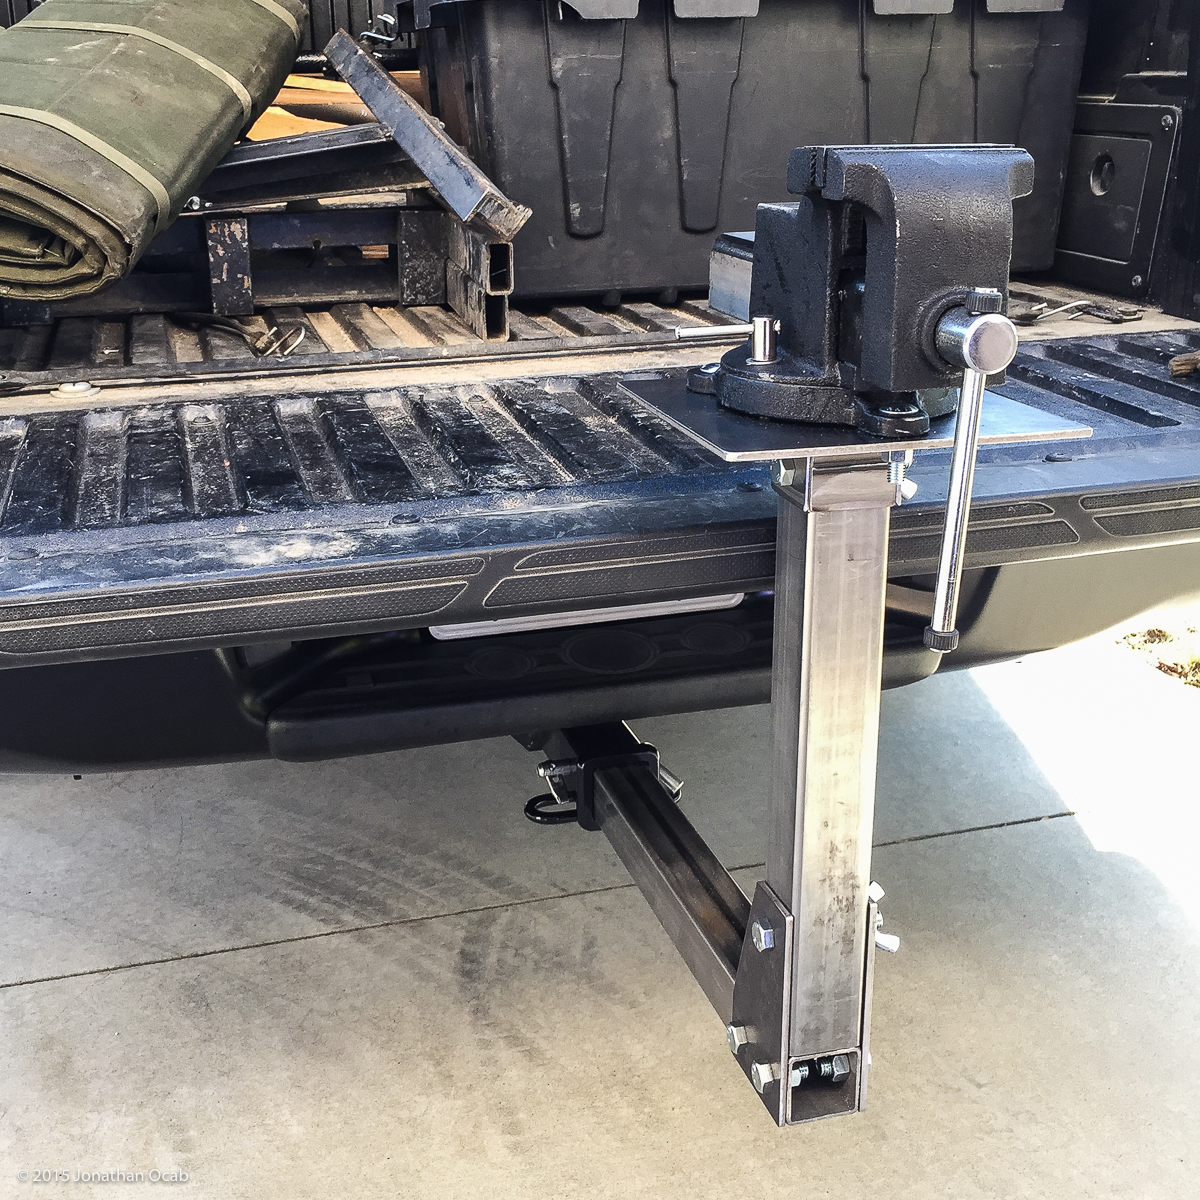
This bench vise hitch mount is designed to break apart into three pieces: 1. horizontal bar with support plates and “anti-rotation bracket,” 2. vertical bar, and 3. bench vise + plate.
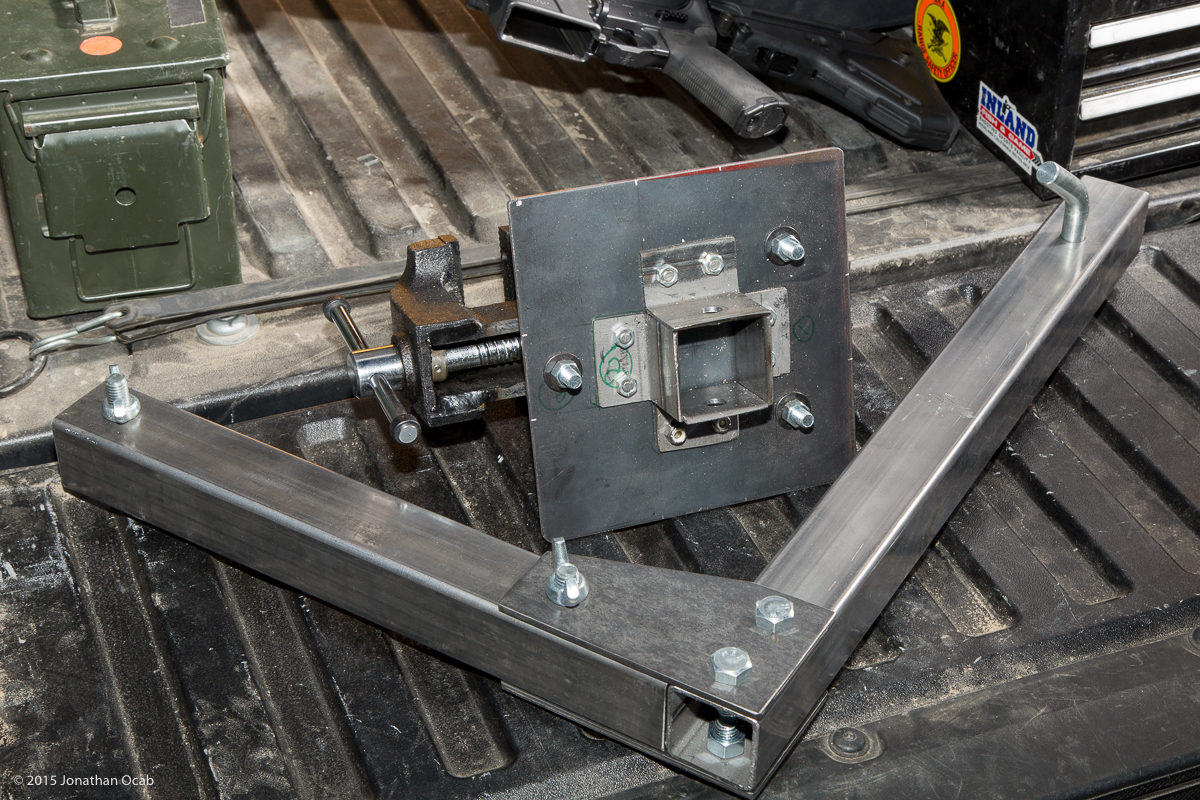
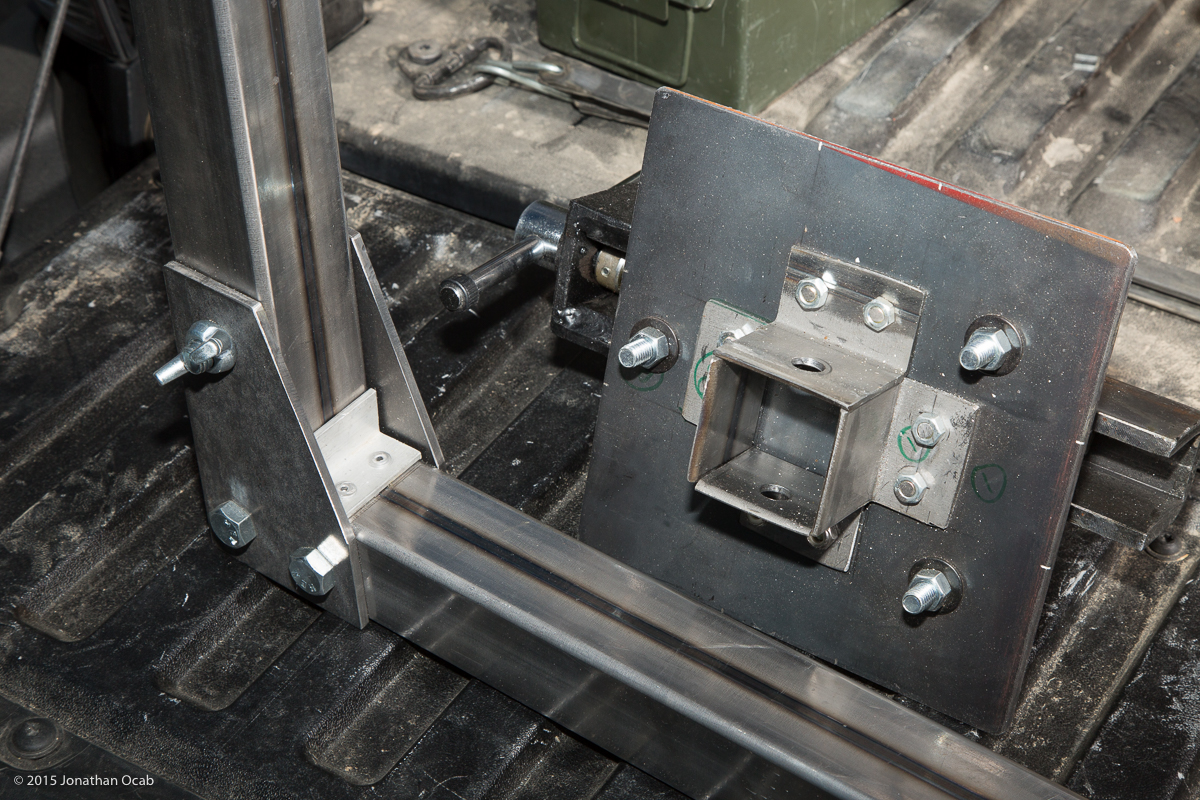
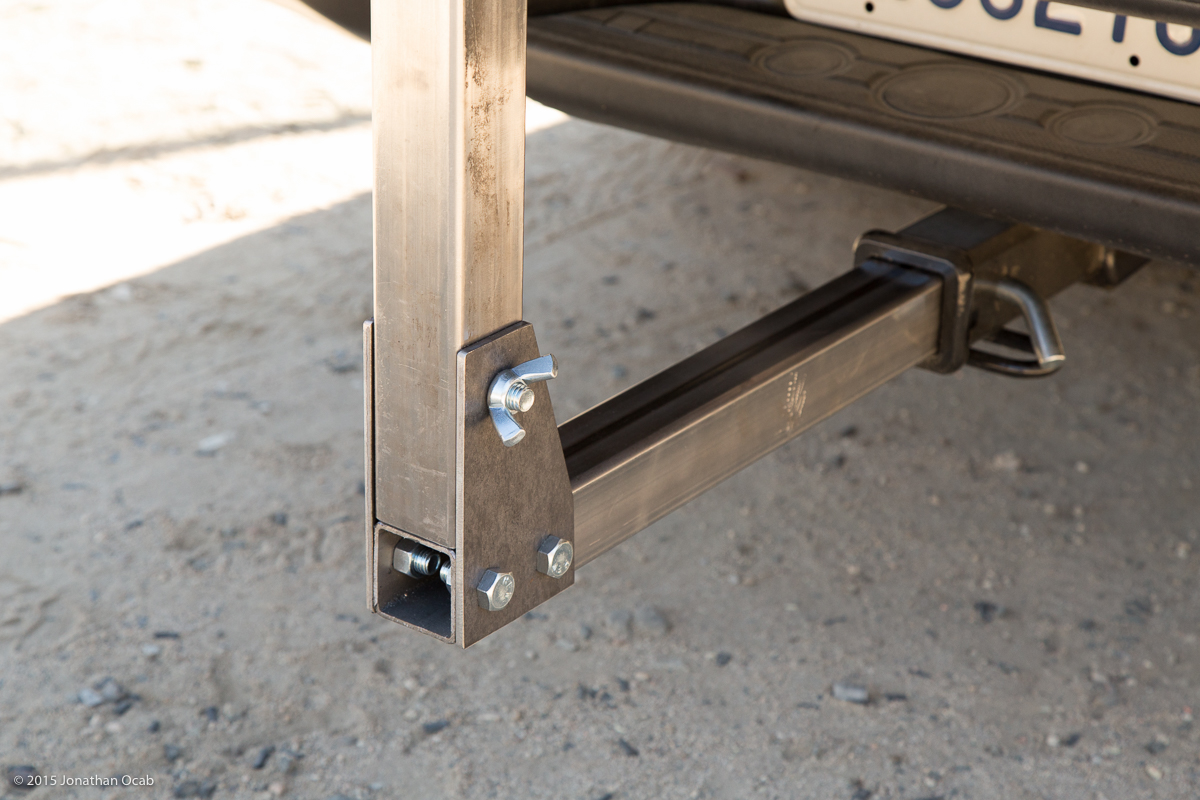
A single bolt with a wing nut is used to secure the vertical bar to the support plates on the horizontal bar, and a single bolt with a wing nut secures the bench vise plate to the to horizontal bar. But I usually just keep the bars attached to one another and the bench vise + plate detached from the bar during transportation. Everything is held together with nuts and bolts (and a couple of rivets for the “anti-rotation bracket”) with no welding involved. I have access to my dad’s TIG welder, but we figured the design would be easier to maintain without welding.
This bench vise hitch mount was designed for use with 4″ all steel Yost vise I picked up off Amazon. While Yost is an American company that does make vises in the United States, this particular vise is made in Taiwan, hence the sub-$100 price after shipping. I pretty much wanted a low cost, low profile bench vise and this seems to fit the bill. It is an all cast steel design, with 360 degrees of rotation, replaceable jaws, and a small anvil, and it seems like a good secondary vise for the cost.
Note: If you don’t already own a bench vise, spend some good money on a quality vise for your garage / workshop. Expect to spend $300+ for a quality Made in the USA vise. A quality vise is a solid investment and you would be surprised on how a good vise will retain it’s value on the used market.
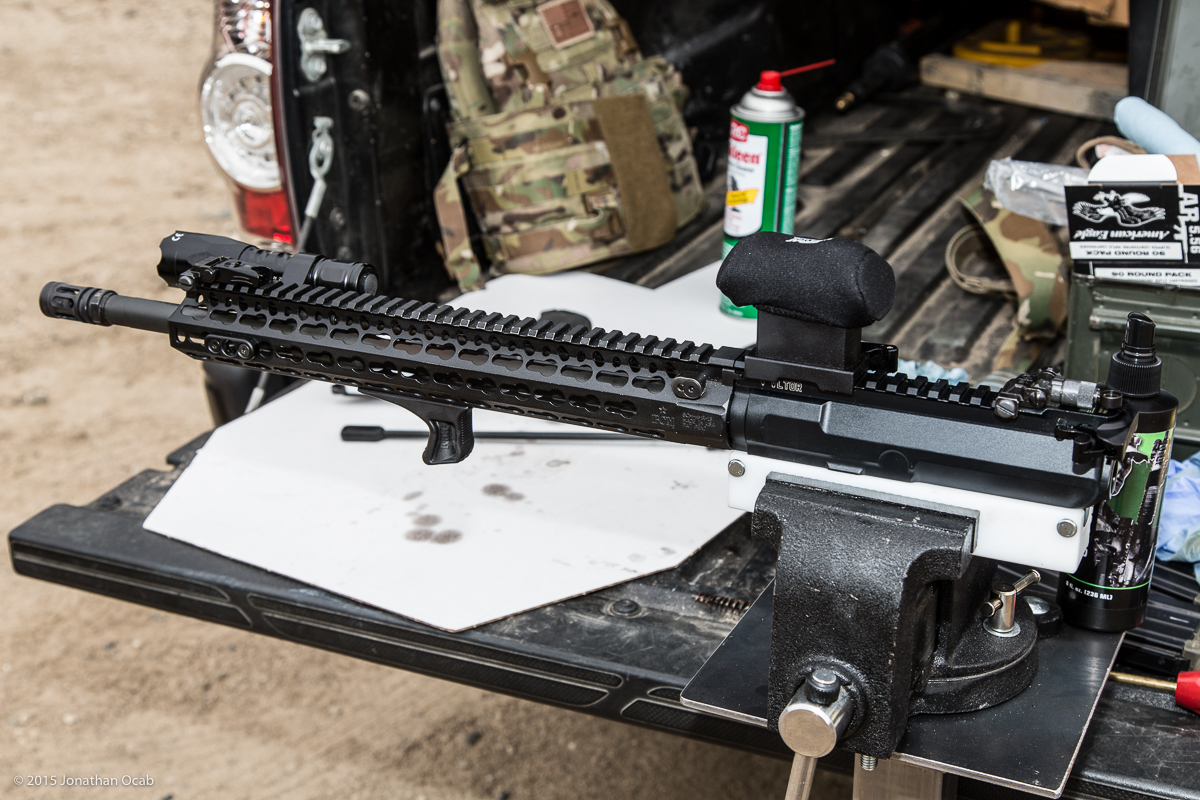
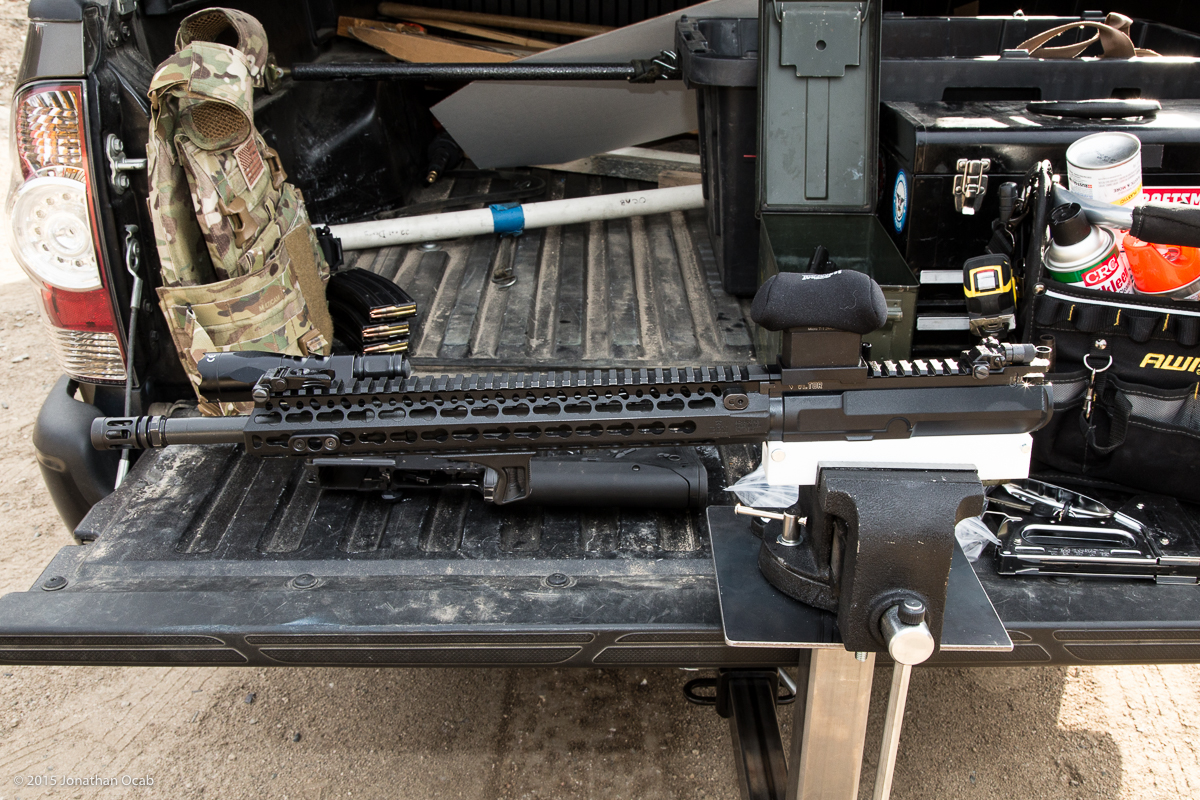
This bench vise mount provides me a portable platform from which I can work on firearms such as the AR. If I’m at the range, I can easily vise up the AR for cleaning or other maintenance.
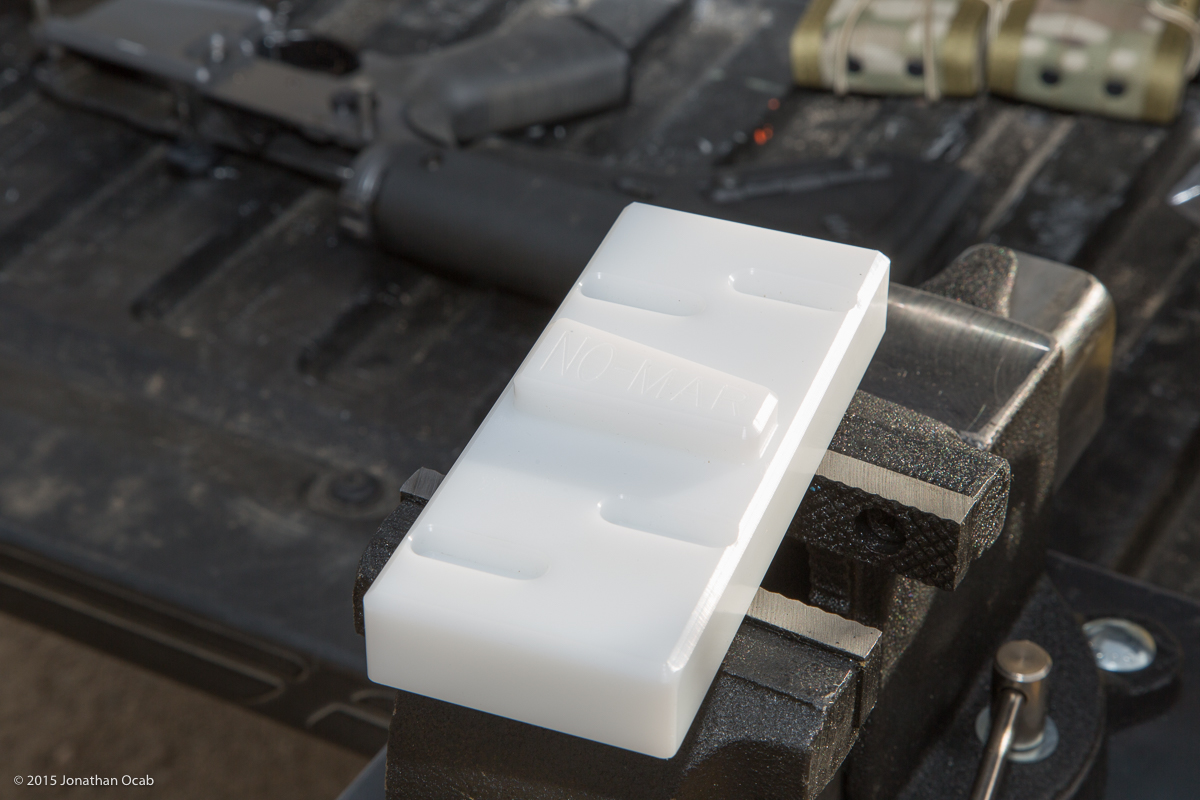
On the subject of vise blocks for the AR-15 platform, I own quite a few including the Brownell’s clamshell upper receiver block for milspec uppers, the DPMS upper receiver block, the PRI upper receiver block, and the Brownells reaction rod. But I was looking for a lower receiver block since I don’t have one. Theoretically I could just use an old magazine body as a lower vise block, but I figured I may as well get something designed for that specific task.
I stumbled across a polymer lower receiver block made by Plastix Revolution in Northern California, and I ended up ordering a lower and upper receiver block from them.
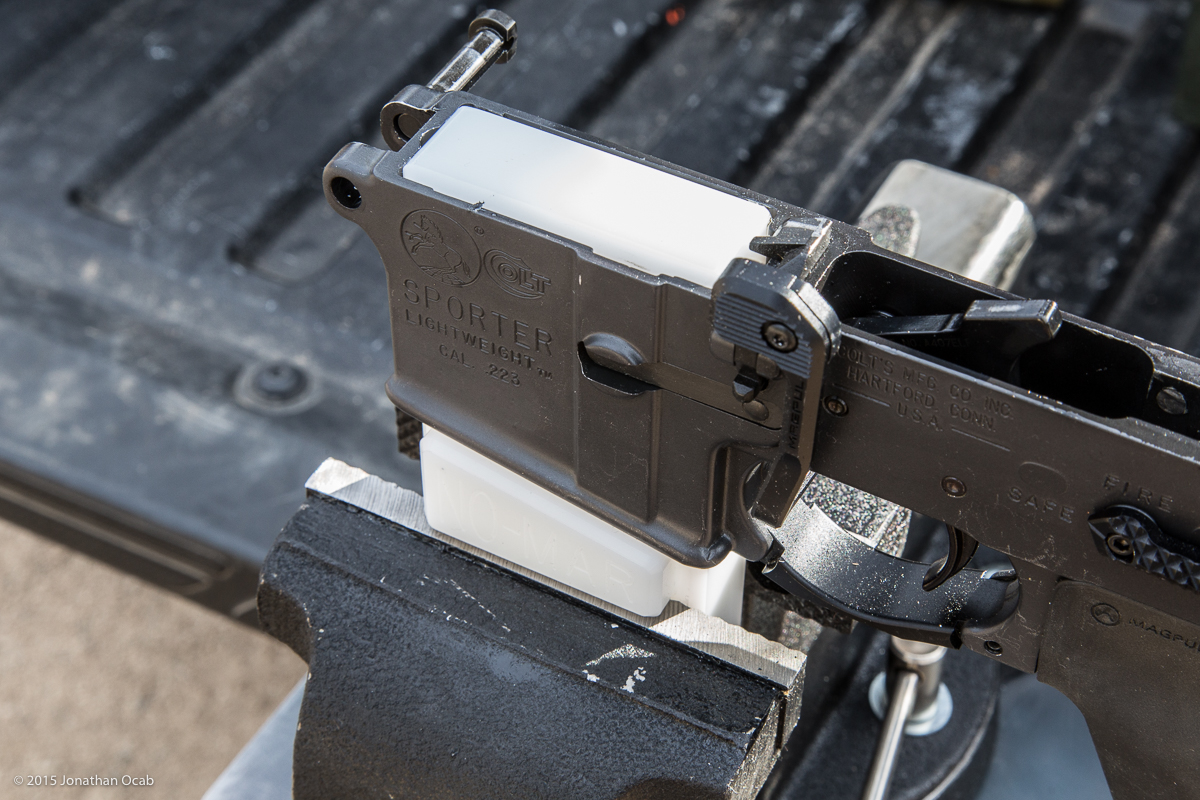
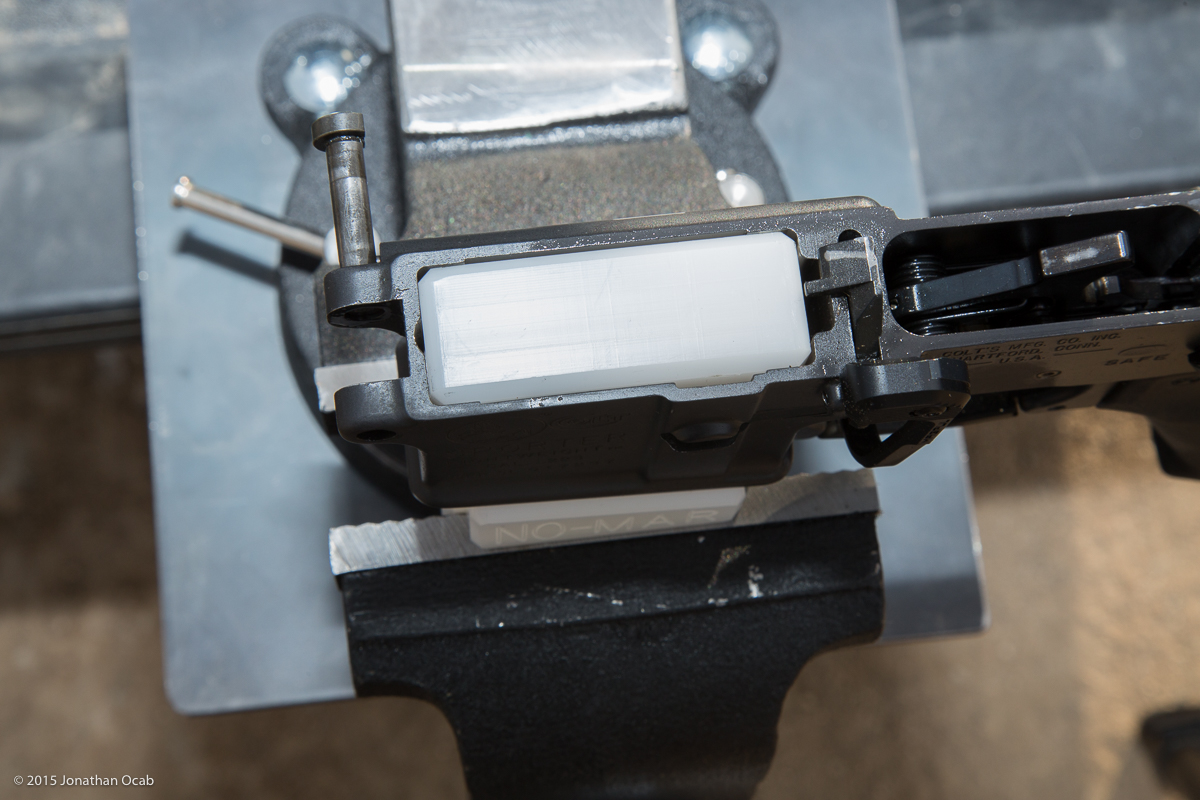
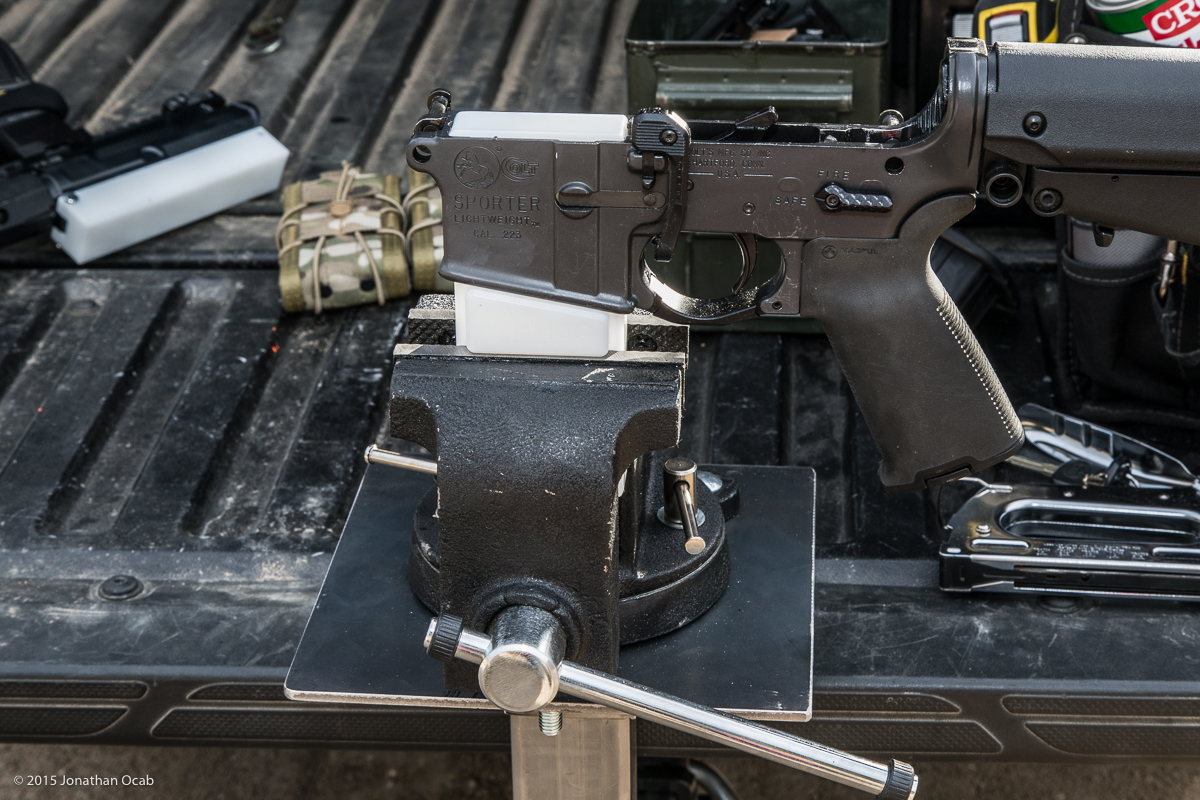
The AR-15 lower receiver block isn’t a necessity as far as I’m concerned, but it does make some things a lot easier while working on a lower (e.g. trigger install, bolt catch install).
This DIY bench vise hitch mount works quite well. One small flaw in this type of solution is that there is play between the 2″ x 2″ tubing and the hitch receiver, which is a common issue with any hitch. The slight amount of rocking of the whole setup while it is in the hitch receiver, is not a huge deal and if it comes down to it, I could shim the hitch receiver while I’m using the vise with some sort of thin wood wedge or even some paper (e.g. folded up paper target).
I don’t recall how much all the parts cost, but I don’t think I spent more than $40 for everything (steel tubing, steel plates, bolts, nuts, hitch pin) minus the vise itself. If you ever pondered about a way to use a bench vise that you keep in your truck all the time, you might want to look at this design and make your own.
Note: I drive a 2010 Toyota Tacoma which did not come with a hitch from the factory. I installed a CURT Manufacturing Class III hitch receiver (13323). My father has a Reese hitch receiver on his Nissan Frontier, which initially made me first look into Reese, but after reading reviews online I went with CURT because everyone seemed to indicate the CURT seems to have cleaner welds. When I received mine, my father looked at the CURT and even he thought the CURT looked like it was built better than his Reese receiver.
Jason
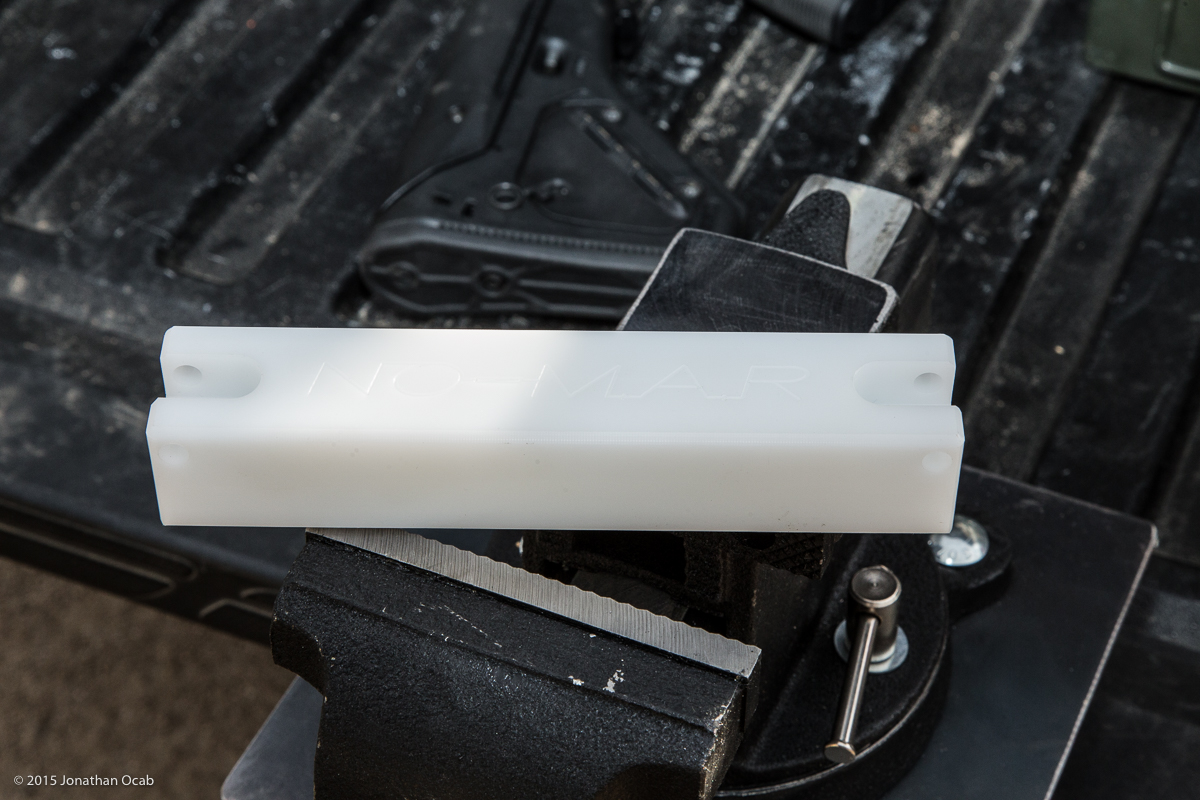
I love that you like the American made NO-MAR vise blocks!
ocabj
Indeed. They’re pretty nice and work well.
Jeff Doak
very nice i drive a old 4runner and the harbor fright mount leaves me fighting with spare tire if it is shut and bending over. this looks like it would be easy to fold down for storage as well