
Updating firmware on a digital camera is a maintenance procedure that is surprisingly not done by the majority of camera owners. This is a combination of several factors including lack of awareness of firmware updates, hesitance, and even apathy. But firmware updates fix bugs and can even introduce new features to a camera.
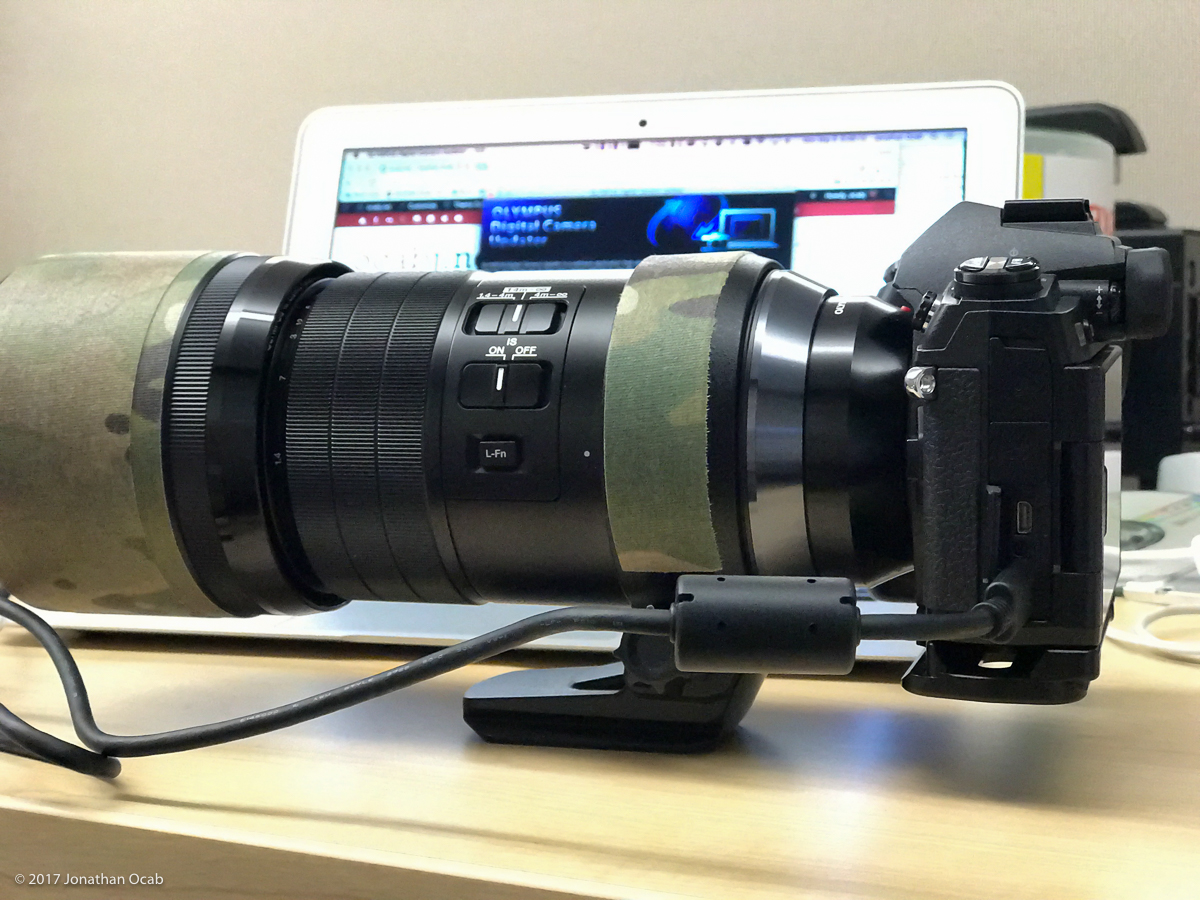
The process to update the firmware on an Olympus OM-D digital camera is fairly straightforward, but it does vary from the firmware update process on dSLR cameras. dSLR firmware updates allow you to copy the new firmware to the memory card, and put the memory card into the camera to let the camera install the new firmware directly from the card. But the Olympus OM-D firmware updates process requires plugging the camera into a computer (Windows or Mac) via USB.
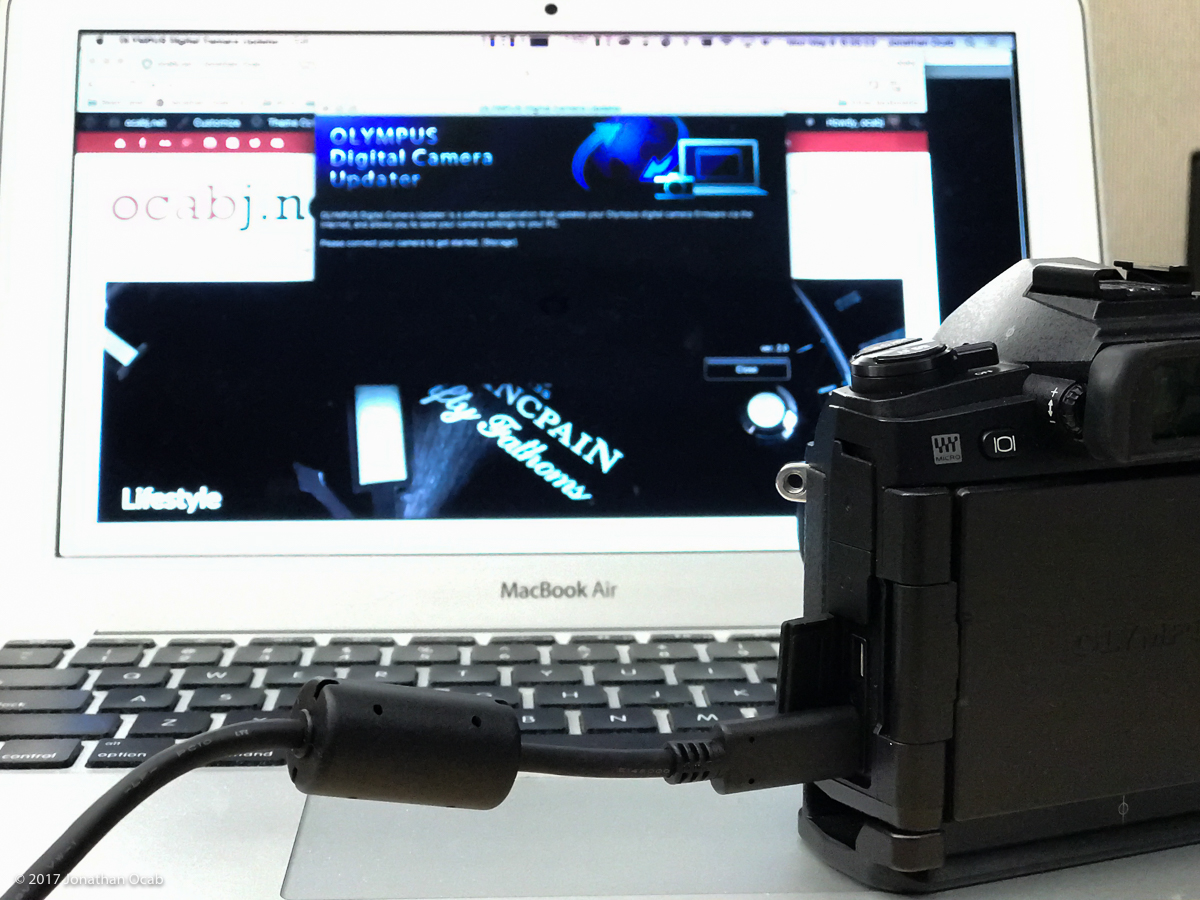
One additional caveat is that the USB port on the Olympus OM-D camera may be a less common USB connector type, so do not lose the USB cable that is bundled with the camera by the factory, otherwise you will have to hunt one down on the Internet.
Also, the US Olympus support website is a bit difficult to manage with regards to finding information on firmware updates. If you visit the Software Downloads page, you should find a link to information on how to Update your Camera’s Firmware: Digital Camera Updater. This should allow you to download the updater application for Windows or MacOS.
Once you install the Olympus Digital Camera Updater application, start the application.
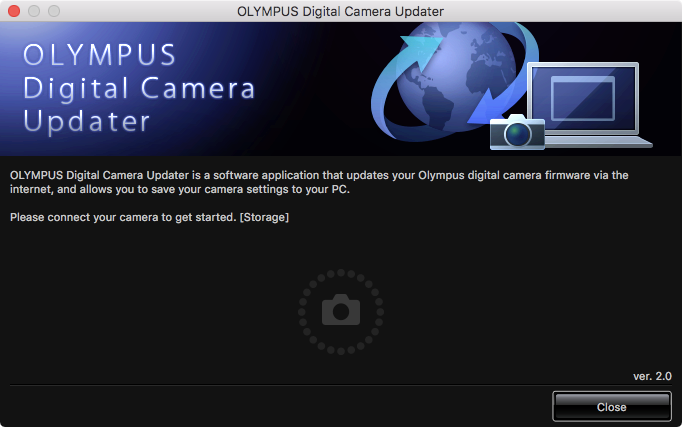
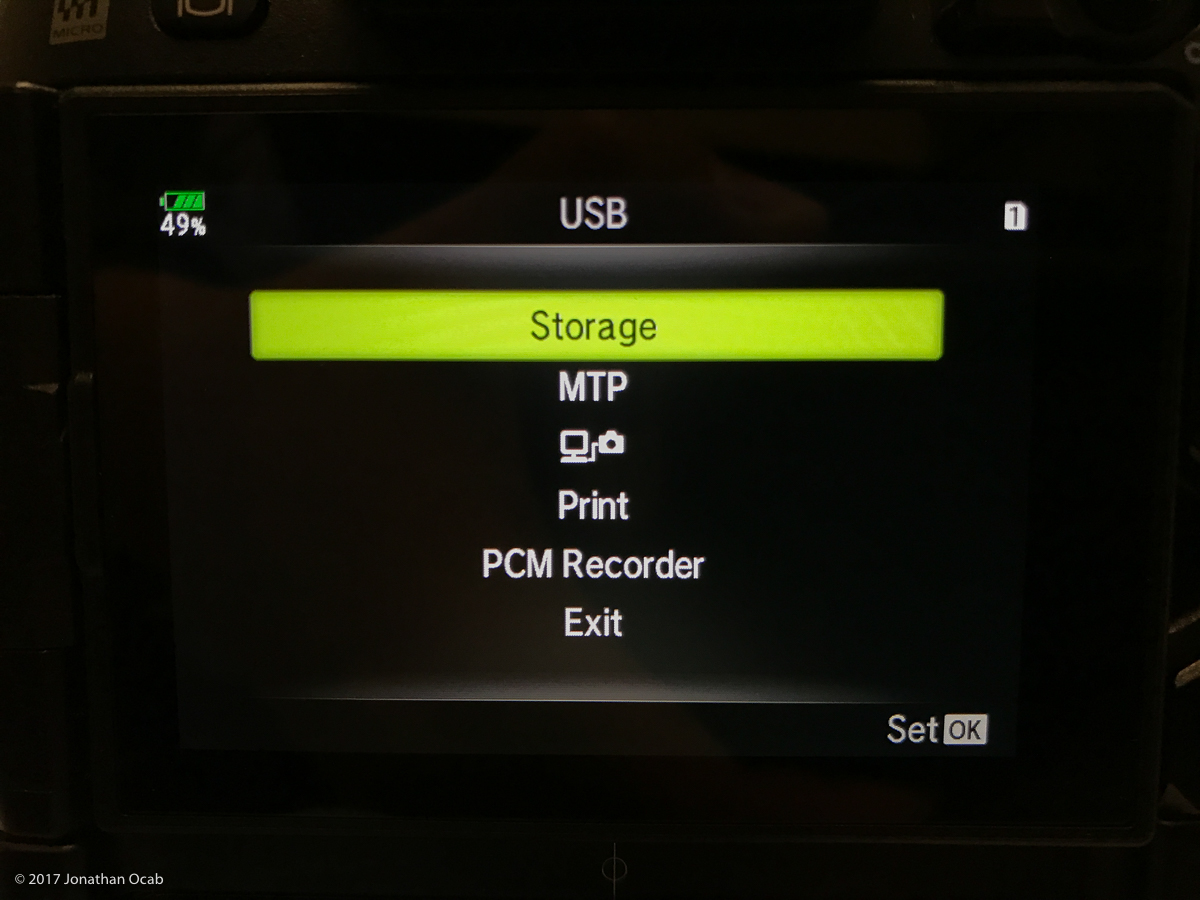
If you have not already plugged in your camera via the USB cable, do so. When you turn on the camera, it should present you a menu option on the camera LCD. Simply select ‘Storage’ and press the OK button on the camera.
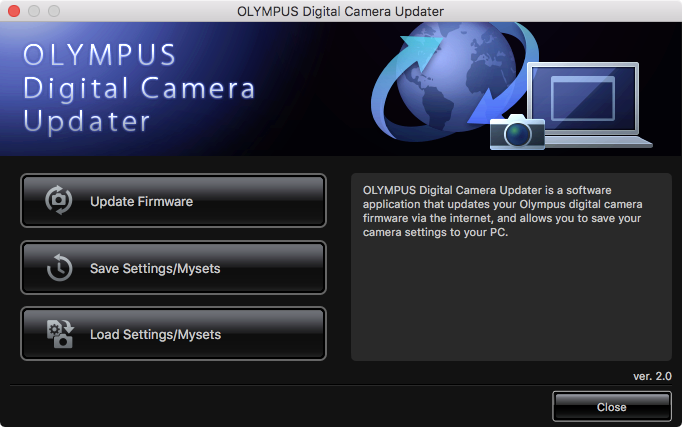
Once the camera is detected, the Digital Camera Updater application will send you to a selection screen. Click on Update Firmware to continue.
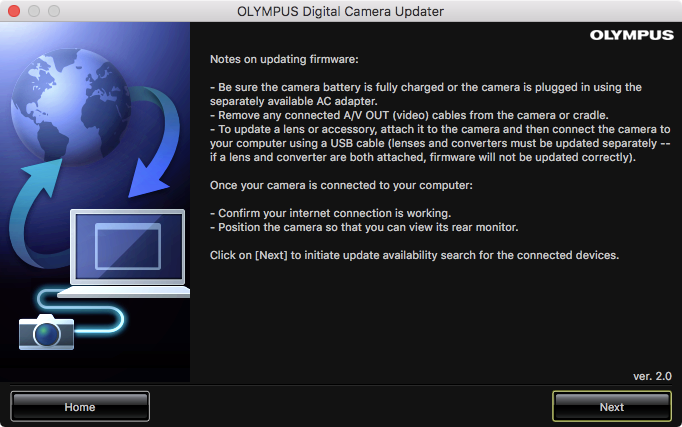
There will be an information screen providing some guidance. The key thing is to make sure you have a charged battery pack in the camera while updating, because if the battery dies in the middle of the update process, the camera could be rendered unusable and will require factory servicing. Ideally, you will want a fully charged battery just to be on the safe side. Clicking on Next will continue the update process.
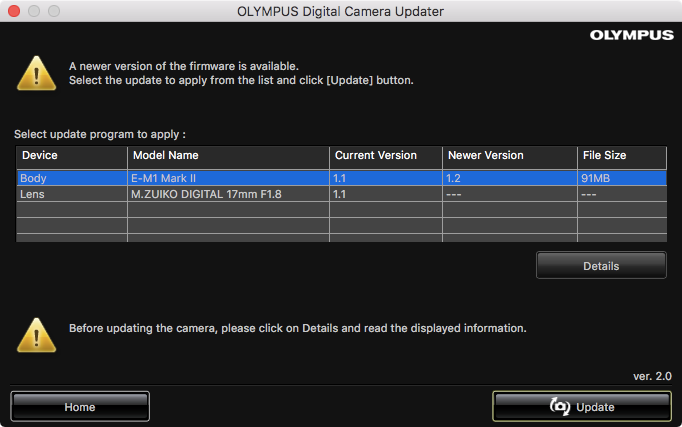
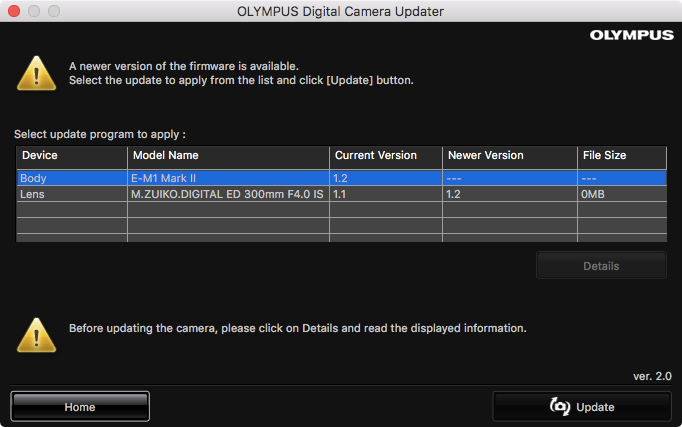
The next screen will show you the connected camera and lens (if attached to the body). Assuming there is a newer firmware version available, the Digital Camera Updater application will alert you if this along with the newer version number and the download size. Select the camera in the list and click on update.
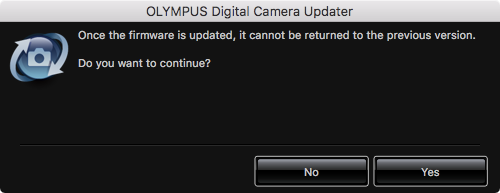
There will be a warning message indicating that the firmware cannot be downgraded after the upgrade. Click on Yes to continue.
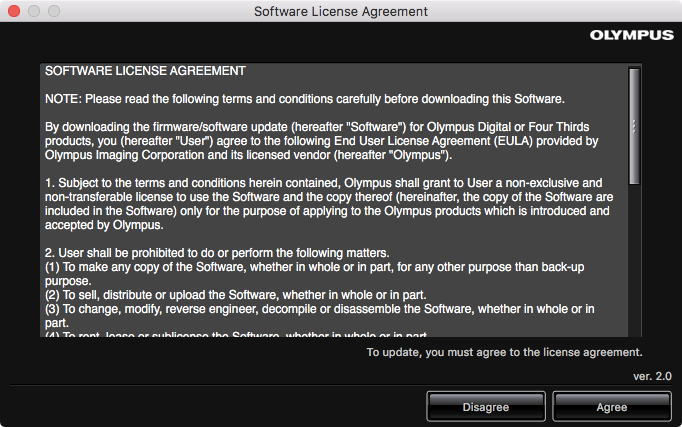
The next screen will be the Software License Agreement. Click on Agree to continue.
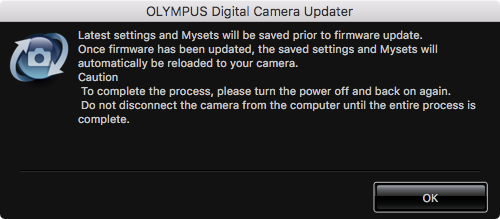
The next message informs you that your camera settings will be backed up and restored after the firmware update completes. Click on OK to acknowledge this.
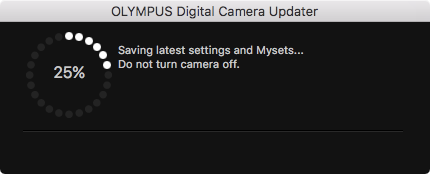
The Digital Camera Updater will begin to save your camera settings. This goes by fairly quickly.
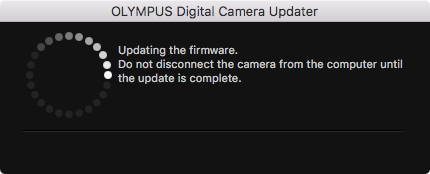
After the camera settings are backed up, it will start to update the firmware. This can actually take several minutes and the LCD on the camera may remain blank (with only the battery power indicator). Just wait patiently.
The prior screen in the Digital Camera Updater may progress to the following step. At this time, it is most likely still updating the firmware.
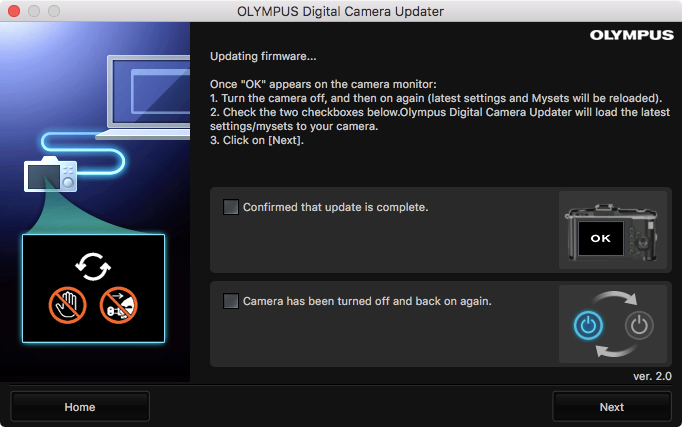
Do not check off the two boxes in the previous screen if the LCD on the back of the camera shows the updating icon and indicators to not touch or unplug the camera.
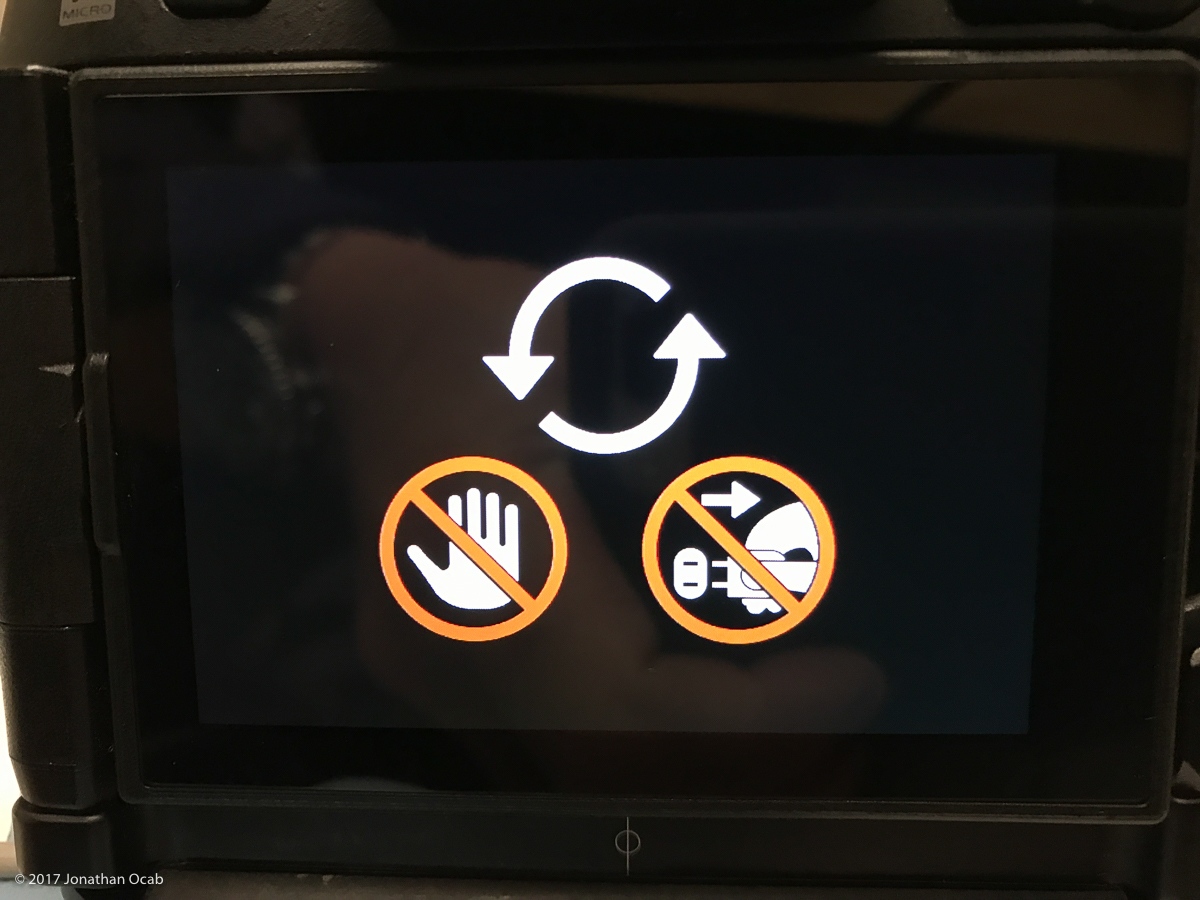
After the above icons on the camera LCD go away and the LCD shows a big “OK” you can turn off the camera and then turn it back on again. When this is completed, you will need to check the two boxes indicated that you “Confirmed that update is complete” and “Camera has been turned off and back on again.” Once you do this, click Next to continue.
At this point, the Digital Camera Updater application will restore your camera settings and then go back to the Digital Camera Updater menu screen. When it does, the firmware update process is complete and you can disconnect your camera
This process is essentially the same for updating the firmware for lenses.
If you have a lens attached to the camera body when you run the Digital Camera Updater application and it detects newer firmware for the lens, it will show up in the firmware detection list.
That is pretty much the process. It is actually quite simple. Some people worry about updating firmware because they are afraid to brick their camera if the update goes wrong. While this is a possibility, the chances of doing so are extremely low if you follow the steps correctly.
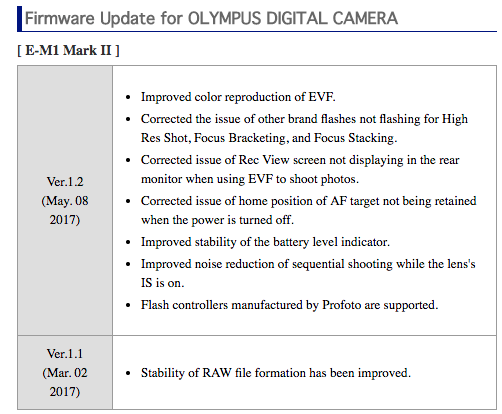
Updating the firmware can be very beneficial since (as mentioned earlier) firmware updates often fix bugs.
Senorpablo
Fyi, Olympus recently made another firmware update available. Keep up the great work.