
Digital photography enthusiasts who are very avid and active in their hobby tend to amass lots of digital photos. Simple photography enthusiasts can easily shoot 5K photos a year. It’s not unheard of to see photographers who snap the shutters 10,000 times or more.
With all those images being recorded onto those memory cards and being transferred to computers, the issue of archiving and long-term storage begins to come into the fray.
Many people have different ways of managing their digital photo archives. Some use RAID 1 on their desktop computers. Some buy external USB drives to backup to. Others invest in a consumer grade NAS (network attached storage) device.
I view my method of saving my digital camera files as being pretty low tech. But I feel it does a good job in countering possible hardware failure.
First off, the immediate storage is the memory card itself. For me, that means several compact flash cards. I currently carry a bunch of CF cards in a Think Tank Photo Pixel Pocket Rocket. It’s basically a multifold wallet designed to hold ten (10) CF cards. Nothing fancy. But it works very well.

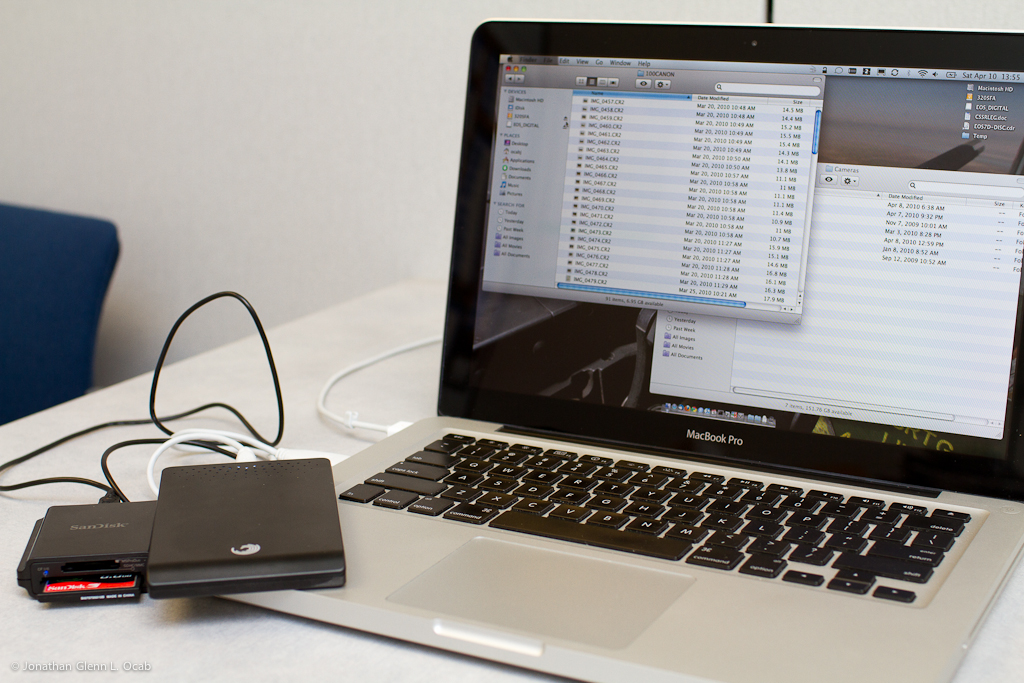
Once I get to a computer (typically my 13″ MacBook Pro), I’ll transfer the files from the CF card(s) to the computer using a basic Sandisk card reader. The one I have is USB 2.0 and can read CF and SD(HC). It’s a bit slow. I question whether or not I should get a card reader that uses firewire instead.
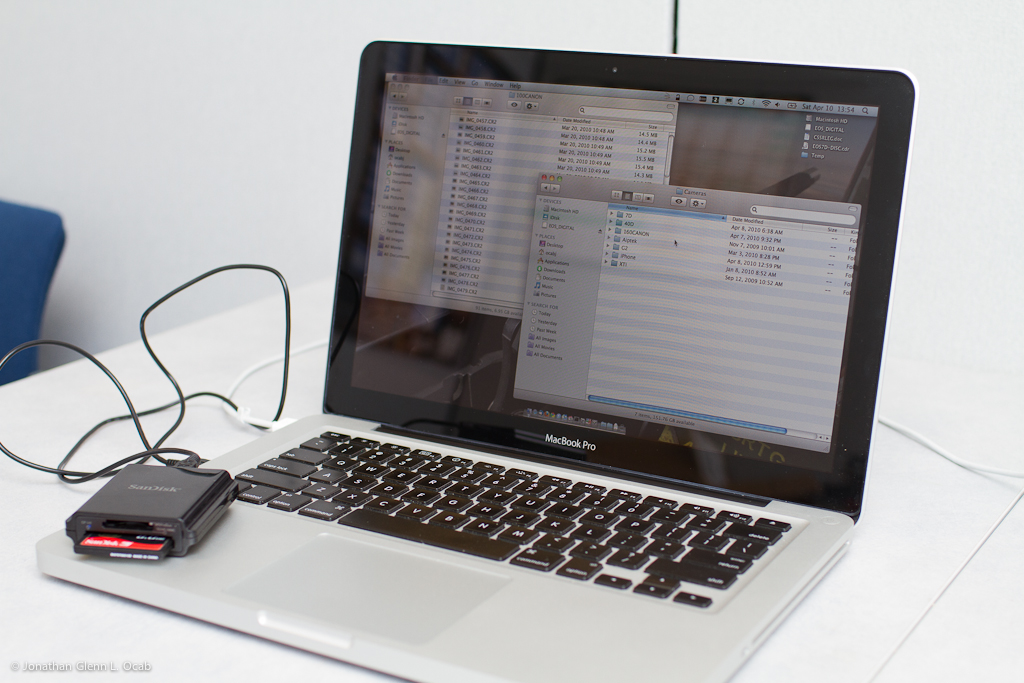
Anyway, at this point, I have the set of photos taken that day (or session) copied over from the compact flash card(s) to the laptop. So I currently have photos in two places (CF and laptop hard drive). Usually I will not reformat/wipe my CF cards at this point. Assuming I’m on a trip (not at home or the office), I want to get the photos on two different devices. If I reformat my CF cards at this point, that means I only have a single copy of the given photo set (on my Macbook Pro).
Taking a step back, it’s important to describe how I actually sort my RAWs on the filesystem. Again, my method is pretty archaic. I basically have a directory which contains directories named for my cameras (i.e. ‘7D’ and ’40D). Within each camera directory is a directory for year (i.e. ‘2009’ and ‘2010’). Within each year, I have a directory containing directories of YYYY-MM-DD which hold any photos taken on a specific date. When I import the files into Lightroom, I leave the files ‘in place’ (don’t move or copy). Then within Lightroom, I can create the galleries with more descriptive names and information to identify photo sets.
That said, what I do next is copy the photos from the laptop to a portable external hard drive (i.e. Seagate 2.5″ USB 2.0 drive). Once this is done, I have the files in three (3) places now: CF, laptop hard drive, external USB drive. Now I can safely reformat the used CF cards and still have redundancy in the event something happens to one of the devices (i.e. laptop hard drive crashes, laptop stolen, etc). Of course, it’s a good idea to keep the external drive and the laptop separate from each other to maximize data safety.
The next thing I do when I get home or to the office is copy the recent photos to a working drive. I currently have an external Seagate drive with a Firewire 800 interface. This drive is considerably faster than my USB drives, so I like to store the most recent photos on this drive along with my Lightroom libraries. This speeds up my actual workflow as far as basic editing in Lightroom.
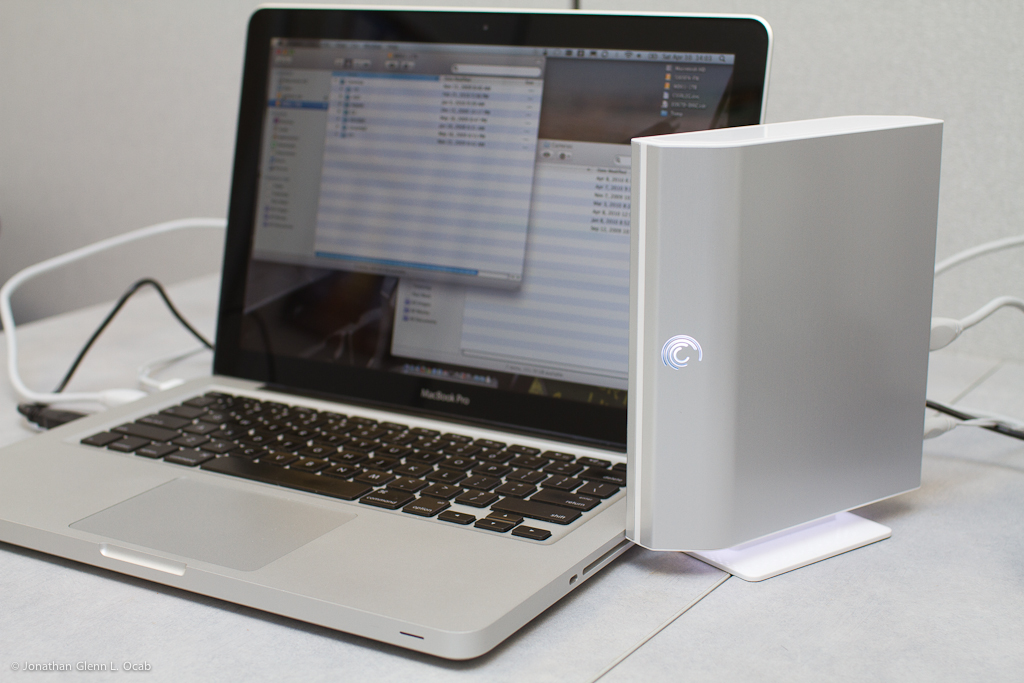
At this point, I now have three copies of the given photo set: one on the laptop hard drive, one on the portable external USB drive, and one on the ‘working’ drive (external FW 800).
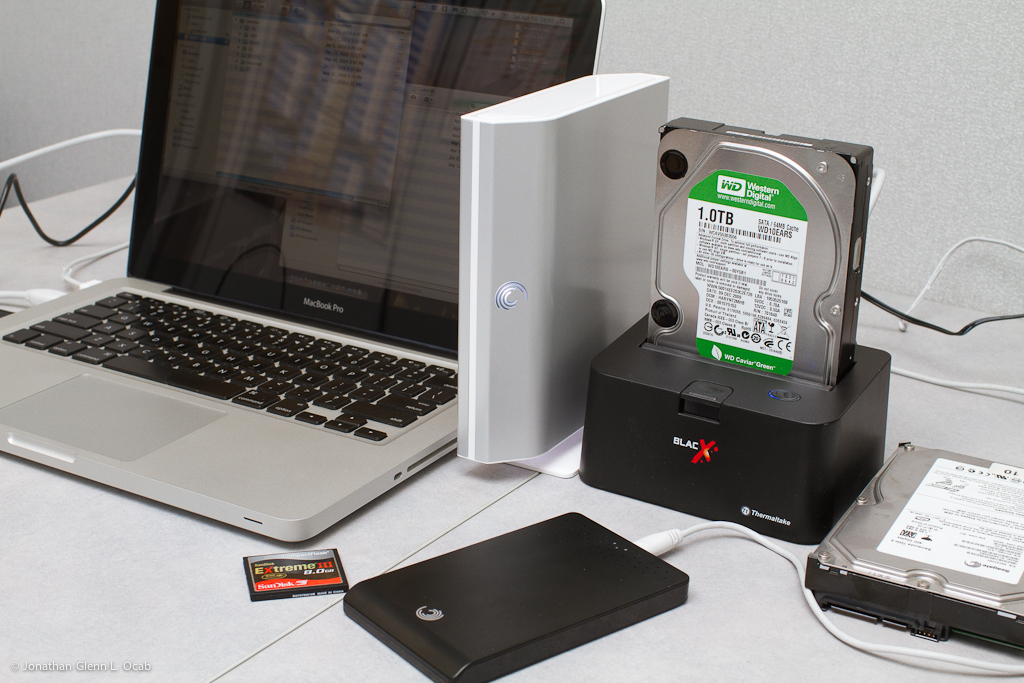
The next step I take is to actually copy the photos to what I consider my archive drive(s). At home, I have an external USB hard drive which is only used for storing backups and is never used for anything else. It sits in a cabinet and remains powered off except for when I copy new photos to it.
After all this, I now have the photos in four (4) places: laptop hard drive, portable external USB drive, external FW drive (working drive), and an external USB drive (long-term backup/archive only).
Today’s digital cameras, point and shoots and dSLR alike, are packing tons of pixels into the sensors. 10 Megapixel cameras are the norm and new dSLR usually have at least 12MP on the sensor. Step up to the so-called pro-sumer and professional dSLR and you’re packing anywhere from 15 to 25MP and beyond. What does this mean?
If you shoot RAW with a 10mp dSLR, you’re looking at 10-12 megabyte RAW files on average. The Canon 7D and it’s 18MP sensor pumps out 25 megabyte RAW files on average. That means 50 photos taken with the 7D uses over 1GB of storage space.
The issue of space for long-term storage is what I am running into right now.
At home, I have a 500GB external USB drive for my archive/backup drive. At the office, I decided to keep another archive/backup drive with the same files as my archive/backup drive at home. But my 500GB at home is nearing capacity (over 80% usage); I shoot RAW and I don’t delete anything.
A 1TB internal 3.5″ SATA drive runs for about $80. The same 1TB in an external enclosure runs for about $110.
Buying external hard drives can get costly in the long run, especially when I need more space (and need duplicate drives to maintain offsite mirrored archives).
Since I want to have drives for the purposes of copying backups to and then leaving powered off for the majority of the time (and never accessing files on those drives until an emergency), it would be less expensive and take up less physical space, to use internal hard drives with a USB/FW/eSATA adapter.
Thus, I am using what is known as an external hard drive docking station. At work, I have a Thermaltake USB 2.0 docking station which can accept 2.5″ or 3.5″ SATA drives. When you put one in the dock, the computer sees it as another USB drive.
So for the time being, I plan on keeping archives/backups off my RAW files on large capacity 3.5″ internal SATA drives by using a SATA to USB/FW docking station, and then keeping duplicate drives at home and at the office (and possibly in a safe deposit box).
Like I said, this is pretty low tech. I don’t have fancy NAS or RAID setups. I’d like to get a Drobo, but I think the method I use now actually works well enough to counter any sort of drive failure.
Comment on this post