
Ever since I bought my Alien Bees B1600 studio light, 47″ octabox, and PCB Vagabond II back in June, I have been putting the setup to good use.

Using this single light setup on location in combination with a Giottos LC-325-1 (or LC-244-1) light stand is reliable. But the one issue I have had with the 47″ octabox is that the wind catches it and rotates/turns the light on the stand.
Note that I strap the Vagabond to the light stand so the wind blowing the entire stand over is not an issue, at least not in the wind conditions I have shot in. I’m sure if a 20mph wind kicked in, it could blow the light stand over. Of course, I wouldn’t even bother shooting in a 20mph wind with a 47″ octabox.

Anyway, several times I have been on location and in the middle of shooting a model when the wind picks up to a ~7mph or higher breeze and the light gets turned away from the model. Very annoying to say the least, especially when I have no assistant to hold the light/octabox in places.
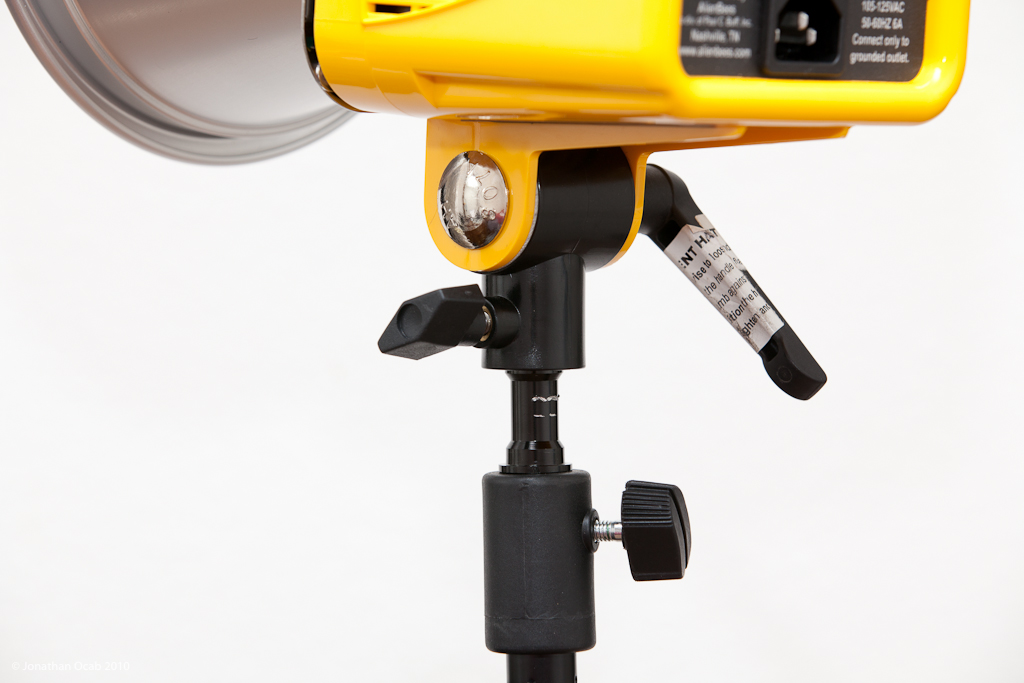
The weakest point in how I have the light attached to the stand is the ‘standard’ adapter stud that the light stand and the light actually clamps onto. Most mounting studs are cylindrical, so even if you tighten the knob down on the stand or the light, it’s simply going to push the threaded rod of the knob into the aluminum/brass stud. Short of a little friction on that flat end of the threaded rod against the round surface of the stud, there’s not much else to keep the light from turning on the stud, or the stud from turning on the stand.
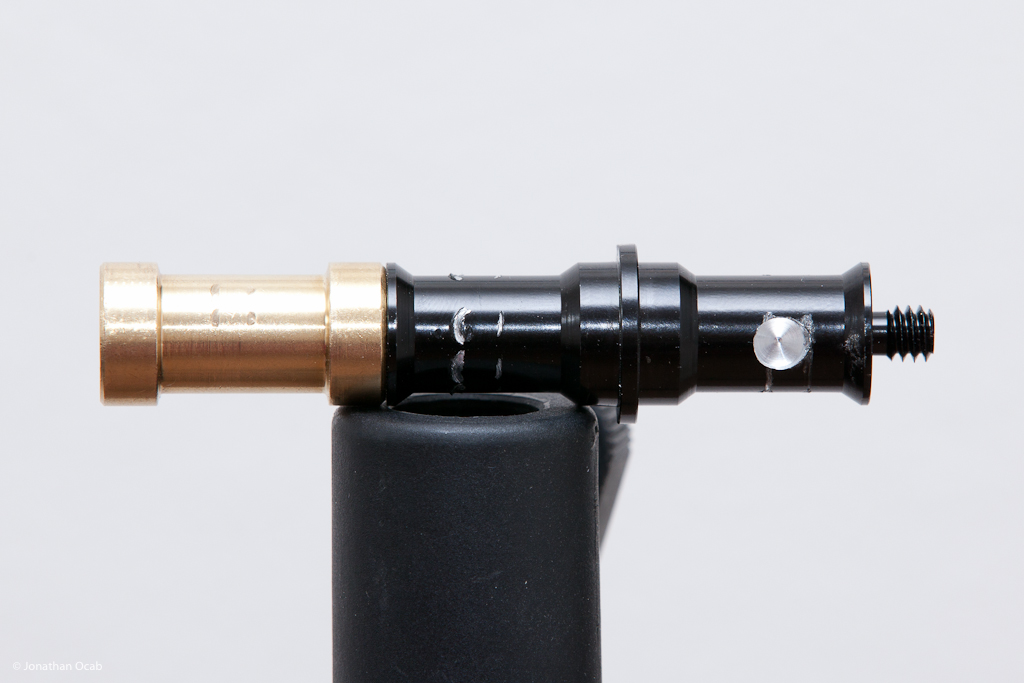
Note how in the above photo, there’s chatter marks on the stud (black) where the threaded knob is tightened down onto the stud. The stud here is the one that came with the Giottos light stand (the brass piece came with a Manfrotto umbrella bracket; more on this later). It’s aluminum with a black paint coating. On the bottom end (right side of photo), you can faintly see a line scratched into the paint. This indicates where the stud turned on the stand.
What I ended up doing, as seen in the above photo, is drilling a hole into stud, in line with where the stand’s knob will clamp down onto. This is easily done by indexing the stud with the actual light stand’s knob, thus making a mark on the stud. Then clamping the stud into a drill press and drilling a small hole directly into the stud. I didn’t go that deep, maybe an eight of an inch.
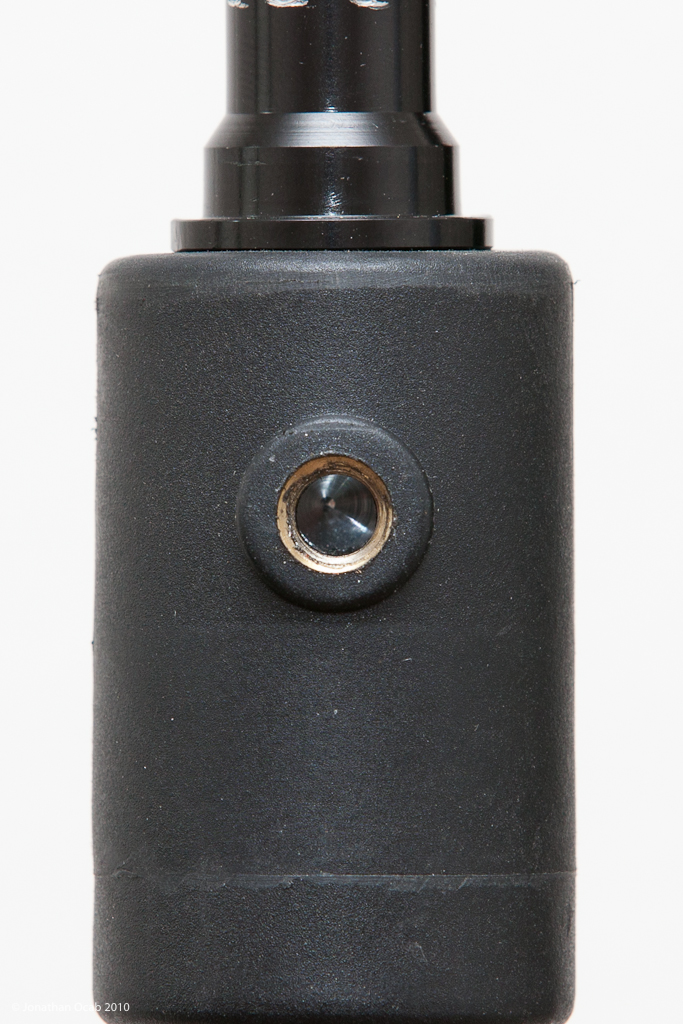
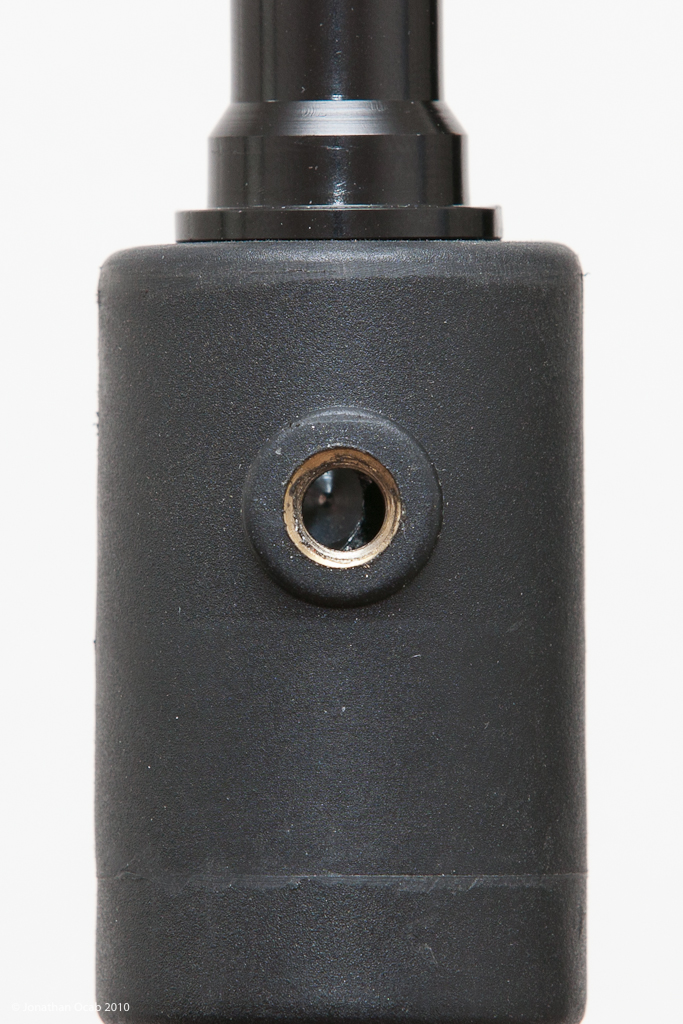
The two photos above show what the drilled hole in the stud look like through the hole in the light stand where the stand’s knob would thread into. The first photo shows the drilled hole aligned with the hole in the stand. The second photo has the stud rotated slightly for a reference view.
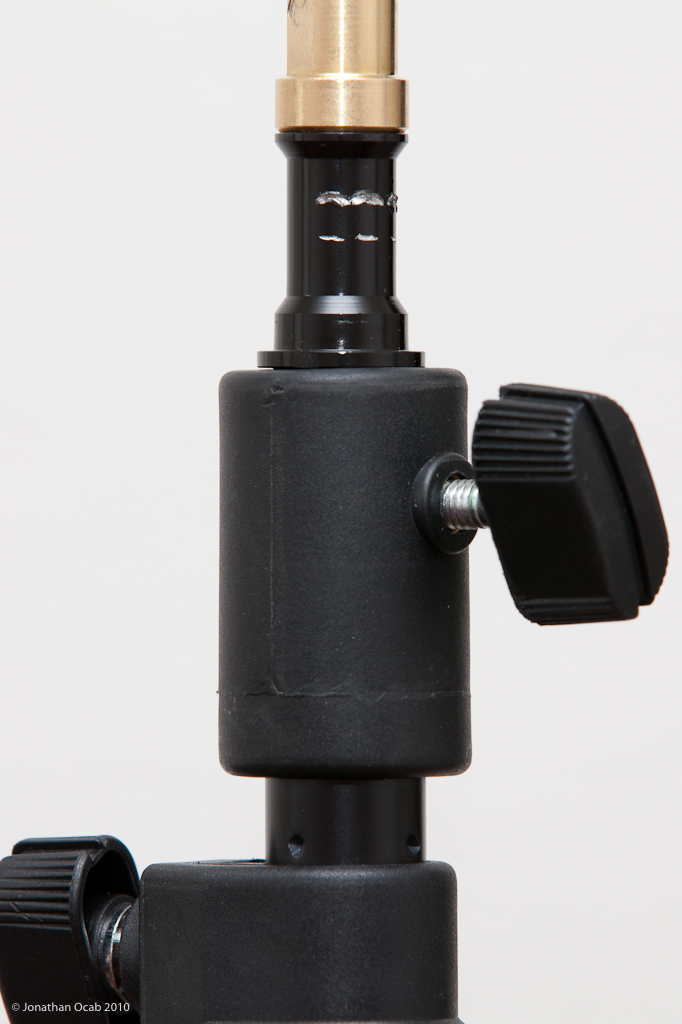
As far as the other end of the stud on which the light (Alien Bees B1600) tightens down on, instead of putting another hole into the stud, I decided to use the Manfrotto brass female adapter which threads onto the 3/8″ male end of the stud above. I used a thread locking compound (e.g. LocTite) on the 3/8″ threads between the stud and the brass female adapter to keep it in place. The reason for using the Manfrotto brass adapter is because it has a flat side, as opposed to being completely cylindrical.

The flat side of the brass adapter gives a better surface for the flat end of the threaded knob to tighten down onto, such that it won’t turn like it would on a round surface.
In theory, I could have also created a flat surface on the stud for the light stand to clamp onto, but I didn’t feel like trying to grind or file a flat surface onto the aluminum stud. The drill press was a lot faster.
Anyway, we’ll see how this holds up the next time I shoot with the 47″ octabox. In closing, here’s a photo from the last shoot where I used the octabox.

“Next Generation” Light Modifier: Paul C. Buff PLM v2
[…] by the wind. I’ve had this happen a number of times with the 47″ octabox, which is why I modified one of my light stand adapter studs. The bigger size of the 64″ PLM exacerbates this issue. I definitely wouldn’t want to […]
“Next Generation” Light Modifier: Paul C. Buff PLM v2 – ocabj.net
[…] by the wind. I’ve had this happen a number of times with the 47″ octabox, which is why I modified one of my light stand adapter studs. The bigger size of the 64″ PLM exacerbates this issue. I definitely wouldn’t want to […]