
This past Sunday I was able to get out to a 3×600 NRA Mid-Range match to get a 600 yard elevation zero and to test the load I initially settled on for this gun.
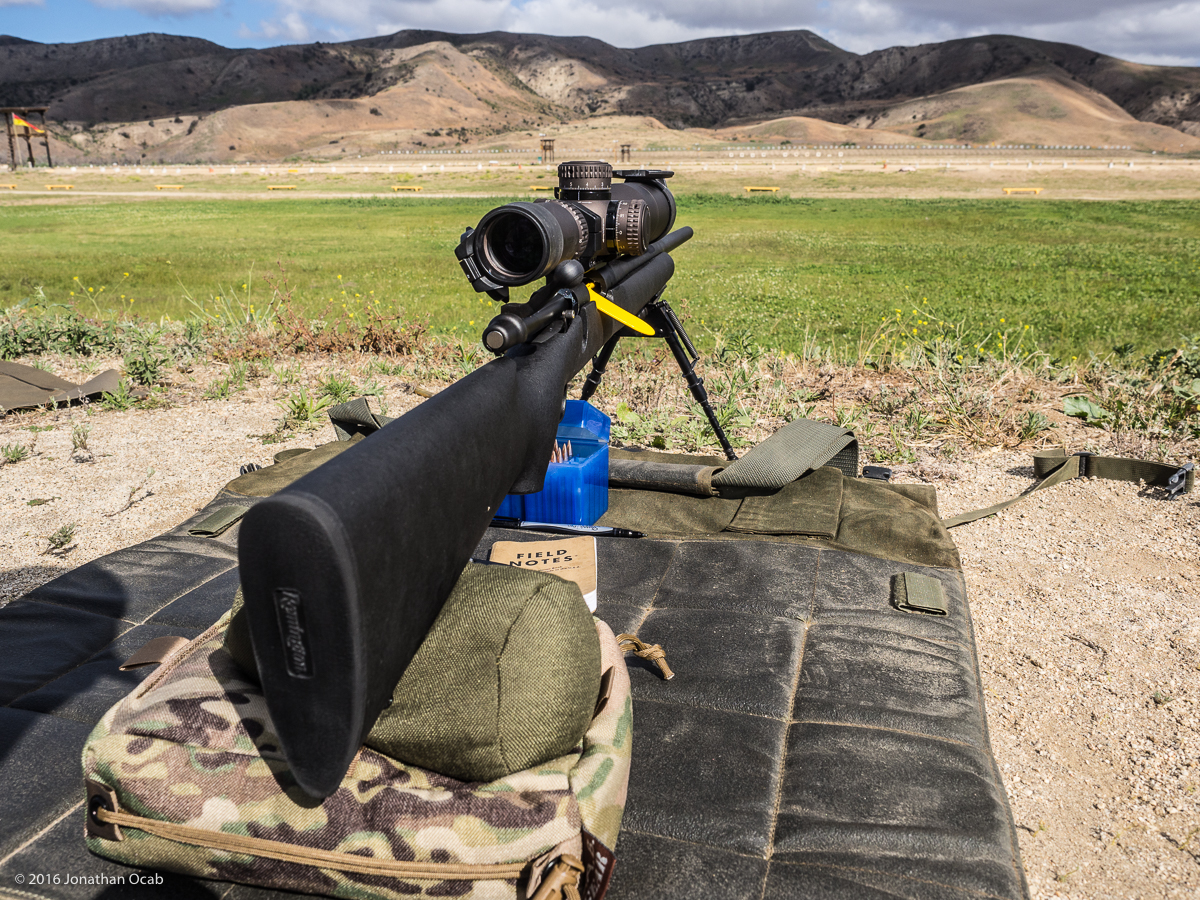
The range was Wilcox Range Complex 103 at Marine Corps Base Camp Pendleton. The temperatures when firing where 70F to 80F during the course of the match.
The load used was:
- Berger Bullets 30cal 175gr OTM Tactical
- 41.0gr Alliant AR-Comp
- Lapua brass
- CCI BR2 large rifle primer
The elevation zero-stop / L-tec turret was zeroed and set for 100 yards. The ballistic calculators I used gave an estimate of around 4.3 to 4.4 MRAD from 100 yard zero to 600 yards.
I initially dialed up 4.3 MRAD (plus .2 MRAD left for a minor wind) and took a shot on a standard NRA MR-1. The first shot impacted 8-ring at 7 o’clock.
I dialed up 0.3 MRAD (to 4.6 MRAD up from 0) and took a second shot. The second shot impacted 10-ring at 10 o’clock.
I came down 0.1 MRAD (to be 4.5 MRAD up from 0) and took the third shot to confirm it was center. The third shot impacted X-ring.
The rest of the day, my elevation held well, but I was getting killed by the infamous Wilcox Range 103 wind. Lots of gusts and let offs during the strings of fire, where I would shoot an 8 at 9 o’clock and an 8 at 3 o’clock back to back while holding dead center.
I also had a few accessories outfitted on the rifle for the first time.

One are the Bipod Talons made by Tactical Supply Group out of Yakima, Washington. The Bipod Talons are essentially spikes you can put on a Harris Bipod to replace the rubber feet. The Bipod Talons provide an aggressive grip for the bipod feet. This is particularly helpful on dirt, where the rubber feet simply slide. Forward pressure on the rifle while firing off a bipod in order to ‘load’ the bipod legs for shot to shot consistency.
The Bipod Talons actually worked quite well in the dirt of the firing line at Wilcox Range Complex 103 and provided plenty of traction.
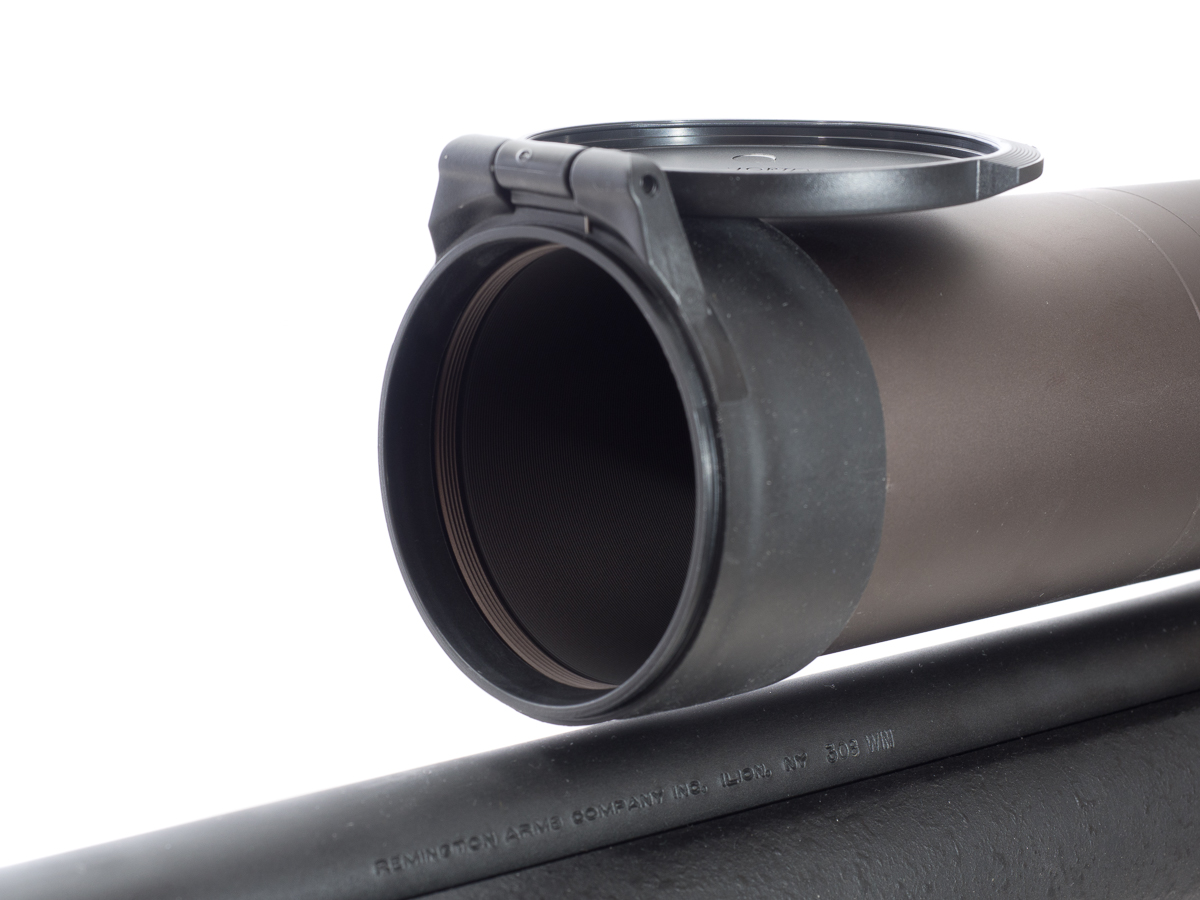
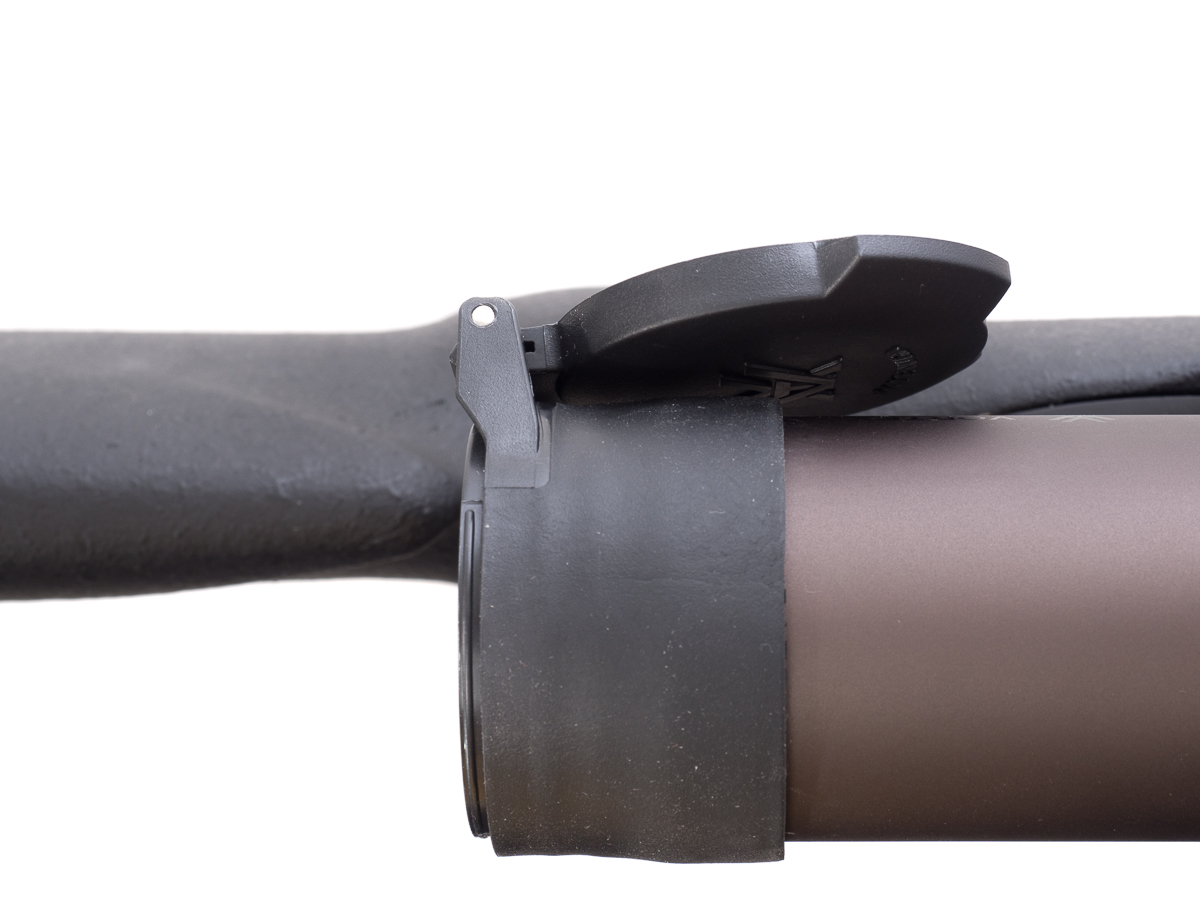
I also had on the recently released Vortex Optics Defender 40-46mm eyepiece and objective-56mm flip-up caps, as well as the newer Vortex Optics 34mm Lo Pro Bubblevel.
I was on the fence about getting flip up caps for the Vortex Optics Razor HD Gen II 4.5-27x56mm EBR-2C MRAD. The reason being is that I like to have access to the eyepiece diopter ring, and a flip up cap will block it. I decided to go with the both caps and ended up risking the fairly new Defender caps by Vortex. The Defender caps have some differences when compared to Butler Creek, which are arguably the ‘standard’ flip up caps. First off, the rubber side walls of the Vortex Defender caps is a more pliable rubber.

Butler Creek caps are more plastic and than rubber, which quite a bit of rigidity such that you often have to get a fairly precise sized Butler Creek cap for your specific scope eyepiece or objective and if you get one that is just too small, it is nearly impossible to try to get it on because the plastic wall of the cap won’t flex. Whereas the Vortex Optics Defender caps can stretch and fit over the eyepiece of objective.
The one other cool feature the Defender caps have are that they will lock flush against. The Defender objective cap will open up and come to a rest at a slight angle, or you can apply a little bit of pressure after it opens and you can have it lock into place and fit flush against the scope body.

The Defender eyepiece cap actually has a couple important positions. There is a 90 degree open position which allows you to view notes you place inside the eyepiece cap, either your own homemade one or a ballistic card you can order from Vortex Optics directly, utilizing the Vortex Optics Long Range Ballistic Calculator (LRBC) which is free to use.
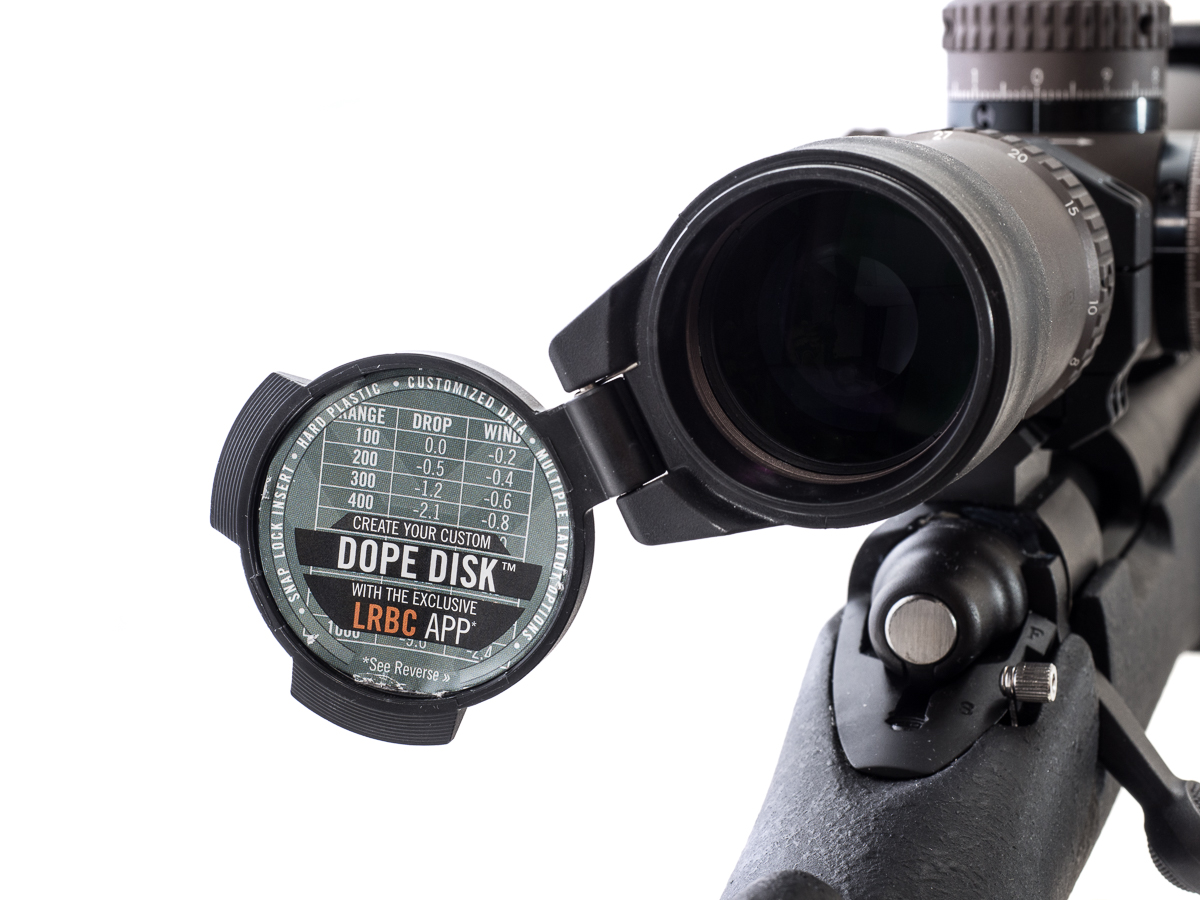
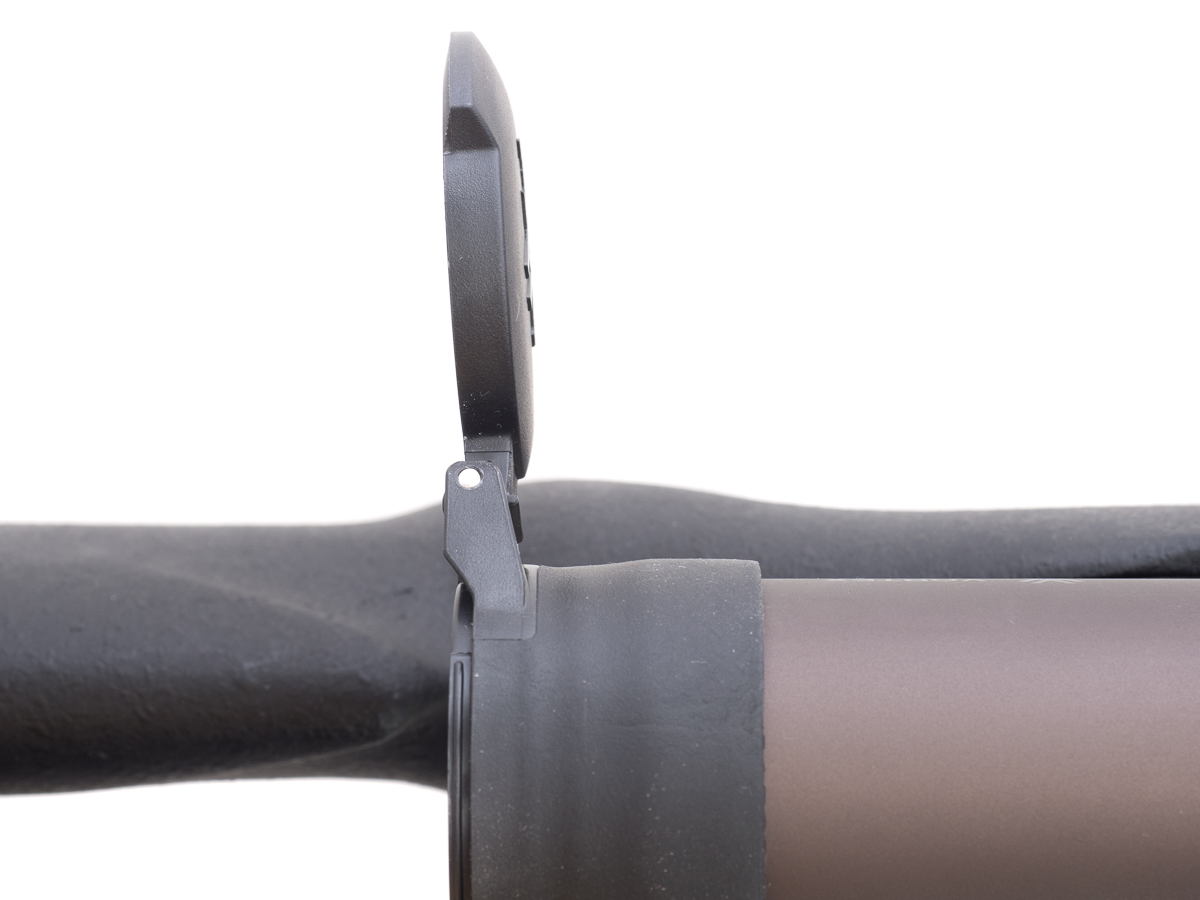
If you don’t need to see your notes, then you can press the cap all the way open and have it lock back and sit flush against the scope body.
The Vortex Optics Defender caps appear to be a solid alternative to Butler Creek or other aftermarket scope caps, particularly if you have Vortex Optics scope.
I made use of the Vortex Optics Lo Pro Bubblevel at the range this past Sunday by using it as a reference point from shot to shot to ensure I was leveling the rifle consistently. I have no real opinion on the scope bubble except that it is a bit of a pain to install.
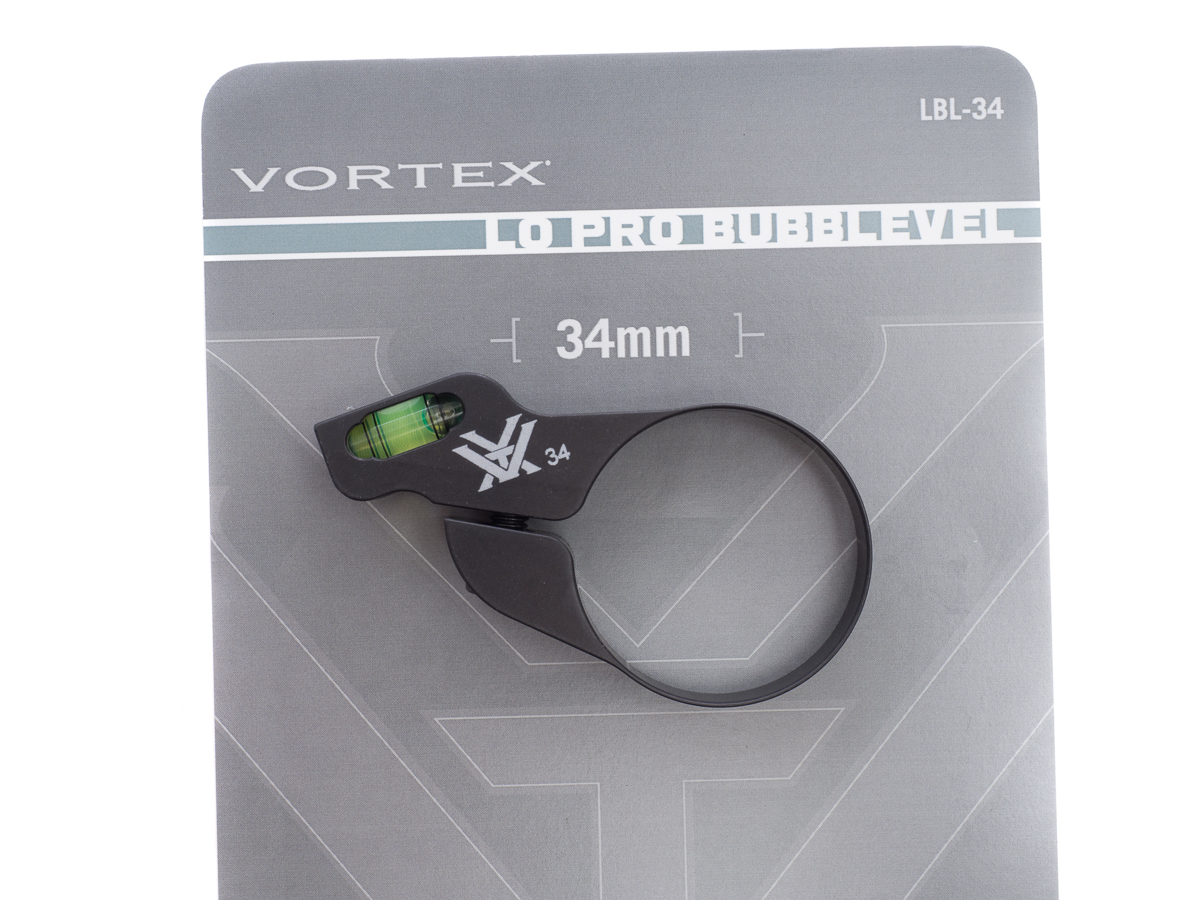
It is actually more of a single piece clamp, as opposed to the original Vortex Optics scope level which is more like a scope ring (two halves clamping scope). The main issue with this is that when you get it level and start tightening the clamp, the level actually moves along the diameter of the scope. So you have to play of a bit of a guessing game by tightening it slowly, then figuring out how much it moves as it tightens to the torque you want. Then you need to loosen it up then turn the level to a spot on the scope where tightening it to your desired torque setting will get the bubble to be leveled.

This took me several tries, but I eventually got it level. I don’t know how tight the clamp needs to be, but I used 15 in-lbs which is the same as most scope rings. Once it is on, it definitely fits the bill of being low profile.
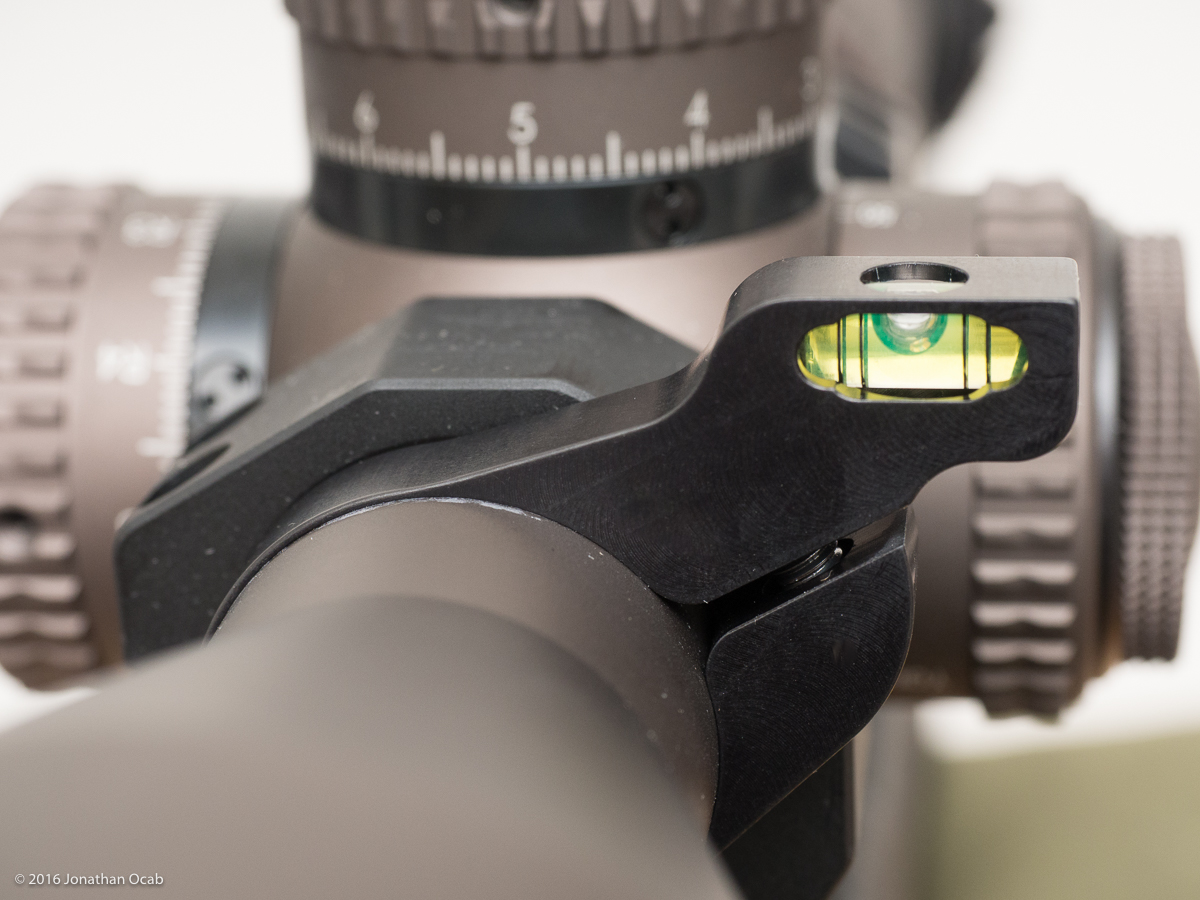
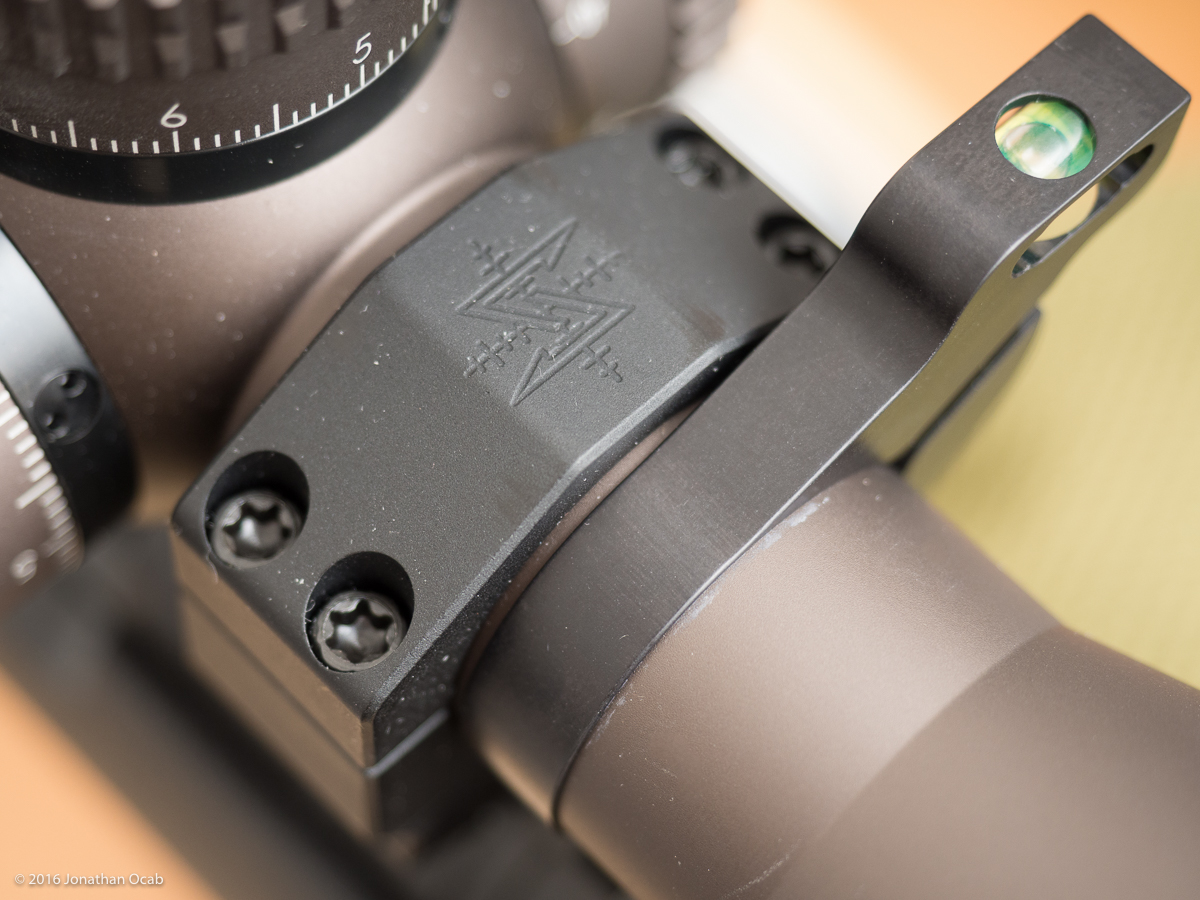
The clamp itself is thin, with just enough metal for the bubble level to be seen from behind the gun and over the parallax turret.
As far as the project build is going, there really isn’t much to accessorize at this point except the eventual AICS AT to replace the HS Precision stock that the 700 Police came with. I really do not care for the thick palm swell of the stock and look forward to going with a pistol grip chassis and detachable box magazines.
I think the 41.0gr AR-Comp with the 175gr Berger OTM Tactical is going to work out. I may stick with it for the time being until I see pressure issues.
The Razor HD Gen II performed well at 600 yards, but I had to dial down to about 24x power because the mirage was killing the image at 27x.
Comment on this post