I photographer friend of mine secured a location in Los Angeles for a group photo shoot last Sunday. The location was an old bank converted into a night club, which included the vault.
Inside the ‘vault’ is a long corridor with benches along each side.
A friend of mine and fellow photographer, Michael Quan, was also there and we coordinated prior to the shoot to pool our lighting equipment together to create some experimental sets, and with the specific intent of experimenting with gels. I had purchased two sets of gels so we could run at least two lights with the same colors.
During the middle portion of the shoot, we decided to hijack the corridor and setup four lights inside the vault area with the intention of gelling the interior (our background), while the model was in the doorway/entrance to the vault/corridor.
With four lights gelled, we decided to use two lights with strip boxes as side lights (butterflied) and a ring flash (Alien Bee ABR 800) for the primary light.
There were also other photographers in attendance on location, and one of them setup another light directly in front of the doorway which ended up functioning as a larger key light. I believe it used a large octabox.
When it was all said and done, we ended up having a setup that looked somewhat like this (not to scale):
Basically, we had two Paul C. Buff Einstein 640 in the rear with blue gels via the PCB Litemod Universal Mainframe and gel/filter holders. These had no grids and were basically pointing towards the rear / back wall. These lights were set to full power. Also, these lights were not on stands, but simply placed on the benches against the walls of the corridor of the vault.
We had two more Einsteins (though it may have been one Einstein and one Alien Bees B1600) half-way towards the rear with red gels. These were setup with barn doors and facing towards each other at a 90 degree angle to the model. The barndoors were setup to prevent/limit spill on the model and any light coming back towards the cameras. I cannot recall exactly what the power setting was for these lights, but we had them set between one-quarter and one-half power. These two lights were placed on the floor on short low height Manfrotto stands.
The strip boxes were on two Alien Bees B1600s with the added B1600+octabox and ABR800 ring flash at the front. I forgot the power settings on these lights.
Granted, what Michael and I wanted to do was use the strip boxes as strong fill lights with the ABR800 ring flash as the key. But as I said before, another photographer setup a larger light and modifier which became the key so we ended up getting a different lighting setup than we had planned on going with when we started setting up. It went from a seven light setup to an eight light setup.
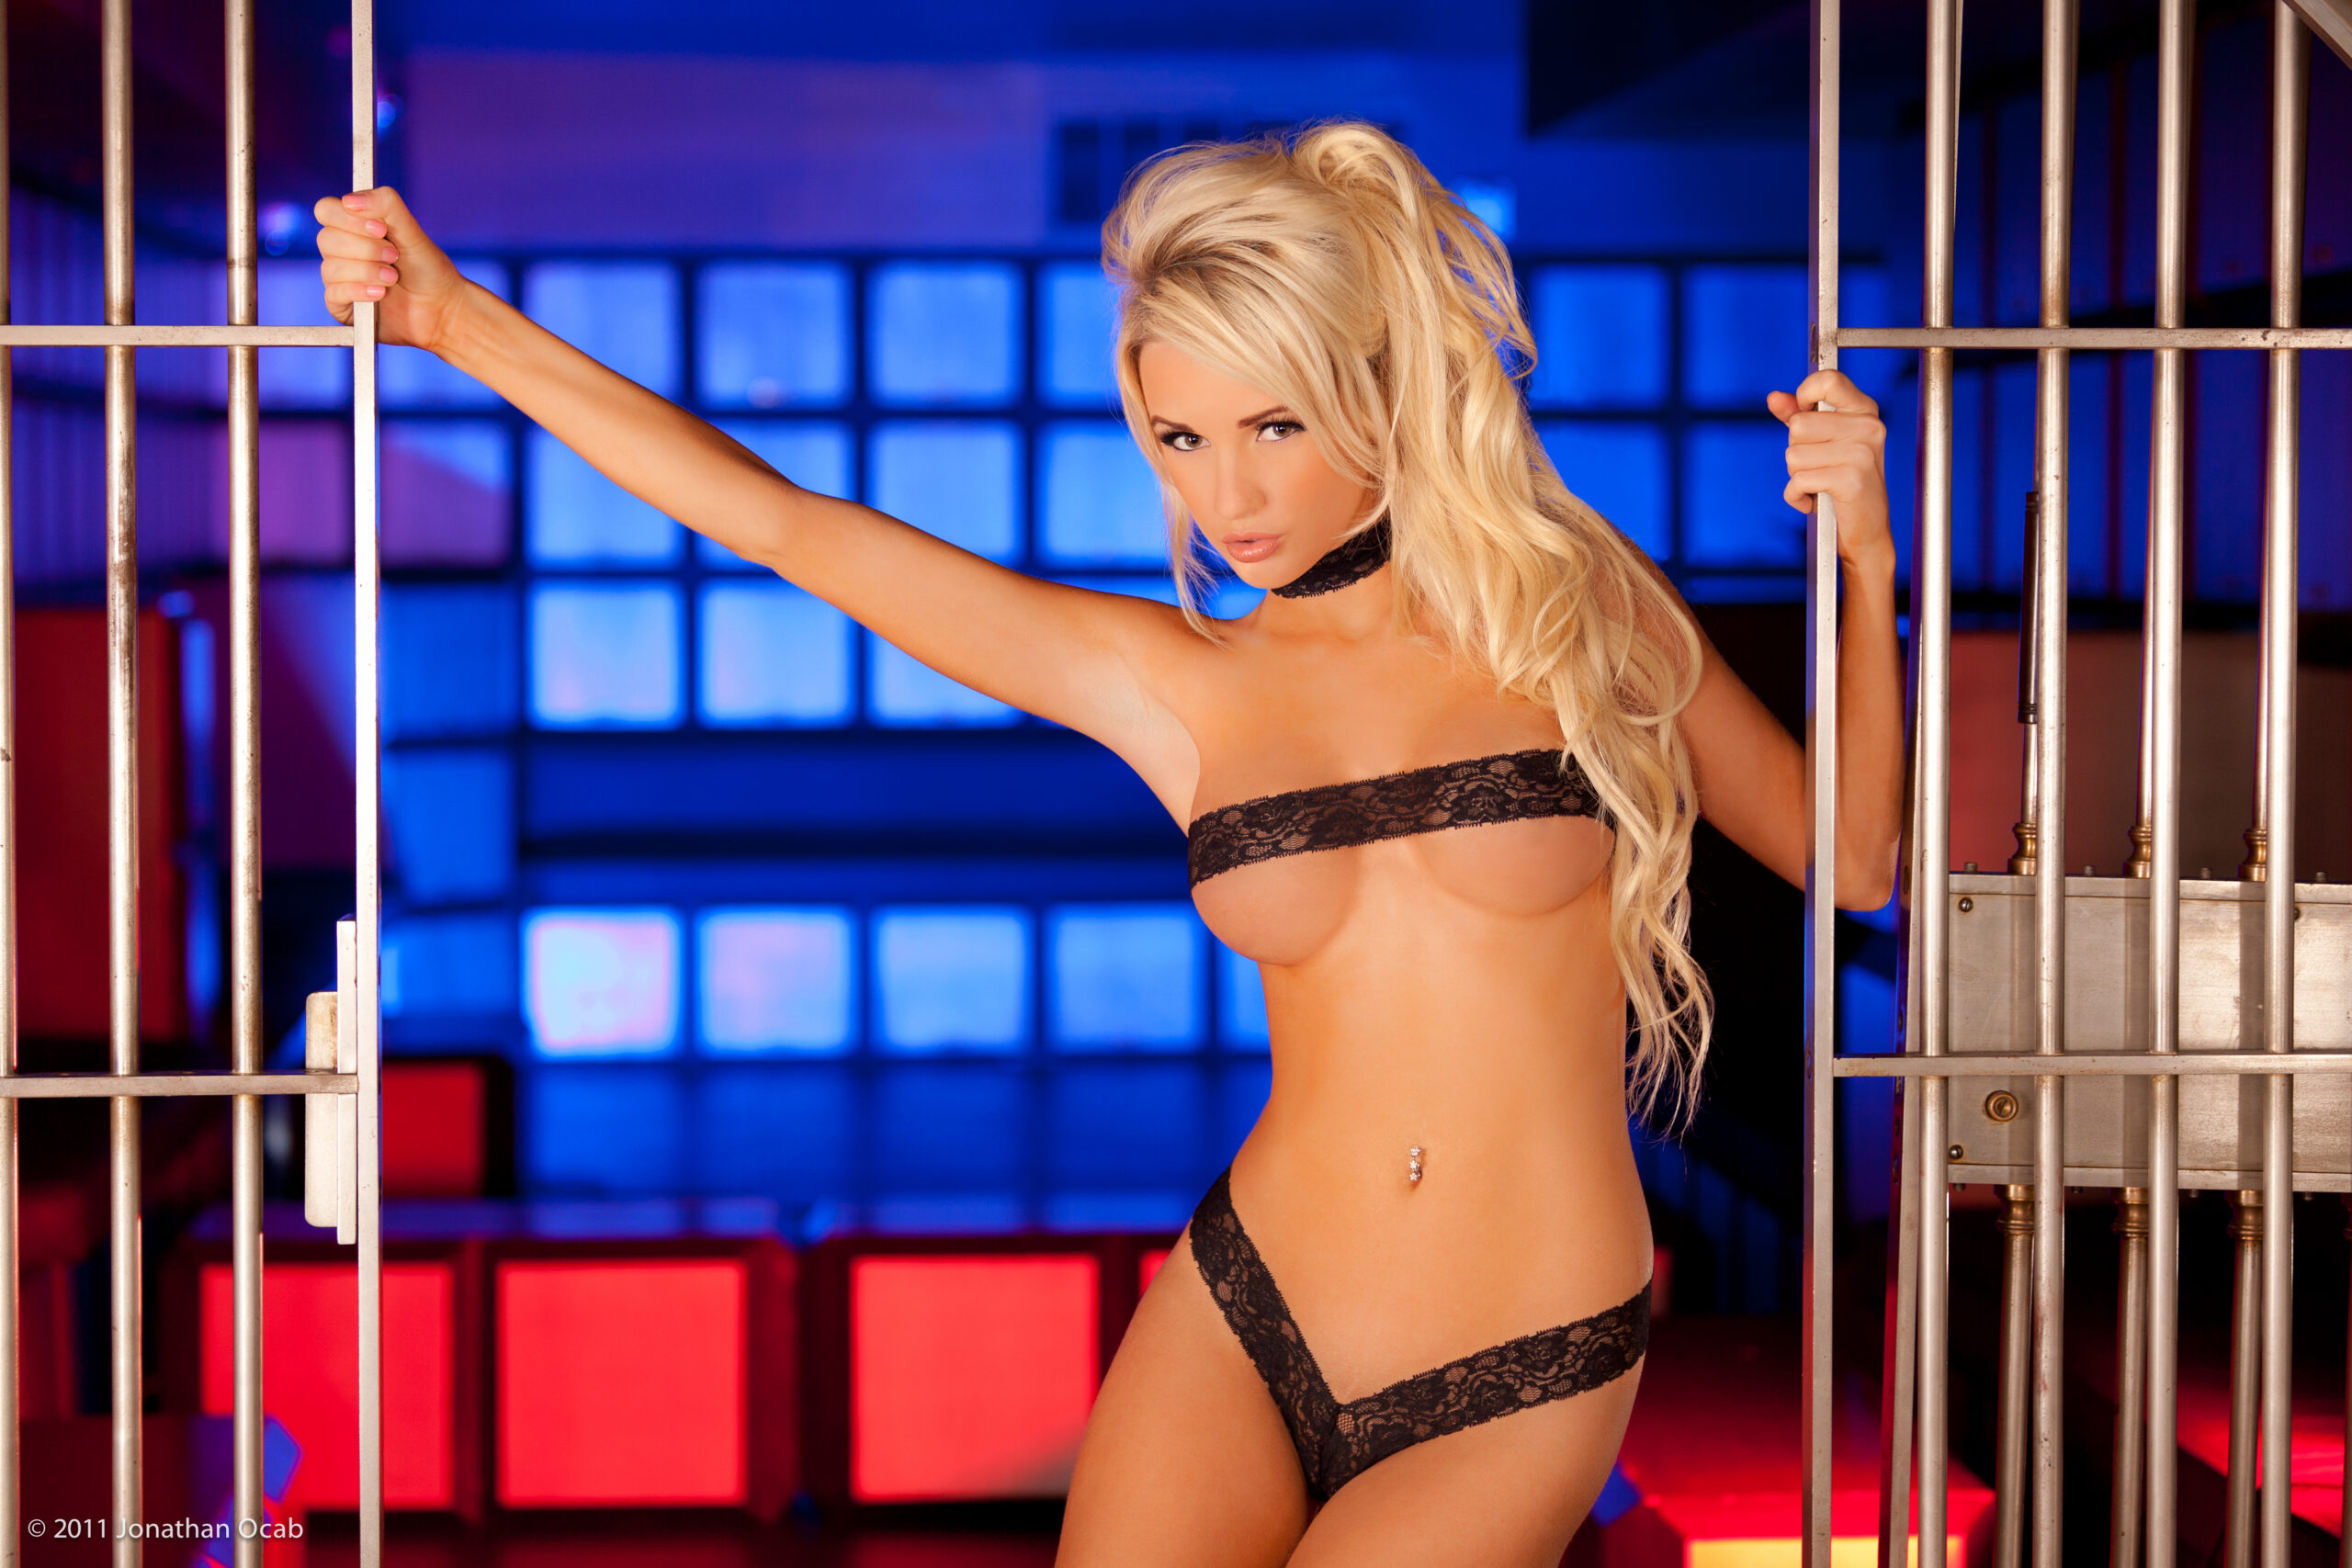
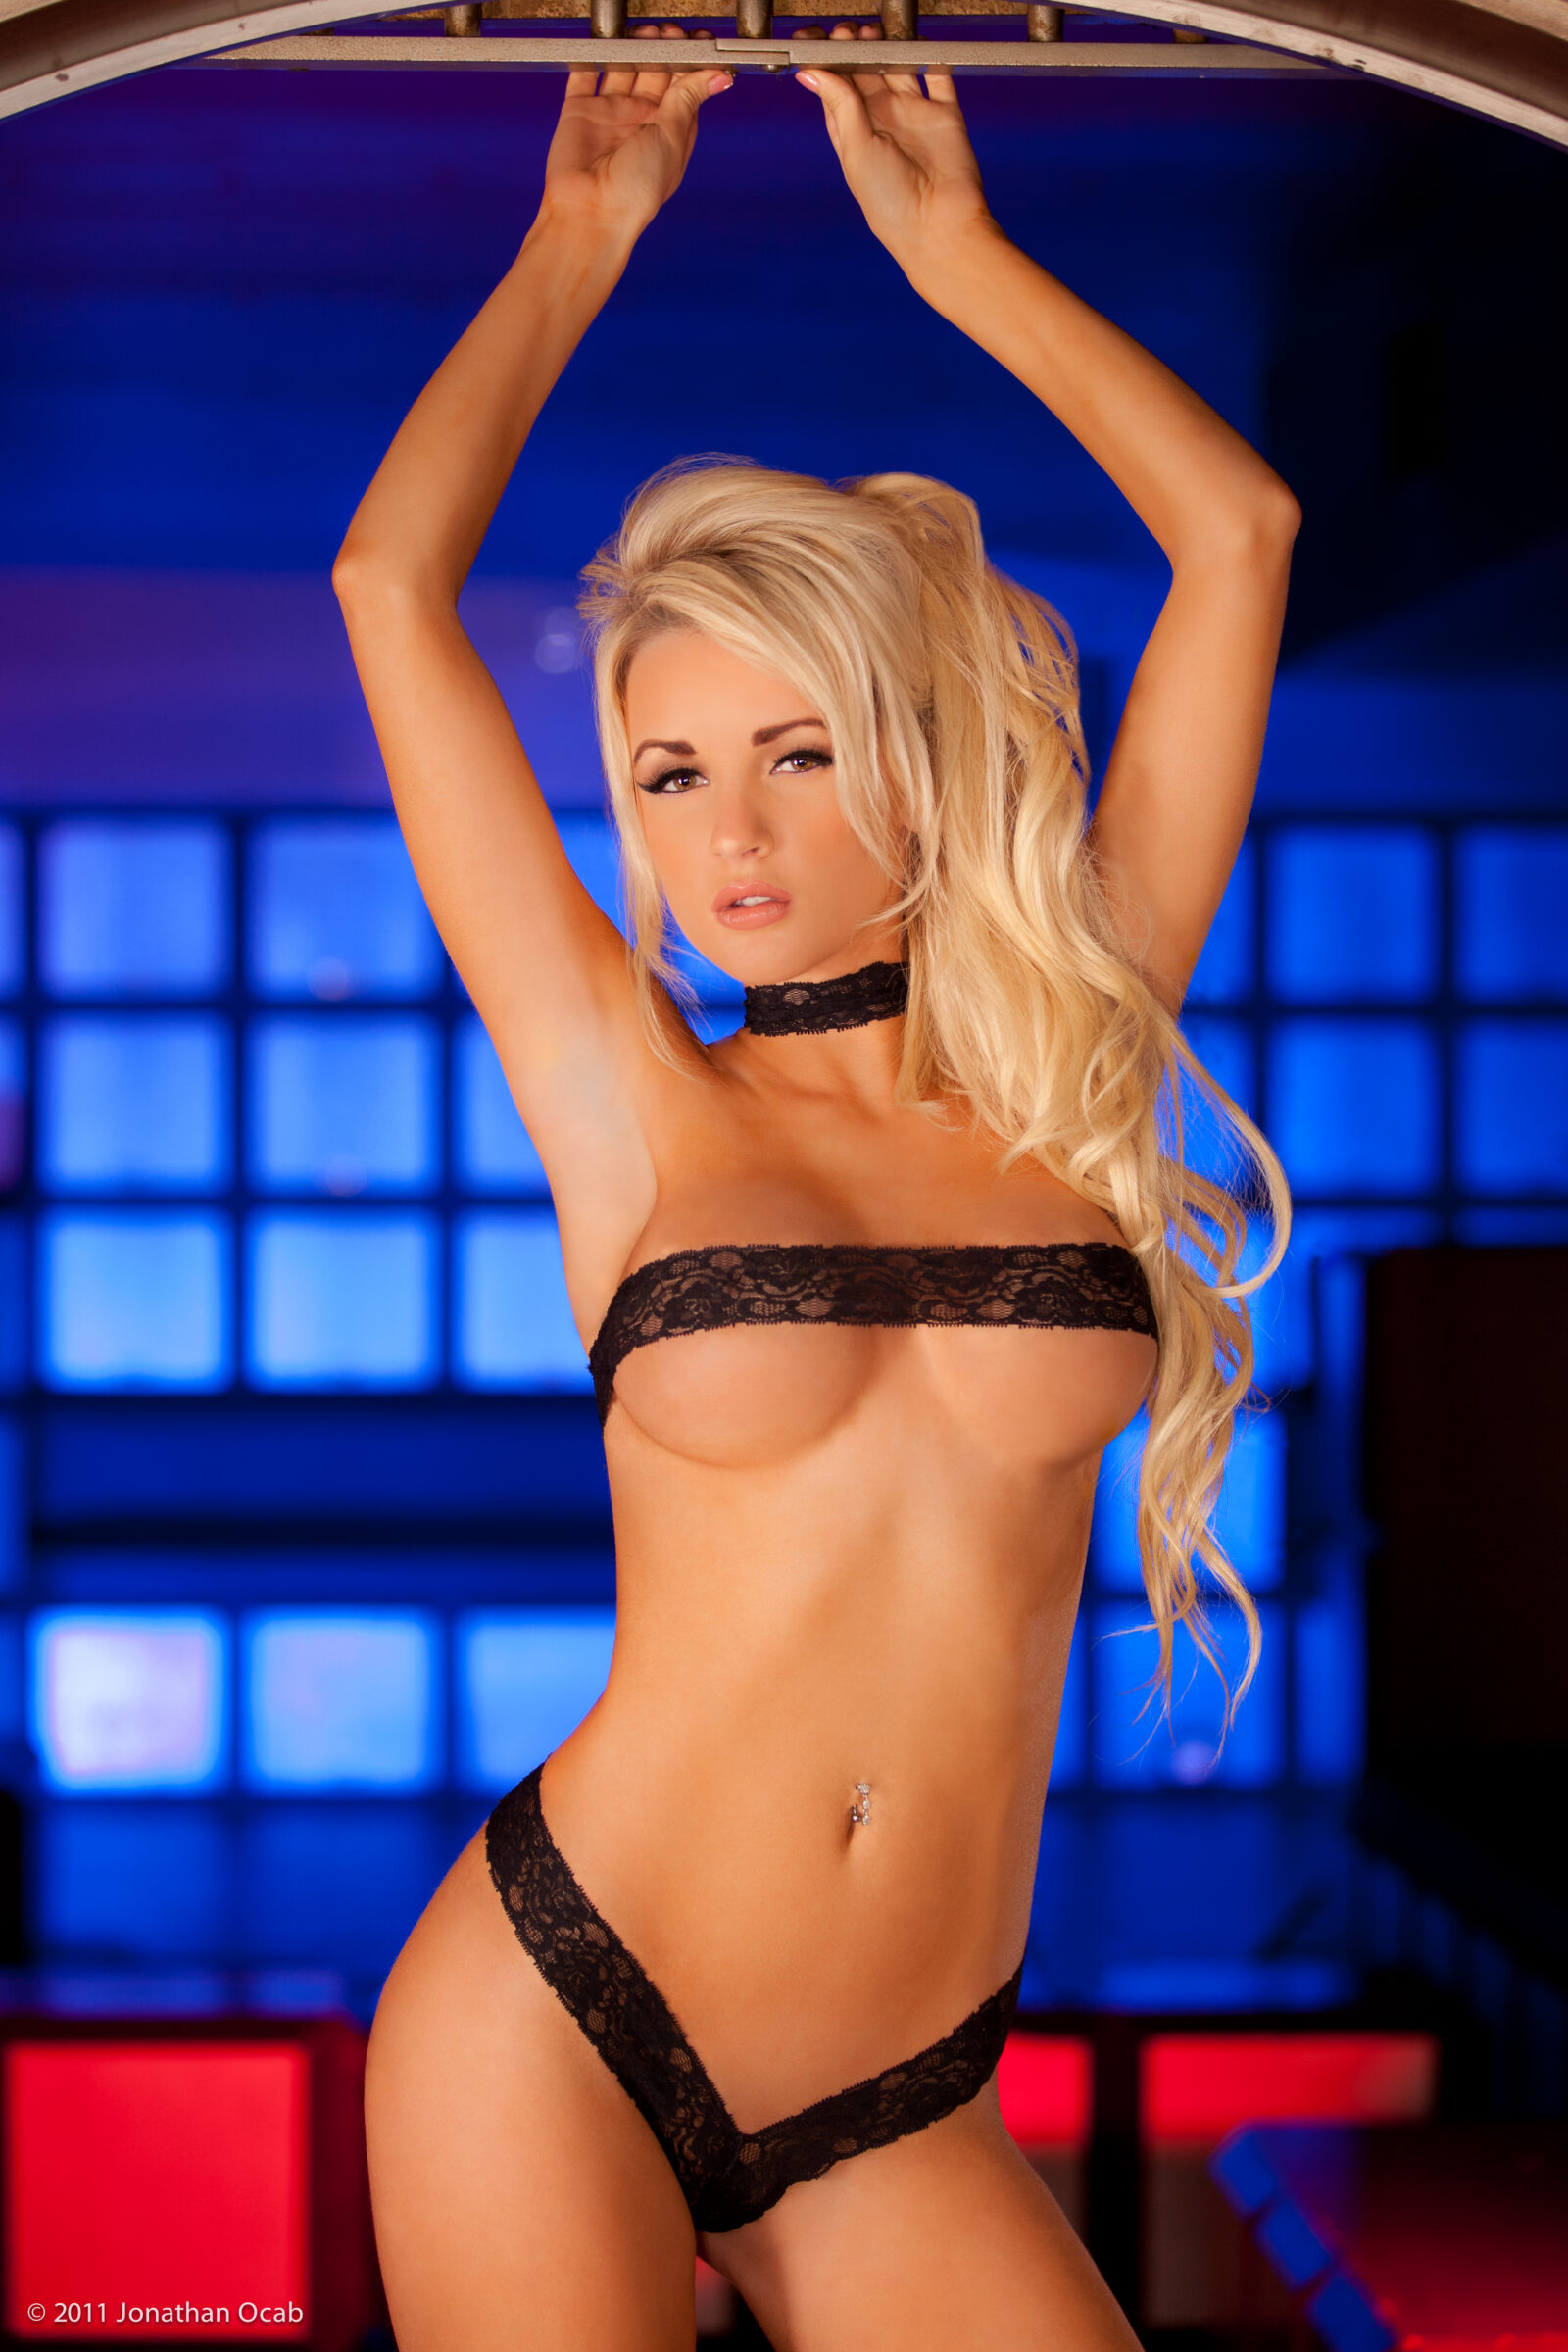
But this setup yielded some very nice background effects as seen in the following couple of photos [Model: April Cheryse – Model Mayhem Profile – Facebook Fan Page]:
There were a few mistakes/mishaps we stumbled across during the shoot.
The rear lights (gels) were visible in the photo when shooting at certain angles. We should have done a better job hiding them.
The rear most lights with the blue gels were actually started off at around one-half power and were too weak. We ended up blasting them to full power and moving them closer to the rear wall.
Power cables were visible in some shots. Similar issue to the first one above.
All things considering, specifically that we were shooting in basically a group shoot environment with a lot of other photographers trying to shoot in the same (albeit decently sized) location, I felt that Michael Quan and I created a half-way decent lighting setup.
Special thanks to other photographers including Michael Quan (of course), Daniel Blalock, John Chennavasin, Mike Chow, and Mark Tienswang who contributed hardware (and opinions) for this lighting setup. We had a lot of strobes, wireless triggers, sync cables, extension cords, power strips, and light stands pooled together to create these photos. I apologize if I forgot anyone.
(Added 2011-03-24) Special ‘mad scientist’ credit to Michael Quan for rigging this together:
What is it? It is a PocketWizardMultiMAX with a sync cable output to a hot-shoe adapter with a Paul C. Buff Cybersync transmitter.
Purpose? To function as a relay system to trigger Cybersync remote receivers with PocketWizard transmitters.
Why? We didn’t have enough PocketWizard transceivers. Well, technically we *did* but only if we used the Plus II units and used channels 1-4.
Backstory: Since we had other people on site who were using remote triggers (PocketWizards), we wanted to isolate our setup on higher channels only usable by PocketWizard MultiMAX / MiniTT1 / FlexTT5 units. But since we didn’t have enough MAX/TT1/TT5 units, we decided to use Cybersyncs as well (for the Einsteins). Thus, I programmed all the MultiMAX / TT1 / TT5 units to use channel 11. Michael Quan configured the Cybersyncs on the lights to pop on the same channel as the transmitter in the relay rig devised in the above photo. So whenever someone used camera with a MultiMax or TT1/TT5 trigger on PW channel 11, it would not only trigger any of the lights with PW receivers set to channel 11, it would also trigger the Cybersync controlled lights.
I believe we could have also created a PW to Cybersync relay by putting a Cybersync transmitter on the hot shoe of a FlexTT5. I will try this out whenever I get my hands on a Cybersync transmitter and receiver. I currently do not own any Cybersync remotes.
Anyway, if you ever come across the situation where you don’t have enough of either PocketWizards or Cybersyncs, and can’t go optical, then you can devise a relay to combine both radio remote products.
And for anyone interested in where to get various cables and adapters for off-camera lighting (e.g. monosync cables, motor drive cables, optical slave adapters), go to FlashZebra. FlashZebra will have what you need at a lower cost than most other places, and the products will work.
An additional note for anyone who looks at the EXIF data of my photos: I used a Singh-Ray Vari-ND filter. This is why my EXIF reads f/2.8. I shot using the Canon 5D Mark II and Canon EF 70-200 f/2.8L IS II. I wanted to minimize clarity of the background and since I shelled out quite a bit of cash for the Singh-Ray, I figured I may as well take advantage of it and shoot f/2.8.
One additional thought I have is regarding the effect of the gels on the light output. The PCB Einstein 640 is supposed to output 640 watt-seconds of power. Considering we needed to set both to full power in order to get the washed out blue glow in the back of the room, it causes me to change my mind about acquiring a pair of Alien Bees B800s. I currently only have one Alien Bees B1600 and one Einstein, with another Einstein in transit. I was going to get a pair of B800s to round out the set for five lights (plus the ABR800). Now I think it might be worthwhile to just get another B1600 and use the pair of B1600s for any gel work (since color temps mixing with the Einstein won’t be a factor at that point). Of course, that puts me at only four lights (2 x B1600 and 2 x Einstein) if I go that route. Five would be a nice sweet spot. We’ll see how it all plays out. I’m just fortunate enough to have made friends with good photographers (personably and professionally) with whom I can collaborate with on larger projects and sets such as this.
Note to self: Document better! Record power settings of lights on location. Take wide angle shot of lighting setup.


Rey Varela
Excellent results!
Thanks for sharing
Bryan G
awesome shots — always interesting to see how it’s done.