
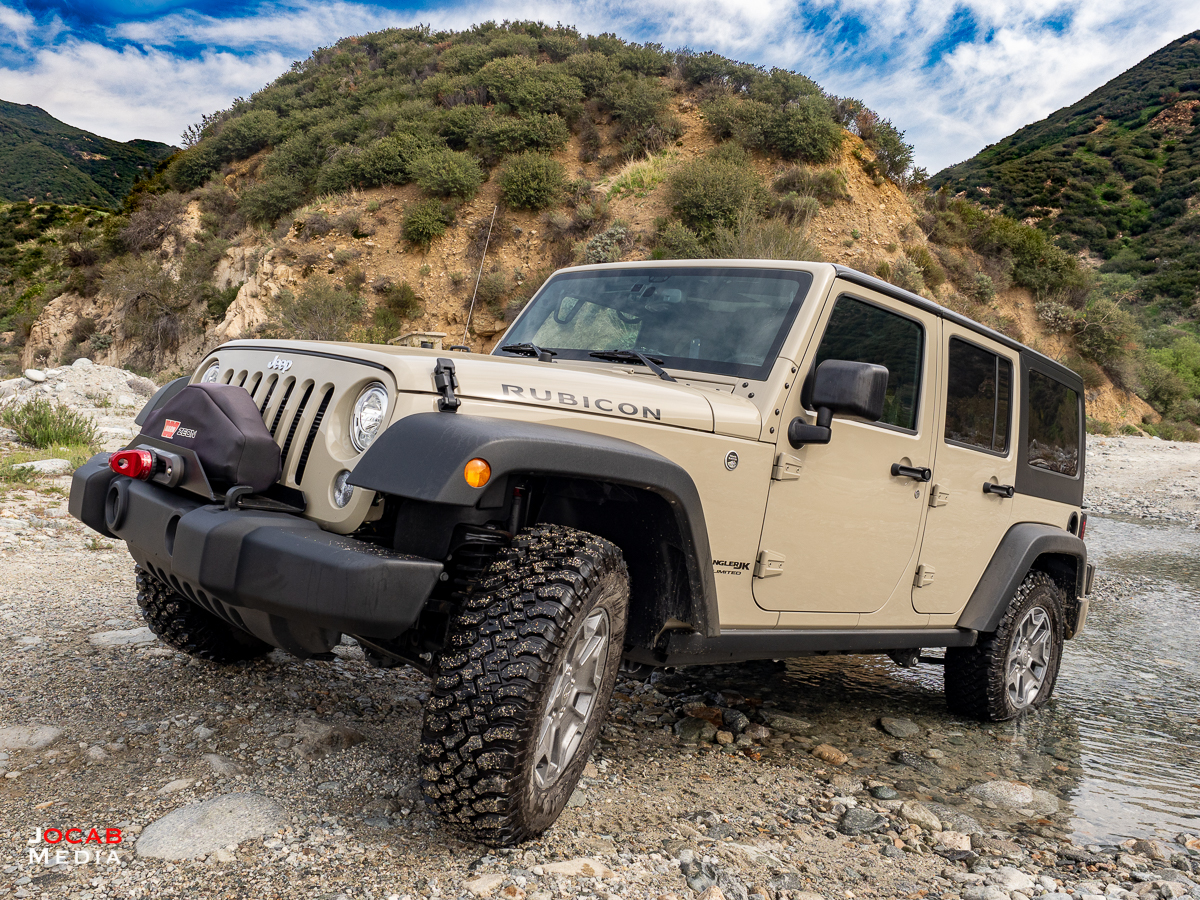
At the end of February, I posted a lengthy article (and video) on the first 60 days / 2 months of ownership of my 2018 Jeep Wrangler JK Unlimited Rubicon. In that article, I covered several nuances that I noticed with my Wrangler as it was received from the dealership, and the upgrades I made to mitigate those issues, as well as the winch install.
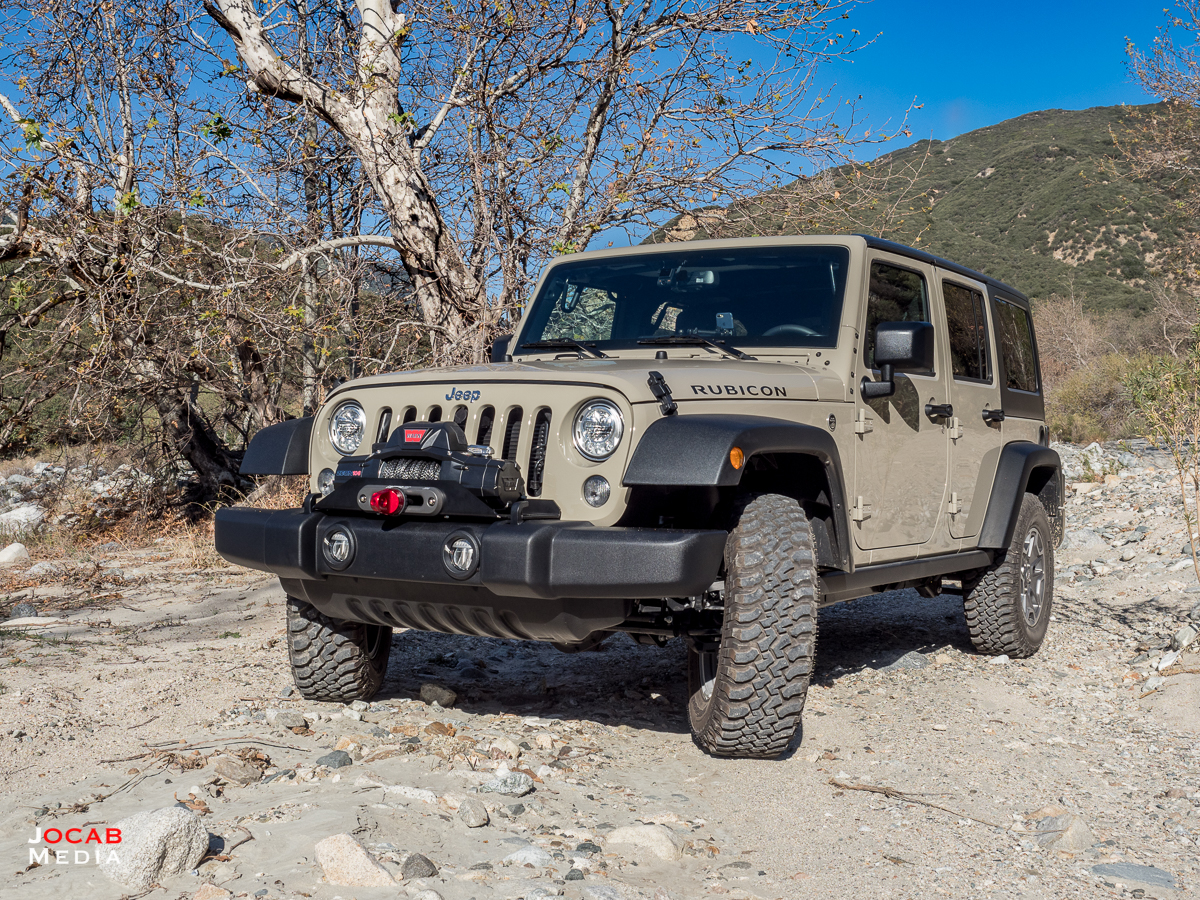
After another month and change, I acquired a few other items to enhance my JKUR by the three month point.
Before I begin, I did want to mention the 67 Designs JK Mount 2-Ball Base. I actually installed this within the first two months of owning the Jeep, but neglected to mention it in my initial write-up.
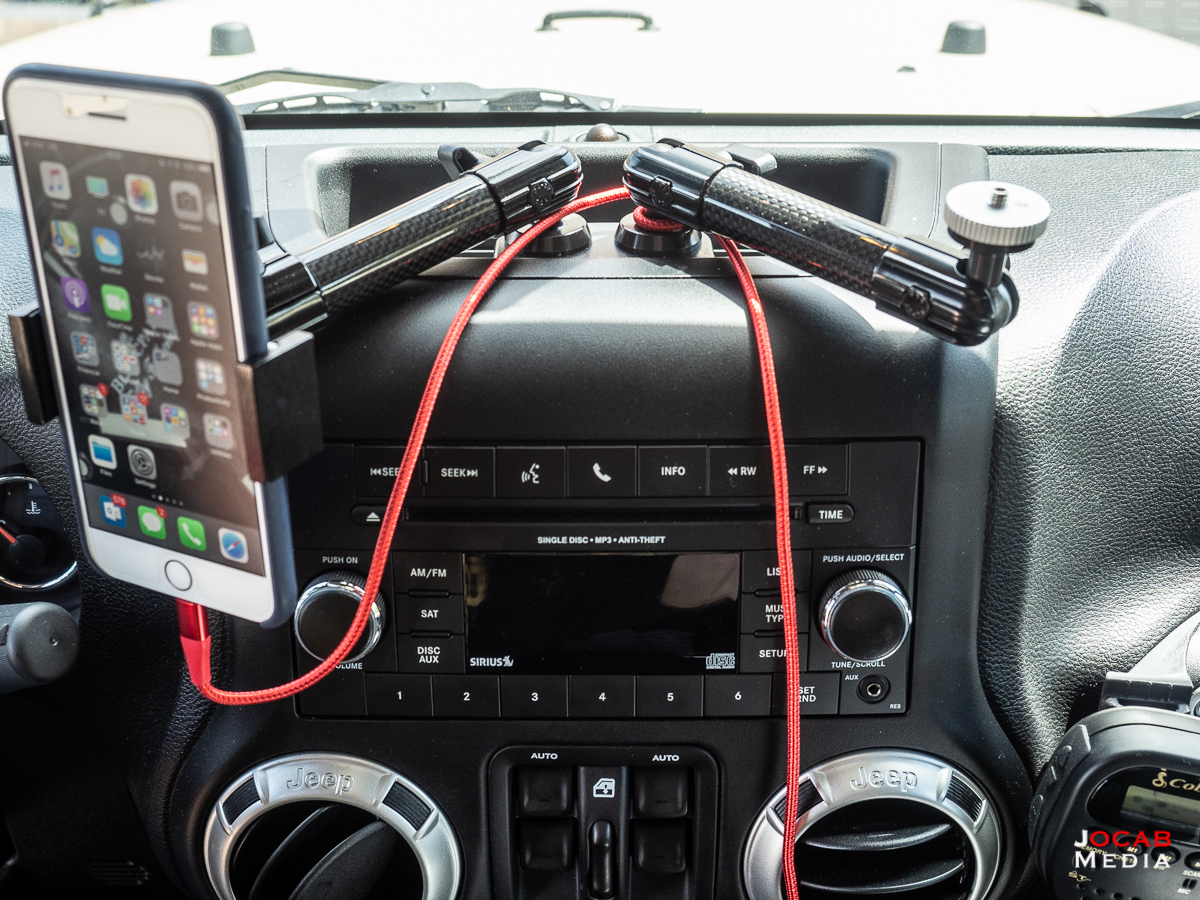
This is a very stable mounting solution for smartphones and other small touchscreen devices (e.g. GPS units, tablets). The 67 Designs JK Mount keeps my iPhone right within viewing for navigation (e.g. Waze, Gaia GPS). I highly recommend this mount for anyone who wants a stable way to hold their phone while driving. I am not a fan of suction cup mounts on windshields. They are simply not reliable long term (heat wears out the cup) and in California, are only legal when mounted in the lower driver’s side corner of the windshield.
Between the next 60 and 90 days of ownership, one of the items I wanted to get added was a fire extinguisher mount, and I was able to get an H3R Performance Halguard 1.4lb clean agent fire extinguisher mounted with the Drake Off Road floor mount bracket and quick-release fire extinguisher mount.
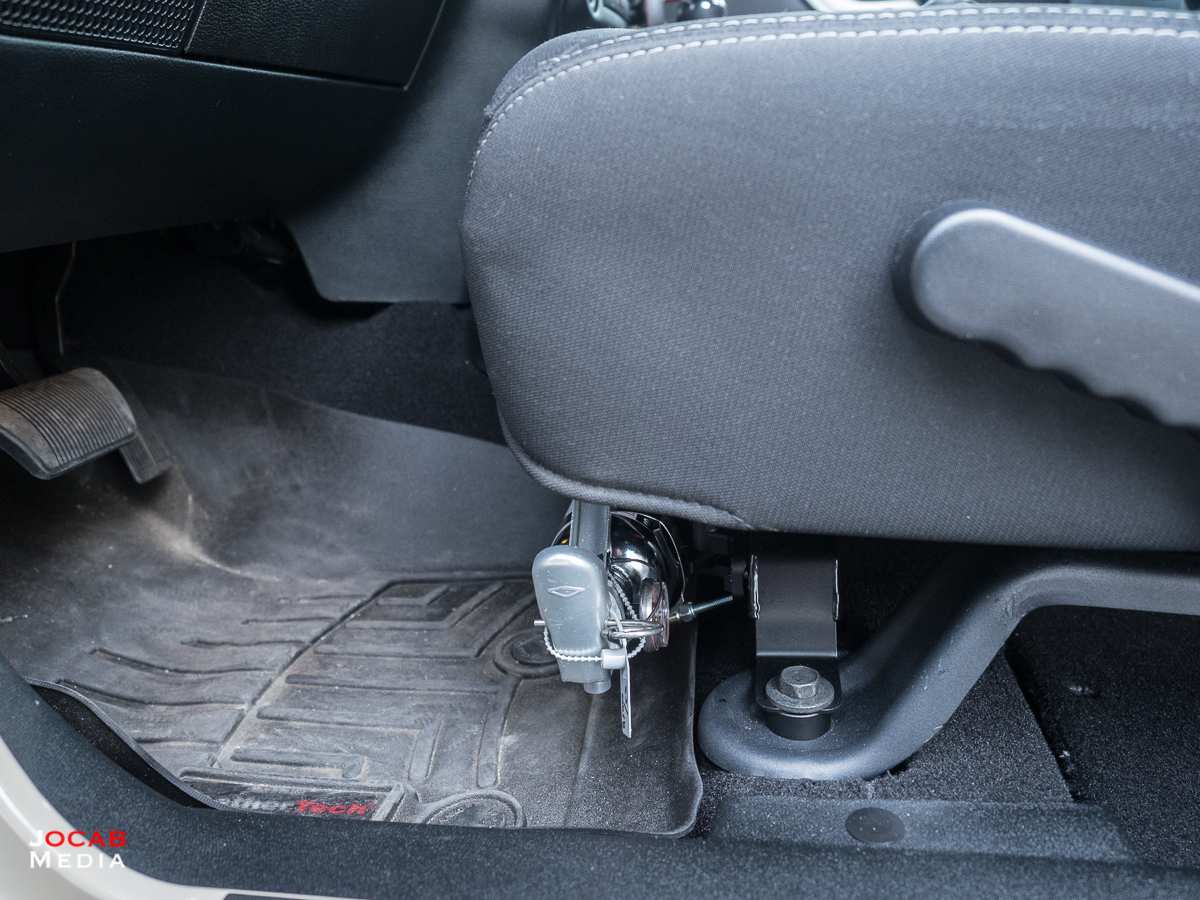
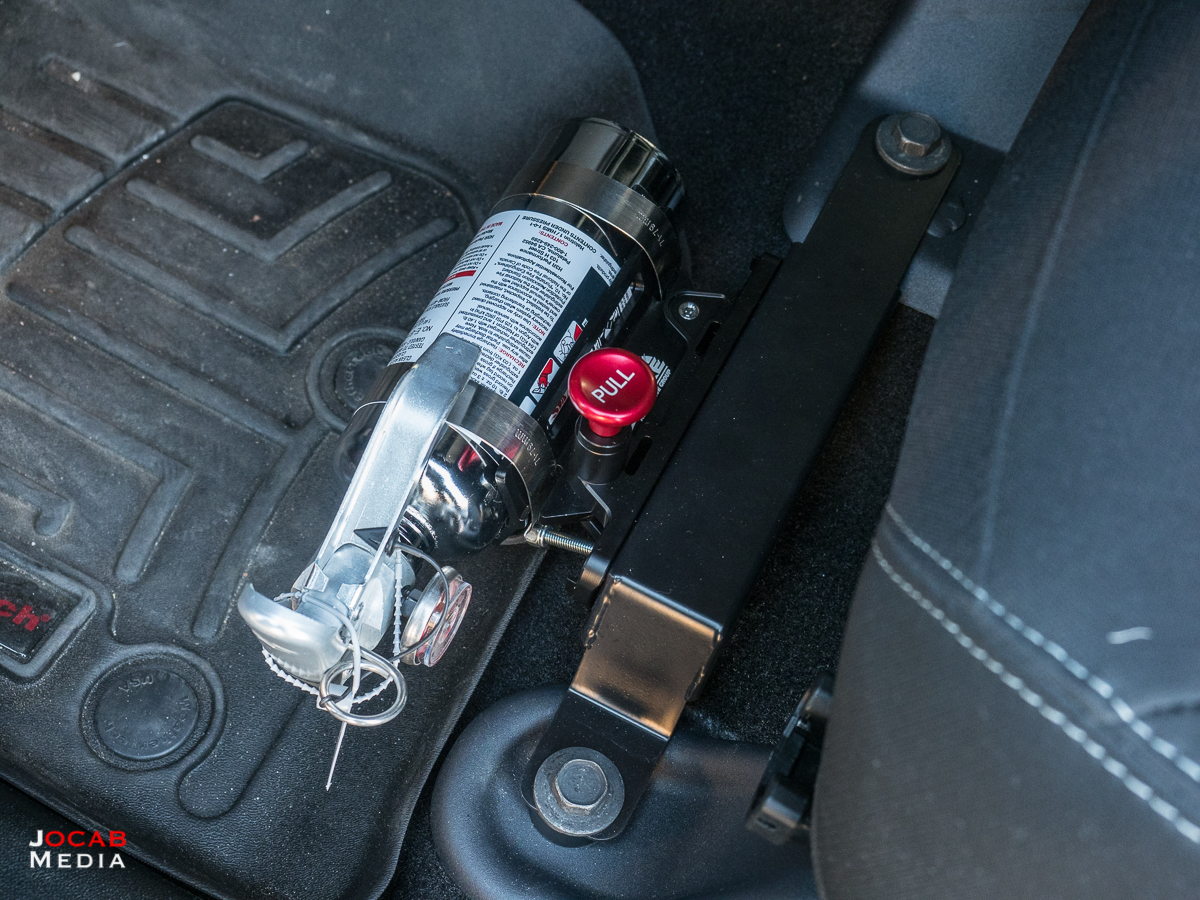
I did post a write-up in March 2018 covering the install, along with the trick to get the Drake Off Road Floor Mount Bracket installed in a 2018 JK Unlimited (this bracket is not exactly compatible with 2013+ JKs).
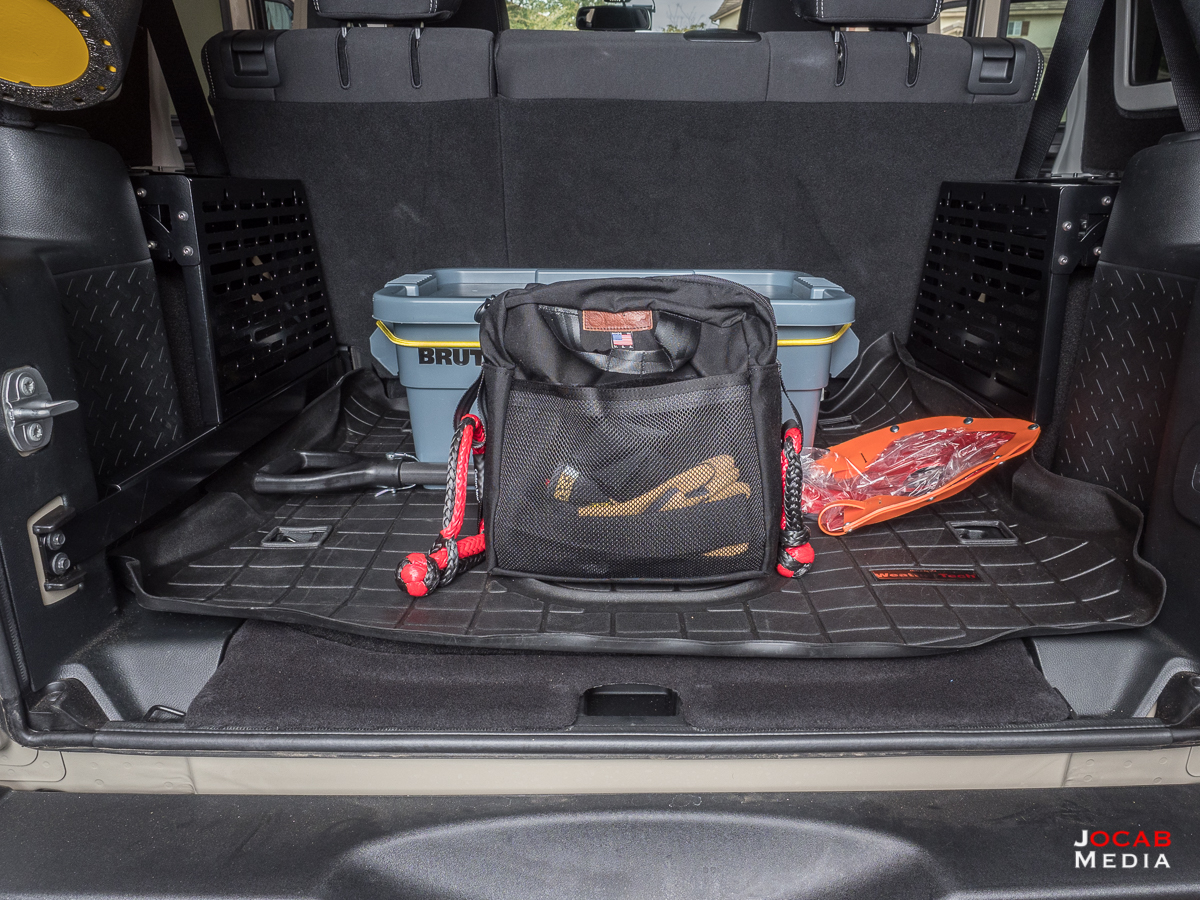
Another enhancement for my Wrangler is the recovery bag that I put together.
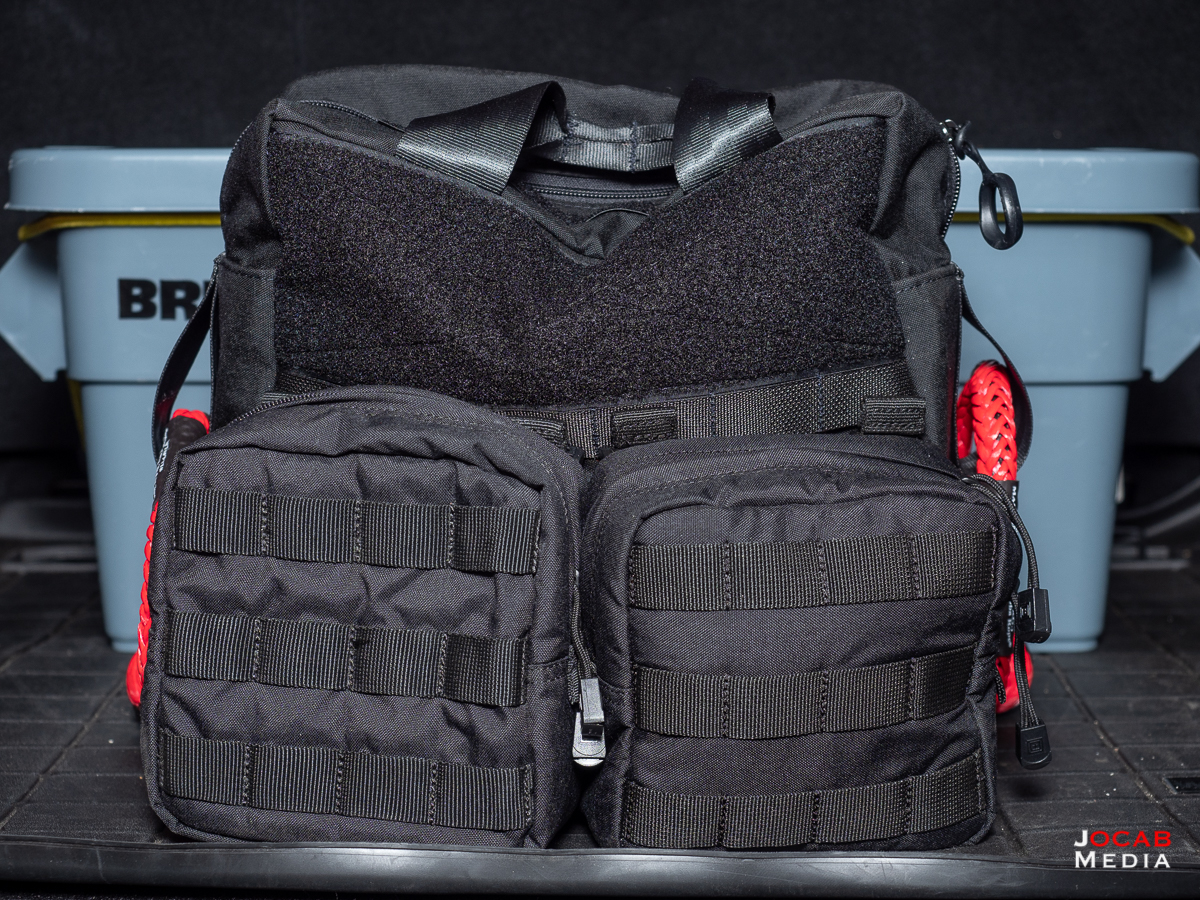
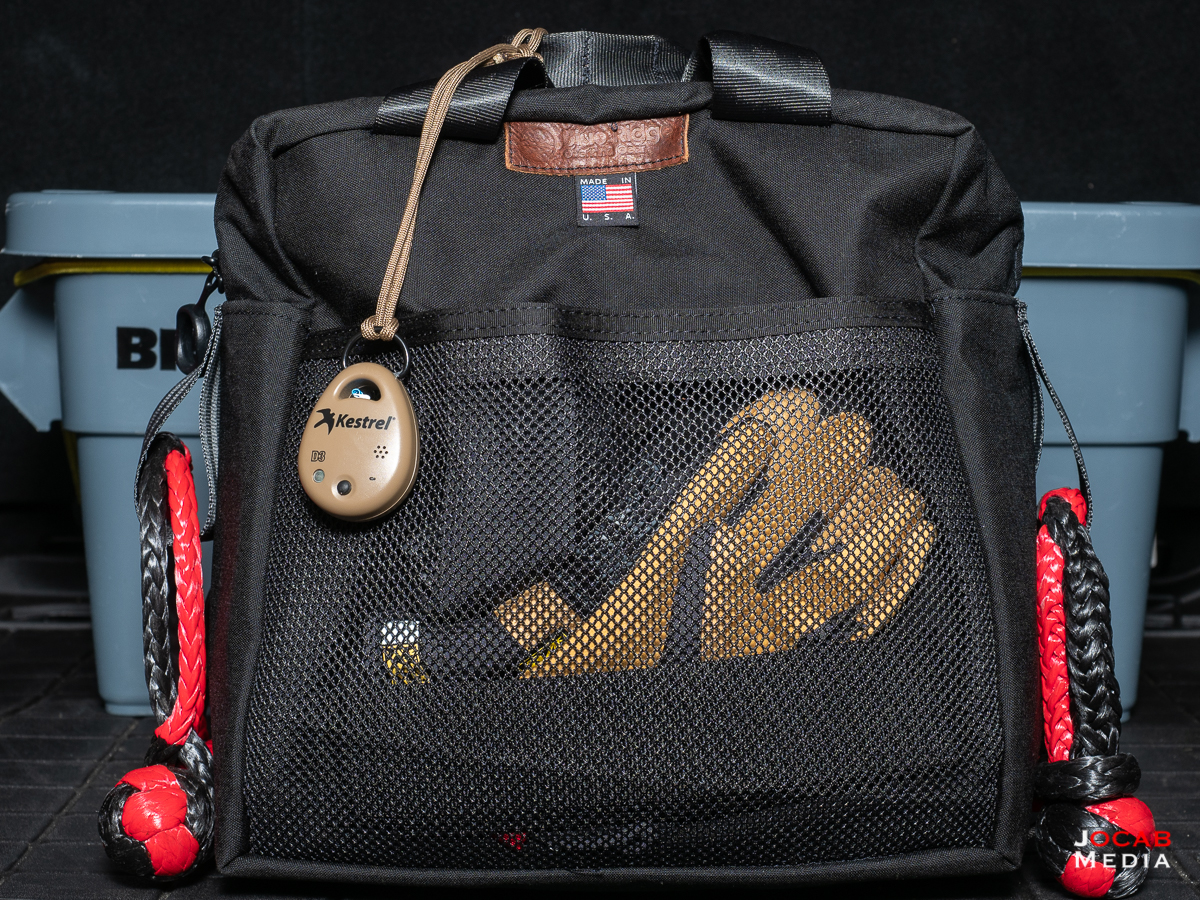
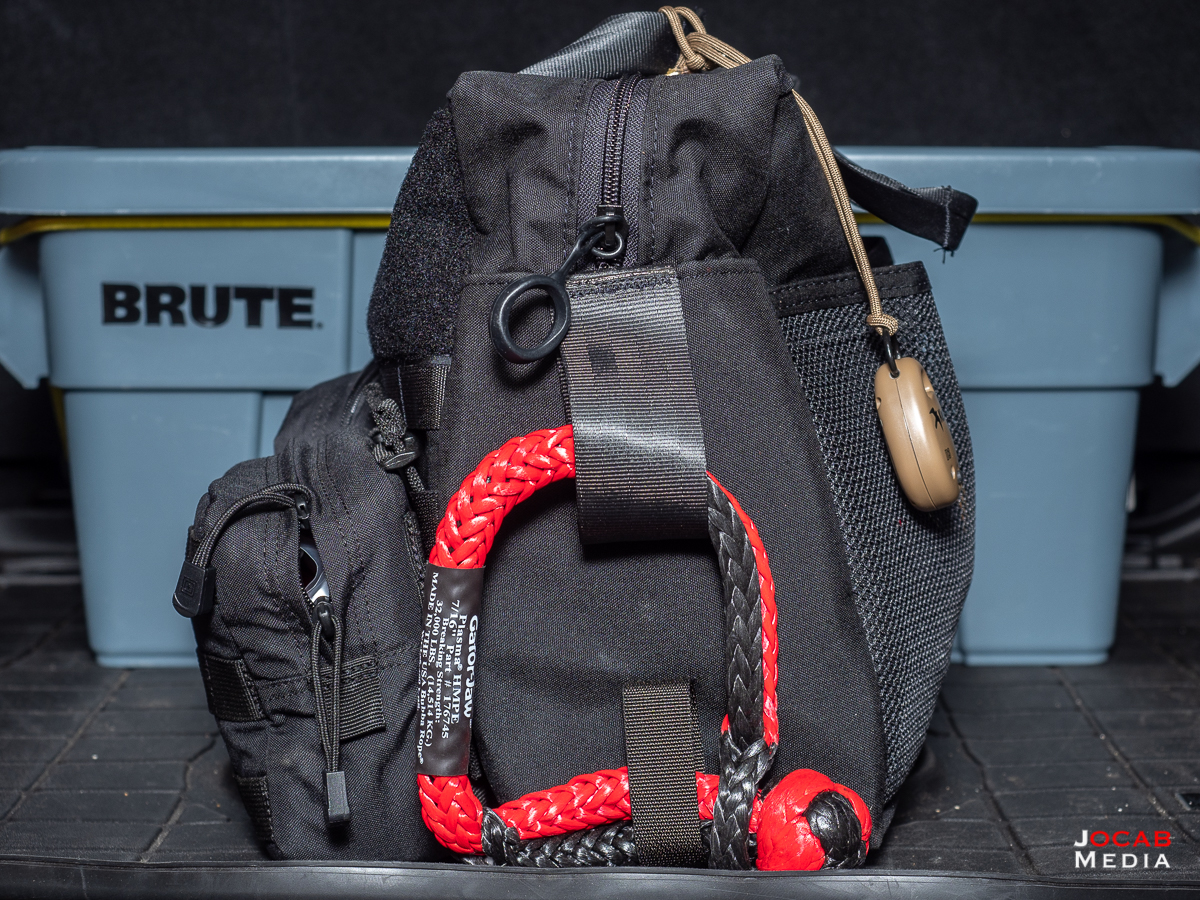
I have a detailed write up on the recovery bag in a separate article, but shortly after I installed the Warn Industries Zeon 10-S winch, I put together a recovery kit in order to supplement the winch. That said, the contents are as follows:
- Blue Ridge Overland Gear Large Recovery Bag
- Factor 55 Tree Saver Strap, 8 feet x 3 inches
- Warn Industries Premium Recovery (Snatch) Strap, 30 feet x 3 inches
- ARB Ultra Light Snatch Block
- Crosby 3/4″ Steel Shackles x 2
- Bubba Rope Gator-Jaw Pro Synthetic Shackle x 2
- Mechanix Wear Material4X FastFit Gloves
Definitely read my recovery gear bag article for the reasoning behind the kit choices.
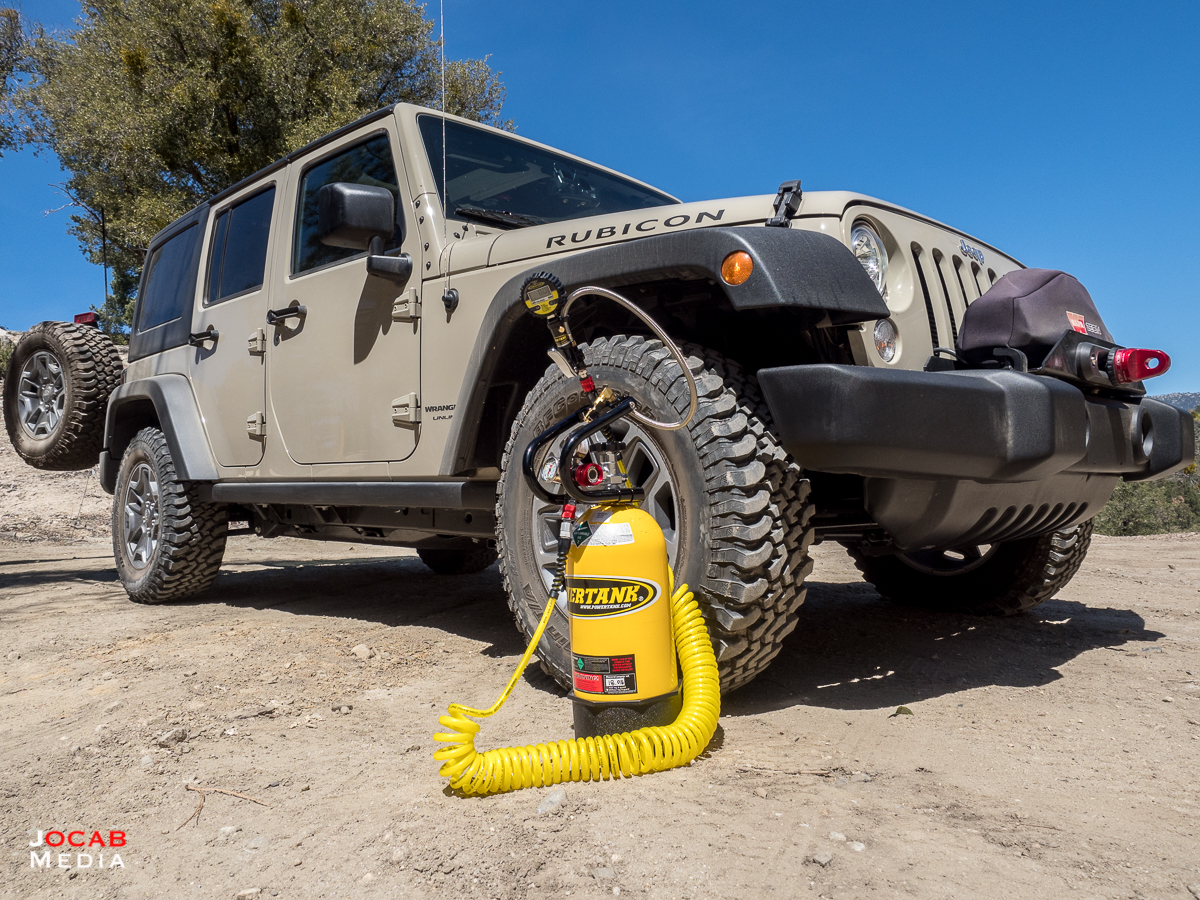
Arguably, the most notable item installed in the third month of Wrangler JK Unlimited ownership is the Power Tank system. I wanted a way to air up tires after airing down for off-road travel.
I debated compressors from the small portable setups like the VIAIR 450P compressor to the hard mounted compressors like the ARB On-Board High Performance Twin Compressor. But I was shying away from compressors due to heat and performance. Small compressors take a long time to build up air and are limited by heat buildup and dissipation. So to refill four tires at 20+ PSI can take over 10 minutes depending on the compressor.
Not to mention these compressors have some significant noise output. While a portable solution is minimally intrusive, an on-board hard mounted compressor will present mounting compromises. Do you place it in the engine compartment, where engine heat can factor into the compressor performance (and lifespan)? Do you place it in the cabin underneath the passenger seat where it is cooler, but will output noise and dissipate its own heat into the cabin?
Thus, I started looking into on-board CO2 systems and saw the benefits in terms of air output speed. TrailRecon has a video comparing on-board air systems which provides good insight for those shopping around for a solution.
Airing up four tires at 20+ PSI each can be done in under 5 minutes with a CO2 system with no compressor noise. Of course, the negative aspect of a CO2 system is that you are limited by the amount of CO2 in the tank and it costs money (for most people) to get the tank refilled. I decided that this limitation was worth the savings in tire refill time as well as no electrical requirements and noise.
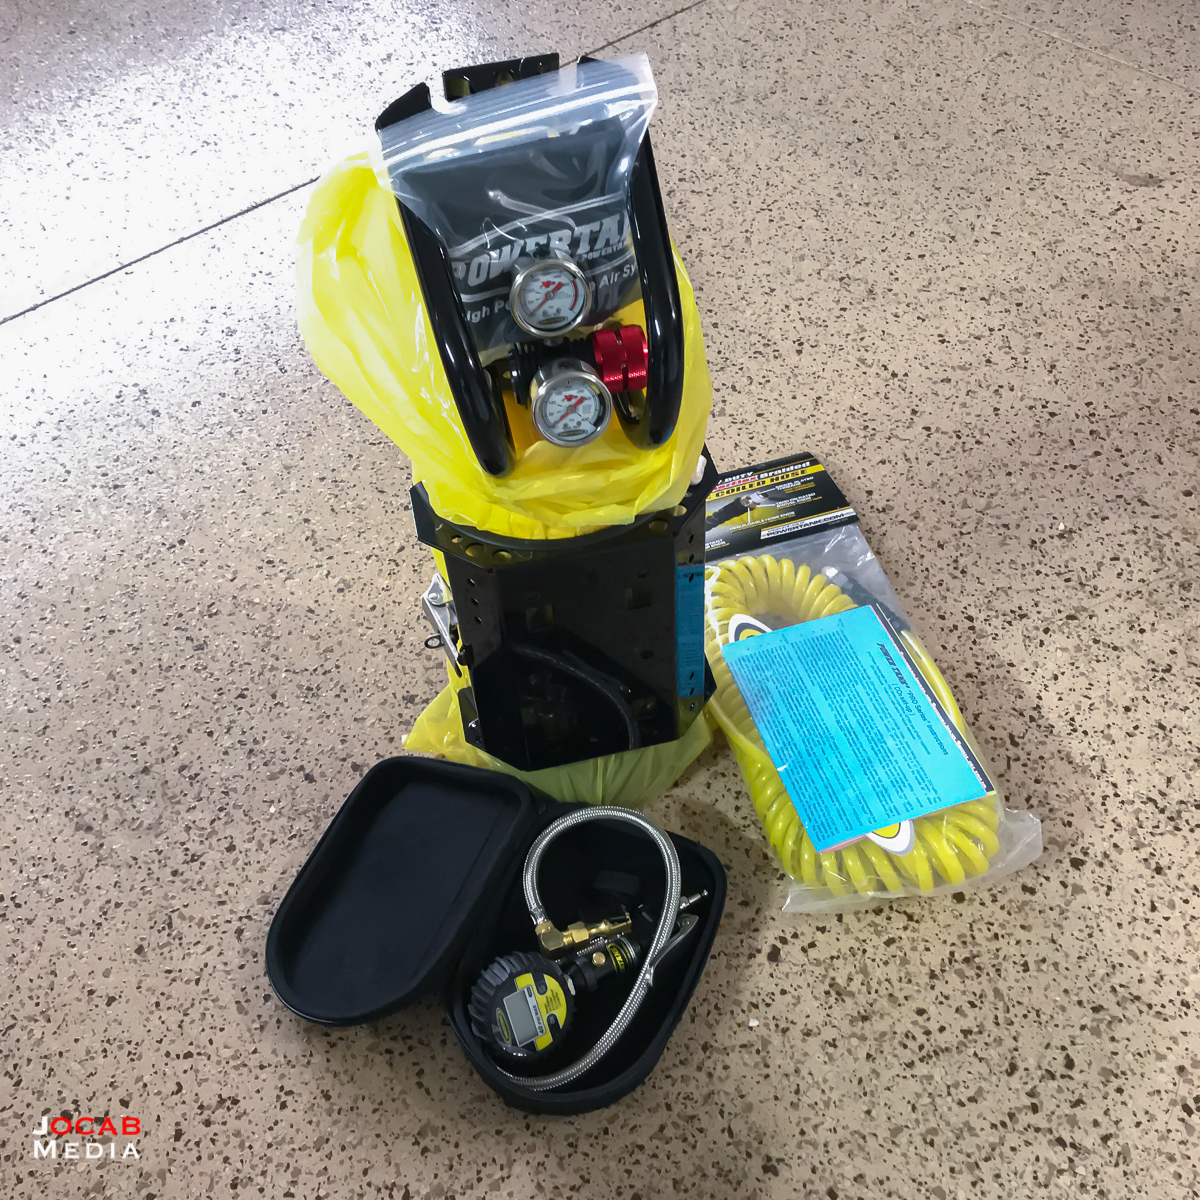
While the do-it-yourself CO2 system seemed like viable way to go and to save money, I opted to go with the ready-to-go solution from Power Tank.
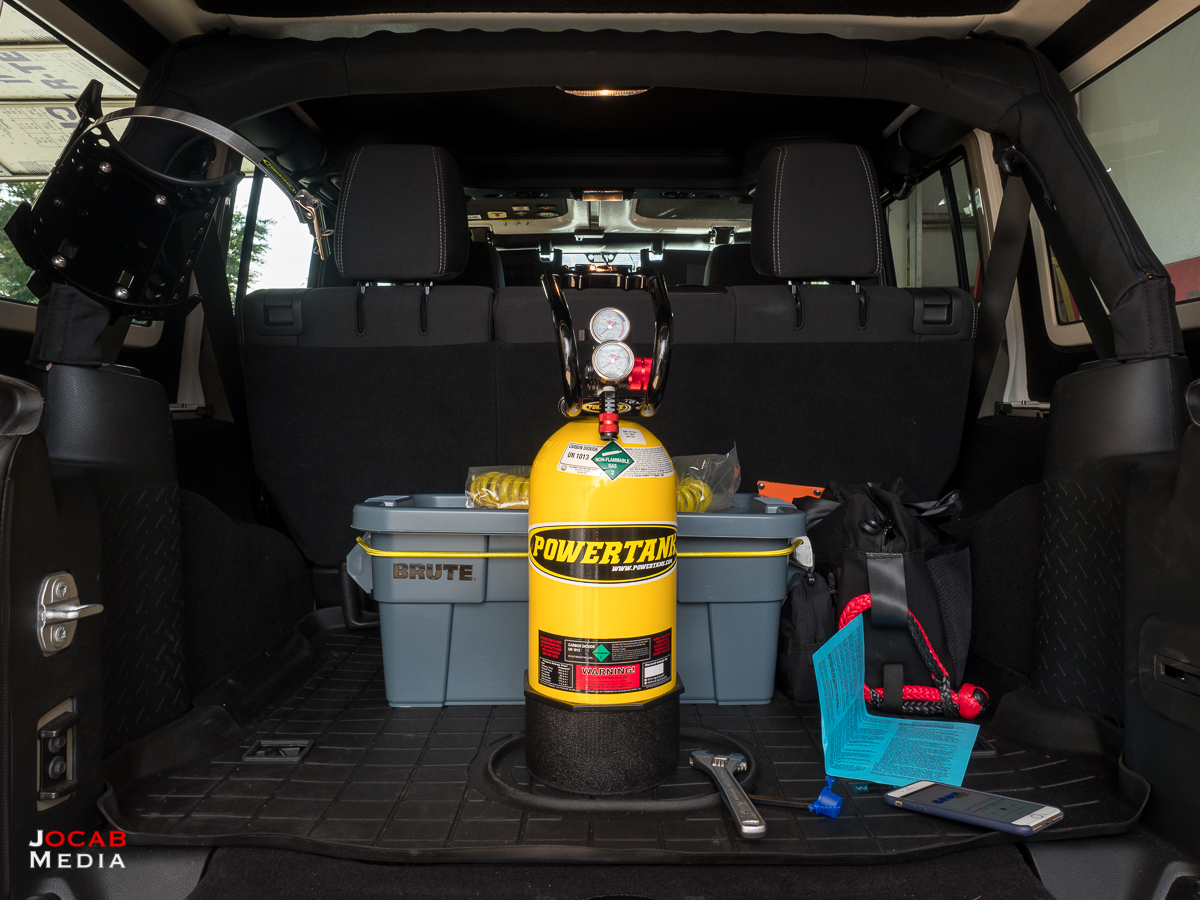
I acquired the Power Tank CO2 Tank 10 LB Wrangler JK Package directly from powertank.com. The package included:
- PT10 Aluminum Tank in yellow
- Black Anodized tank knob
- Nickel Plated Valve
- Pro-Series XP400 Regulator with PowerFlow II Coupler
- 30 Foot HP 1200 Coiled Hose
- Fittings
- Power Grip Guard
- Super Bracket in Black
- Tank Boot
- Regulator Cover
- Ball Air Chuck
- 2.25″ to 2.5″ roll bar clamps
I actually upgraded/modified the default package by selecting the black anodized tank knob, a coiled hose instead of a straight hose, and the XP400 400 PSI regulator instead of the 250 PSI regulator. The coiled hose was more of a space savings choice, but in retrospect, a 30 foot straight hose may actually roll up better (flatter) than the coiled hose, so I may have made a mistake with that choice. I decided to invest the extra $50 for the 400 PSI regulator for faster output.
Filling the CO2 tank is a fairly simple process for me. There is family owned business by the name of California Tool and Welding Supply that has been in Riverside and other parts of the Inland Empire for decades. California Tool will currently do a 10lb CO2 fill up for about $12 and change after tax.
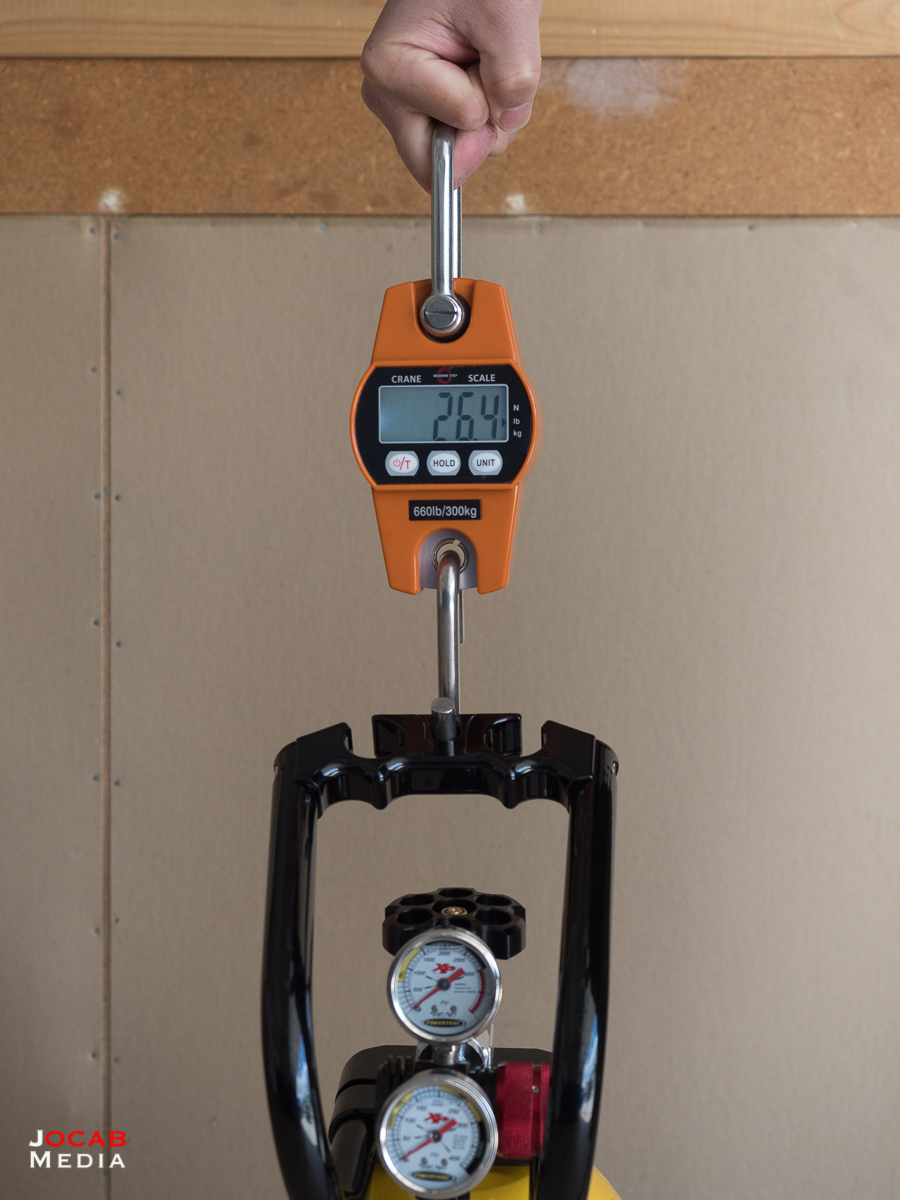
If acquiring a Power Tank system, it is important to weigh it when it is new and empty. Since there is no gauge on a CO2 tank to tell you how full (or empty) it is, the only way to tell if you have any CO2 left in the tank is by weight. I weighed my 10lb tank with the XP400 regulator and tank handle installed at 18.0lbs.
After I got the tank filled at California Tool and Welding Supply in Riverside (California), I weighed the tank again and it indeed tipped the scales at 28.0lbs.
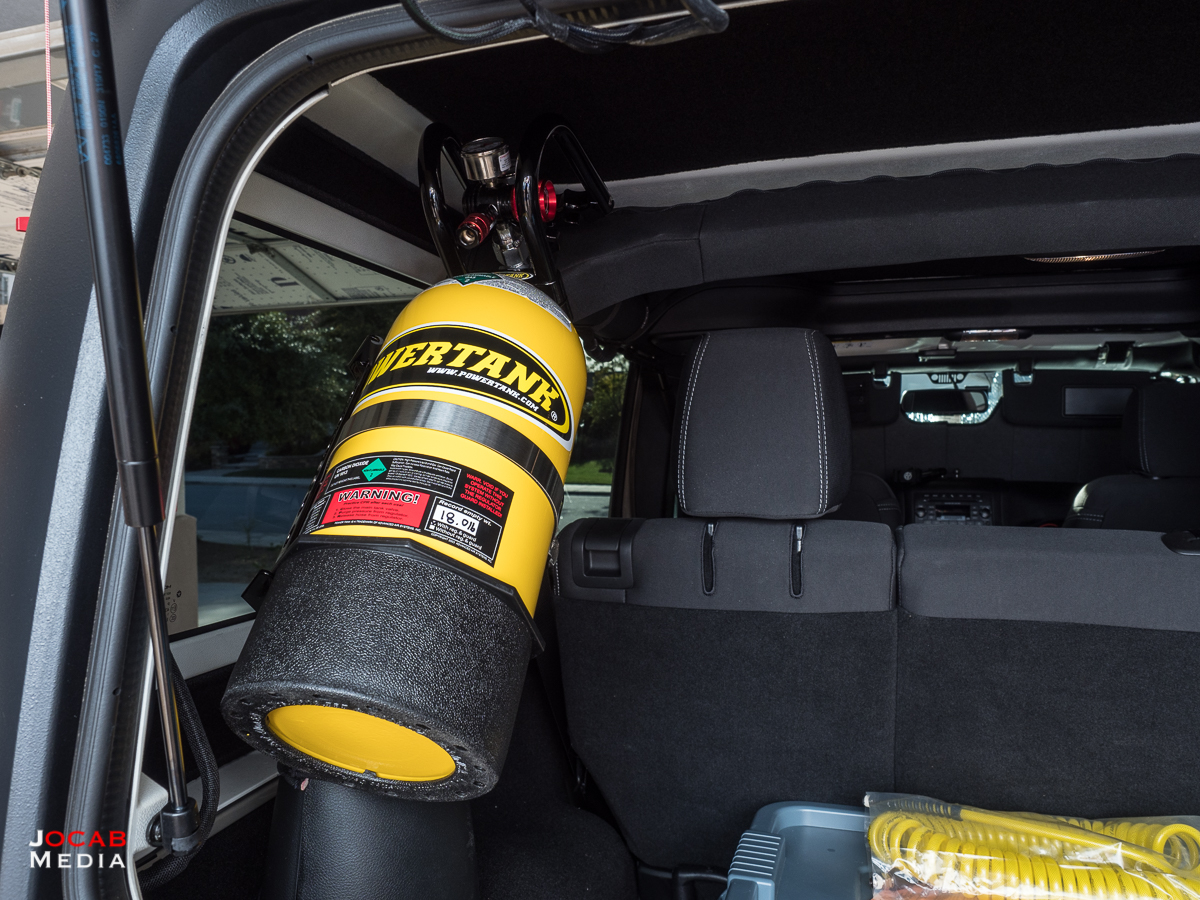
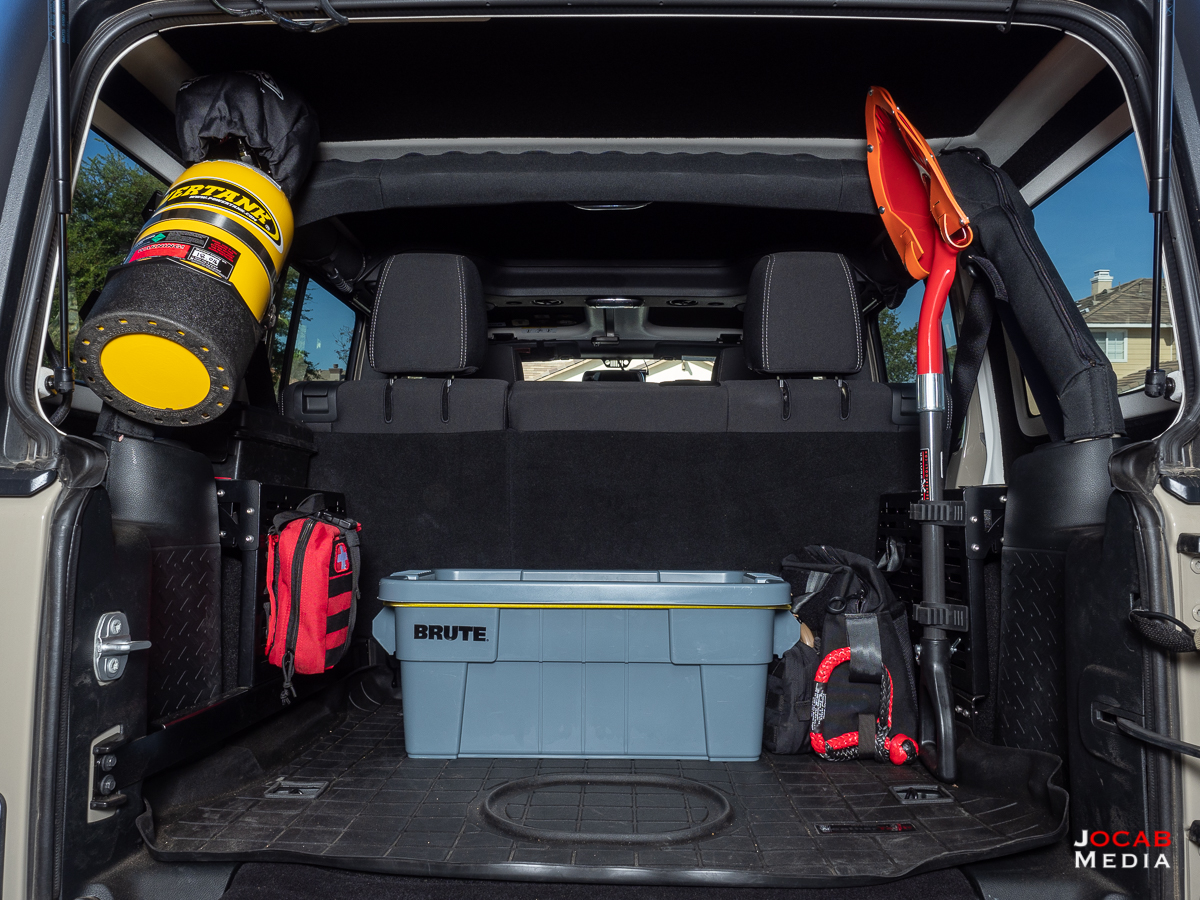
I mounted it on the driver’s side rear rollbar and it does not obscure my rear view vision. It seems quite secure and has held in place after a couple trail runs.
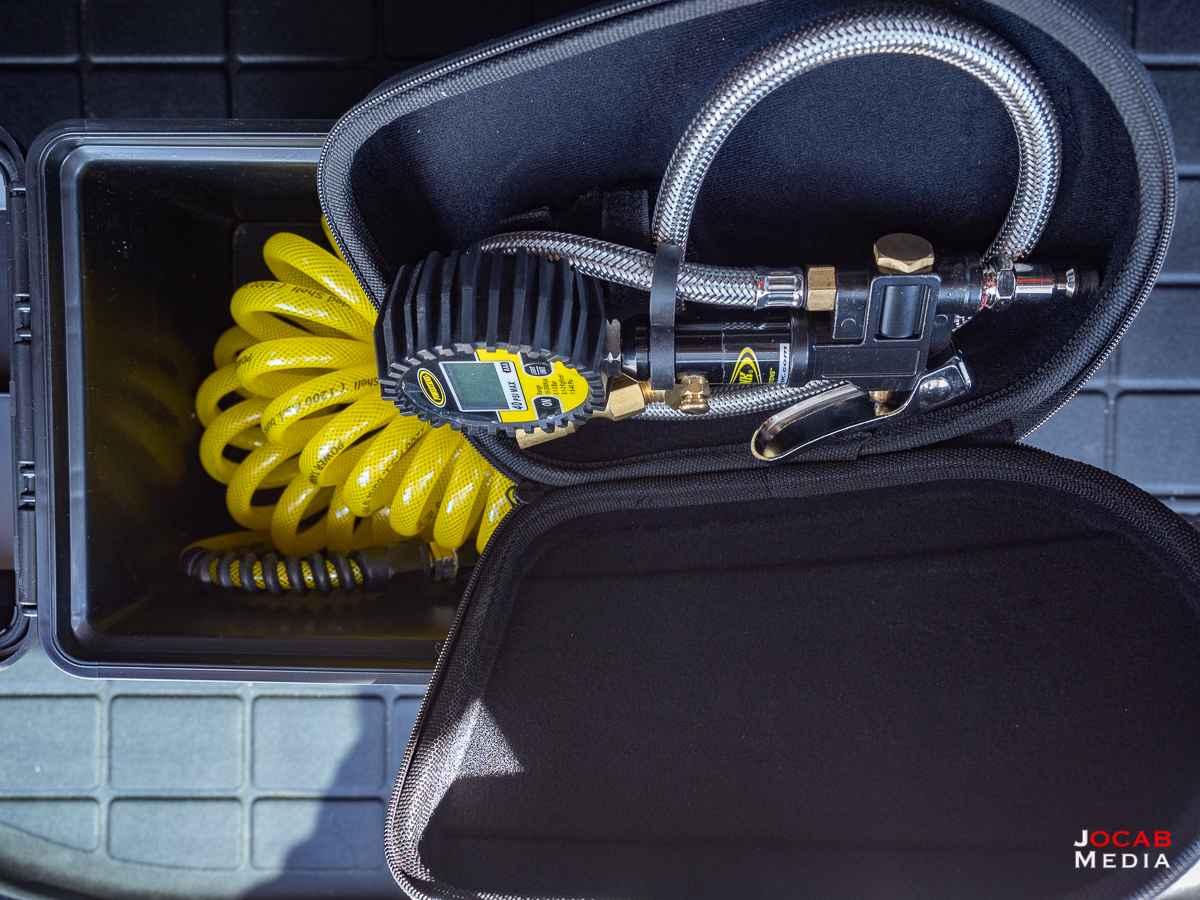
One other important item I also acquired is a Power Tank Pro Series Digital Tire Inflator with 40 PSI gauge. Power Tank is clearing out some of these at a lower price due to the older design and the lower maximum PSI scale.
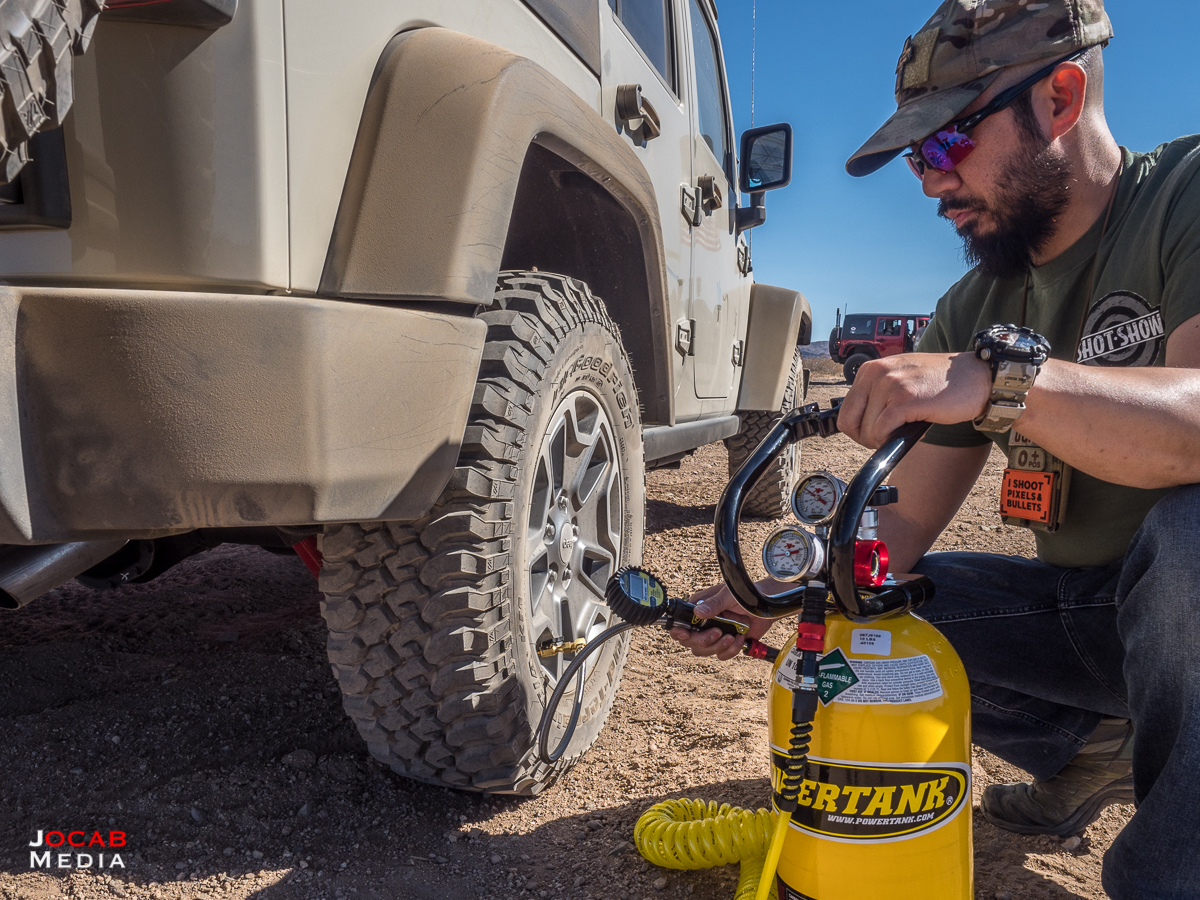
It has a clip on chuck, so you simply just press it onto the valve and it holds itself in place while you start airing up.
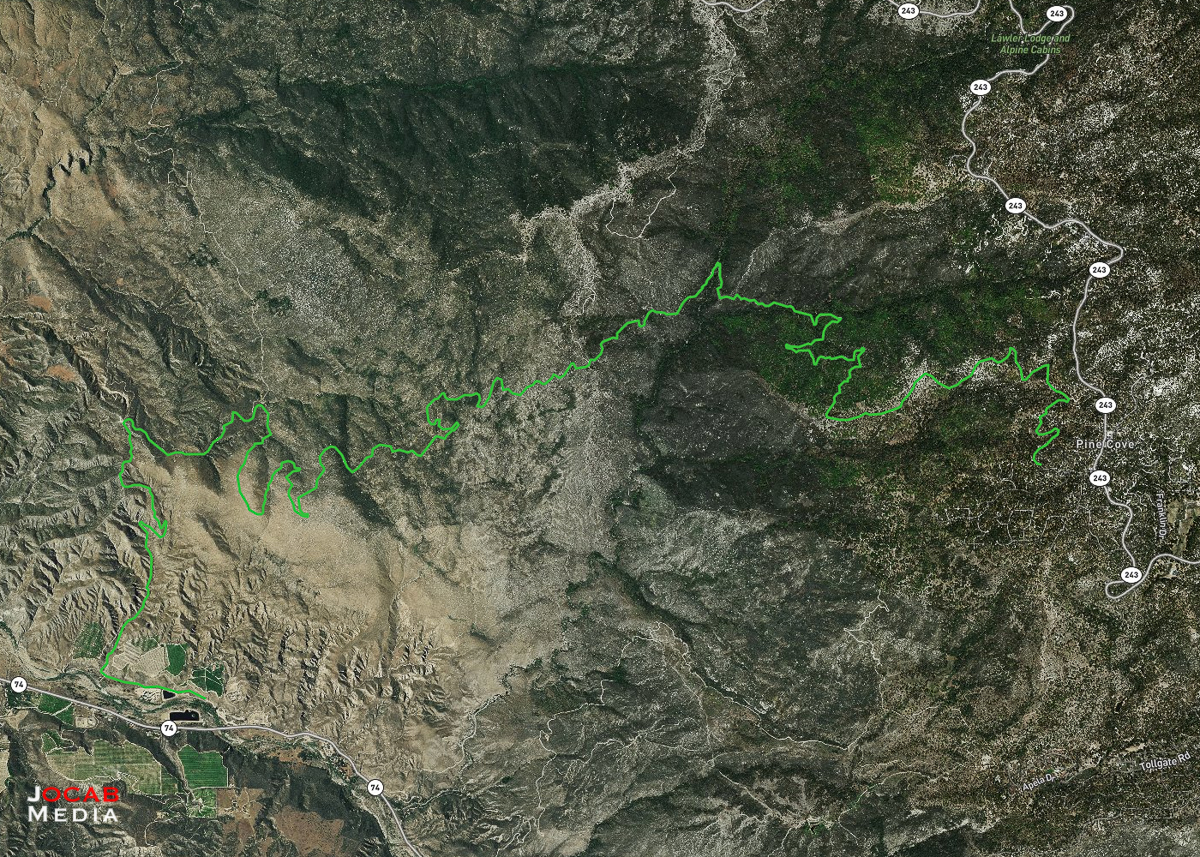
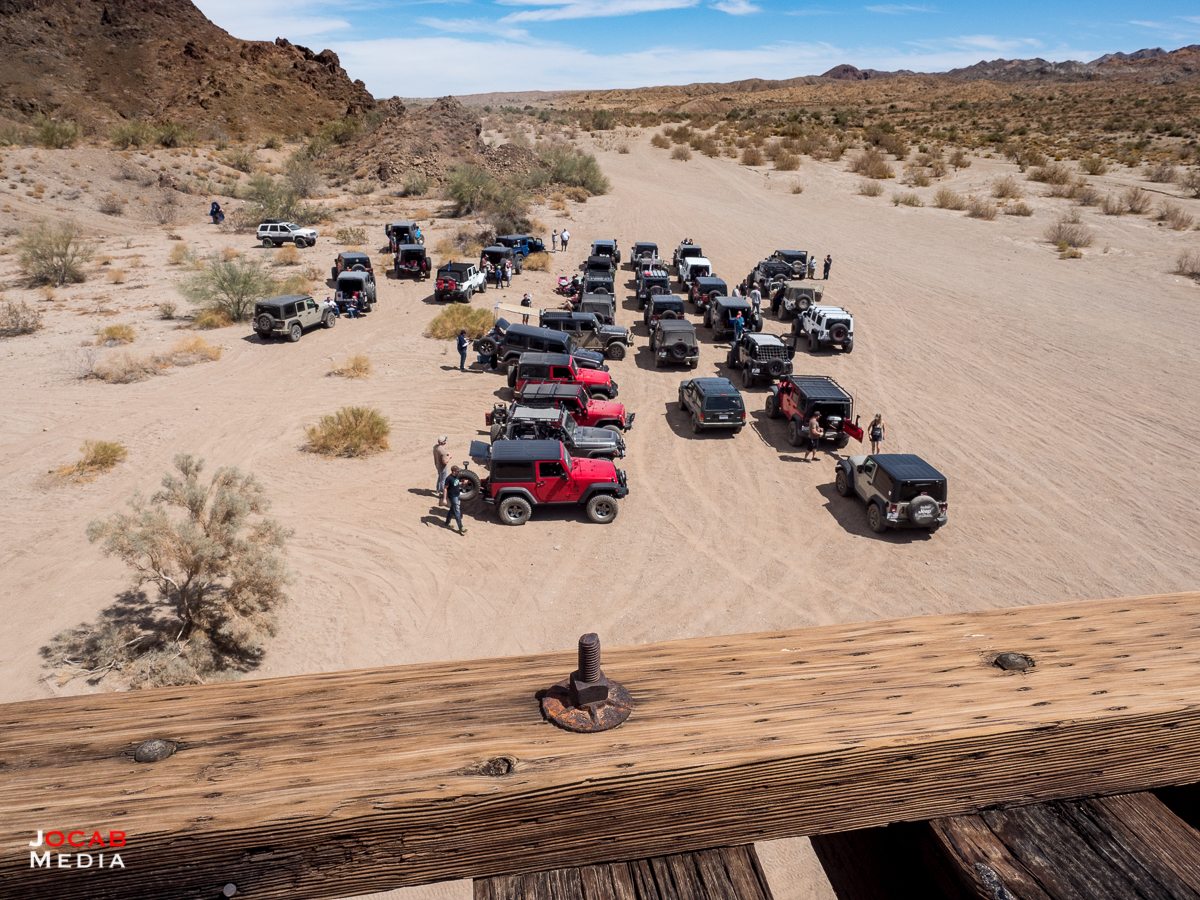
After a run of the Bradshaw and Red Canyon Jeep trails with the San Diego Jeep Club, I aired up my tires from ~18 PSI to ~37 PSI with the Power Tank for the first time, and the resulting weight of the CO2 tank was 26.4 lbs.
I aired up my tires once again after a run of the Bee Canyon and San Jacinto Ridge truck trails on Good Friday 2018, going from ~18 PSI to ~39 PSI (taking into account hot tire temperatures), and the weight of the CO2 tank was 24.2lbs.
So, I should be able to air up four tires +20 PSI each with 1.6 to 1.8 lbs of CO2, which means I can get at least five (5) 4-tire air-ups per 10lbs of CO2.
Not to mention it takes less than a minute to air up each tire +20 PSI. So I am quite happy with the Power Tank onboard CO2 system. I just need to keep track of how many tire fill ups I have on a tank so I can remember to get the tank refilled. I may buy another Power Tank 10lb tank, so I can keep one full tank in the garage in reserve.
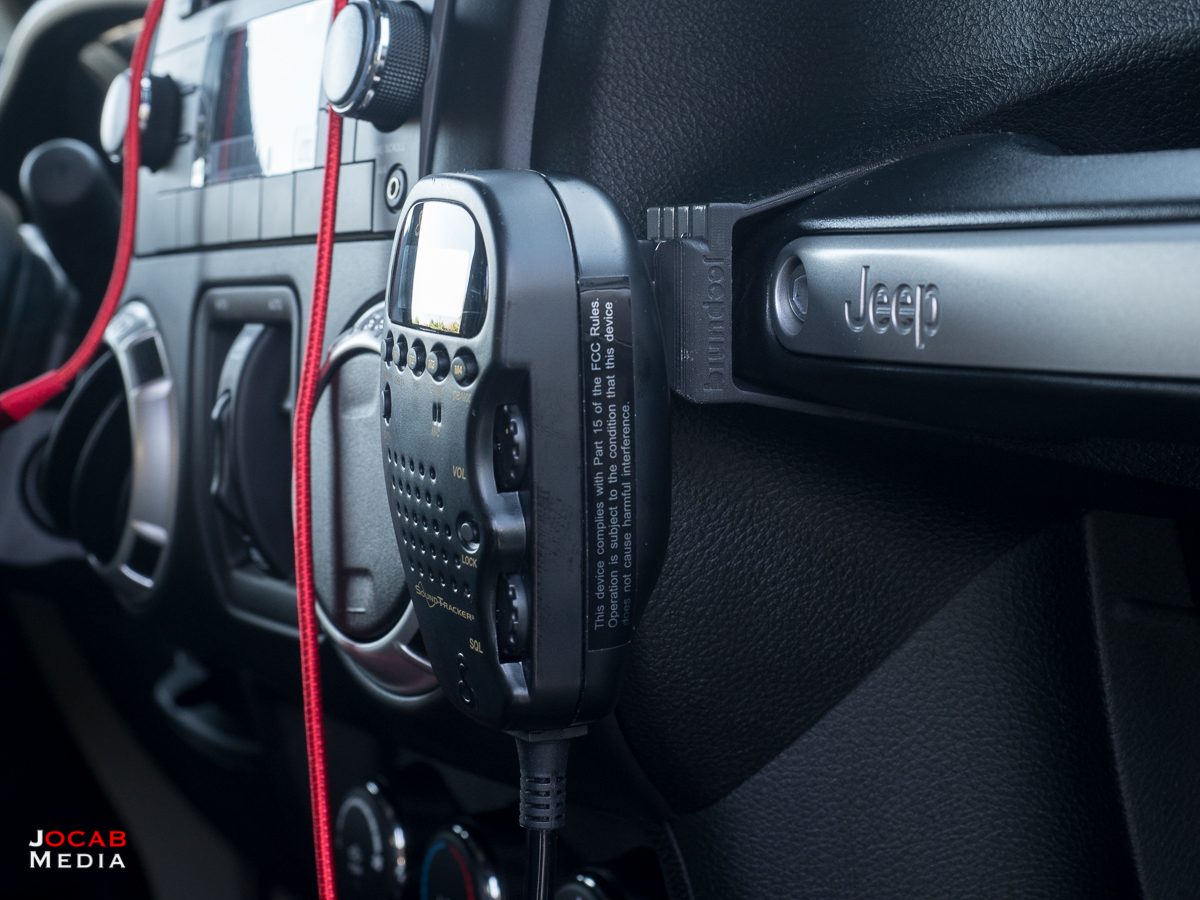
The next notable enhancement since the initial Jeep review is the CB radio installation consisting of the Cobra 75 WX ST and Mopar Jeep Wrangler JK Antenna Kit (JKANTKIT).
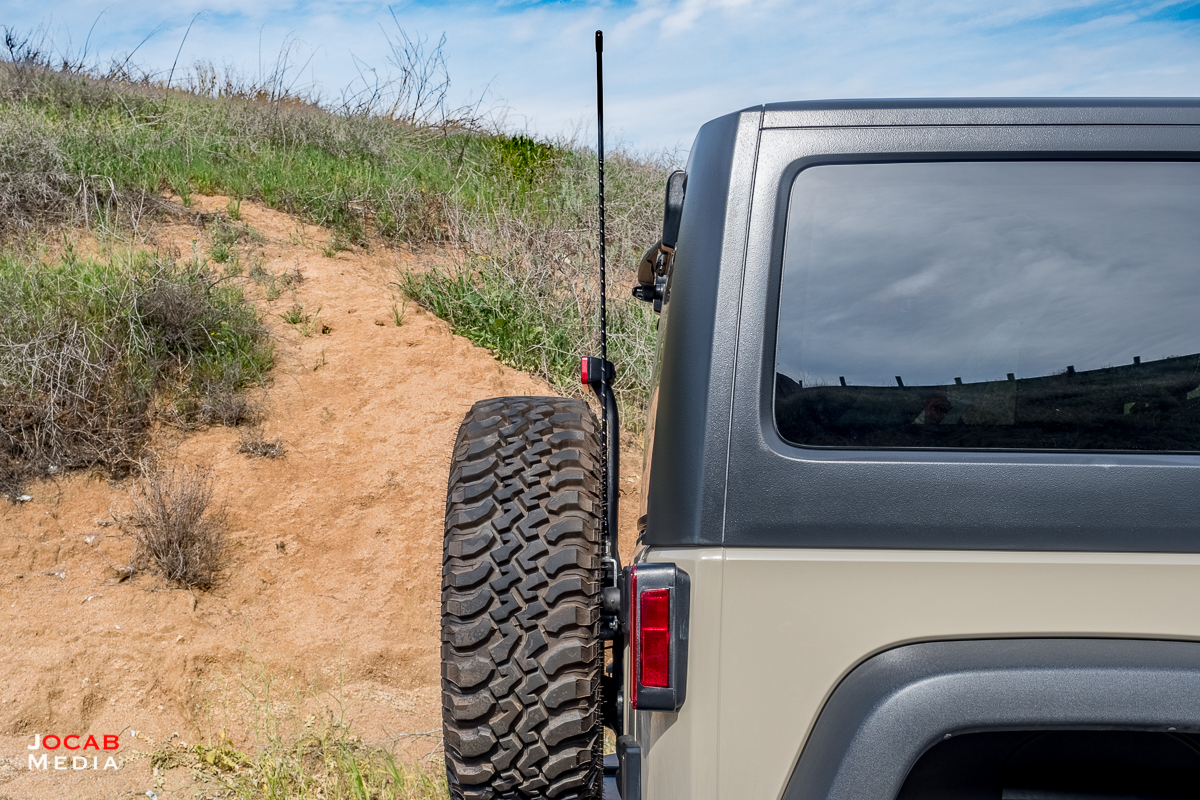
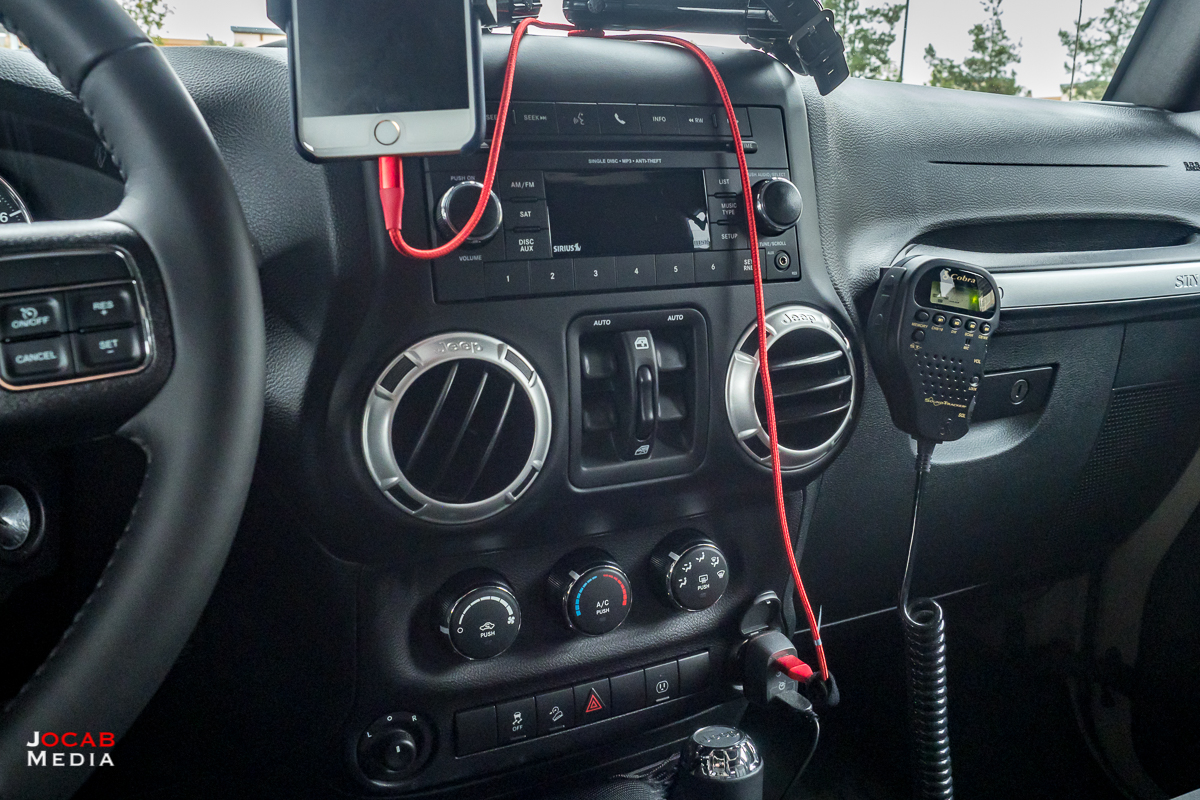
I actually wrote a walkthrough article on this rig, so you should read more about it in that article. But I acquired the CB radio because I wanted to start participating in organized off-road trail runs, and most groups have a CB radio (or ham radio) requirement in order to participate. Thus, I was motivated to acquire and install a CB radio system into my Jeep Wrangler.
But the Cobra 75 WX ST CB radio functioned great during the San Diego Jeep Club run of the Bradshaw and Red Canyon Jeep Trails in mid-March 2018.
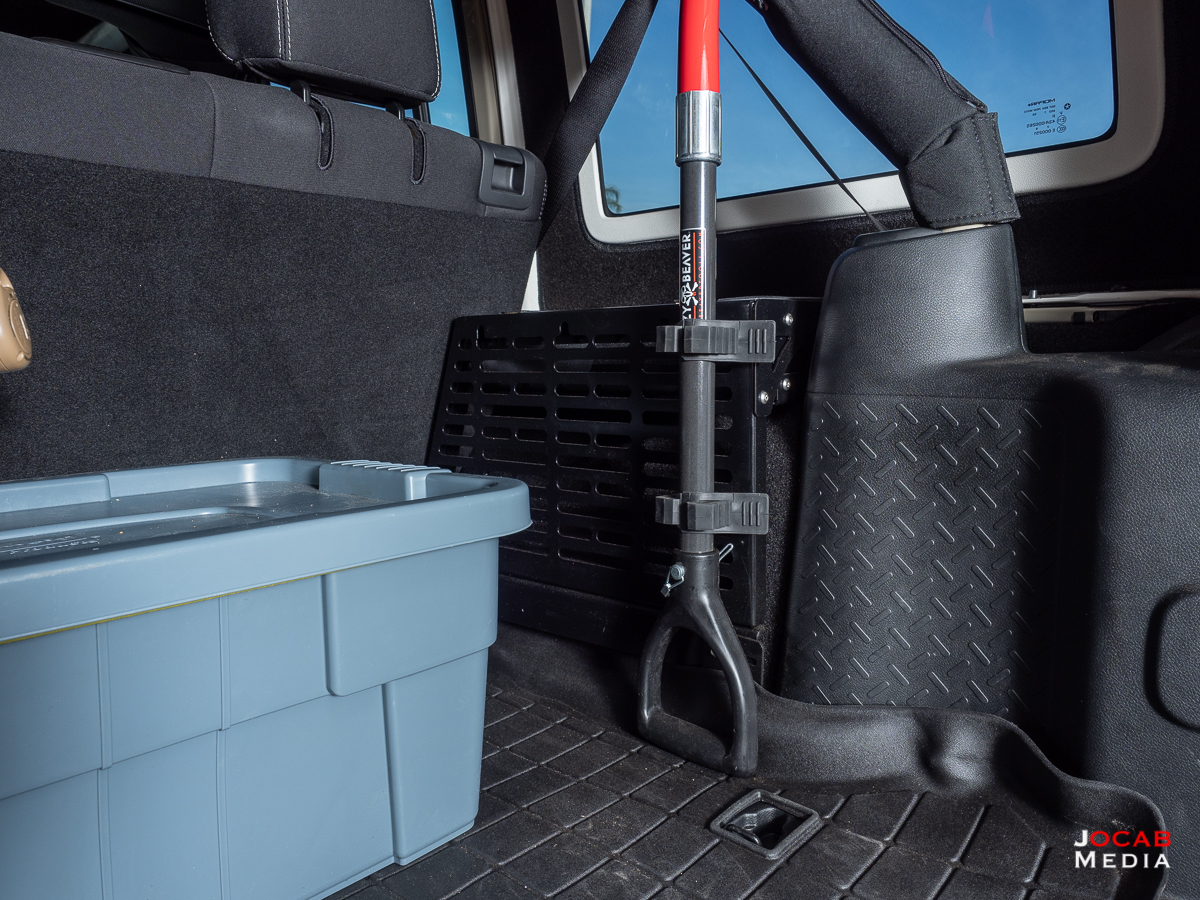
The last enhancement I made by the three month point of Jeep ownership is adding MOLLE side racks from Springtail Solutions.
I was pondering the Springtail Solutions side racks after I started looking at cargo management solutions and held off because I did not really need it. But I was not happy with how I was carrying my Krazy Beaver shovel wedged between a Rubbermade Rugged box and the back of the rear passenger seats. I was going to use a roll bar Hi Lift Jack mount to carry a Hi Lift Jack and then attach the shovel to the Hi Lift Jack with a bracket, but I was unhappy with the rattle of the Hi Lift Jack and it also would not allow the Power Tank to fit on the roll bar. So I revisited the Springtail Solutions side racks and decided to splurge on them.
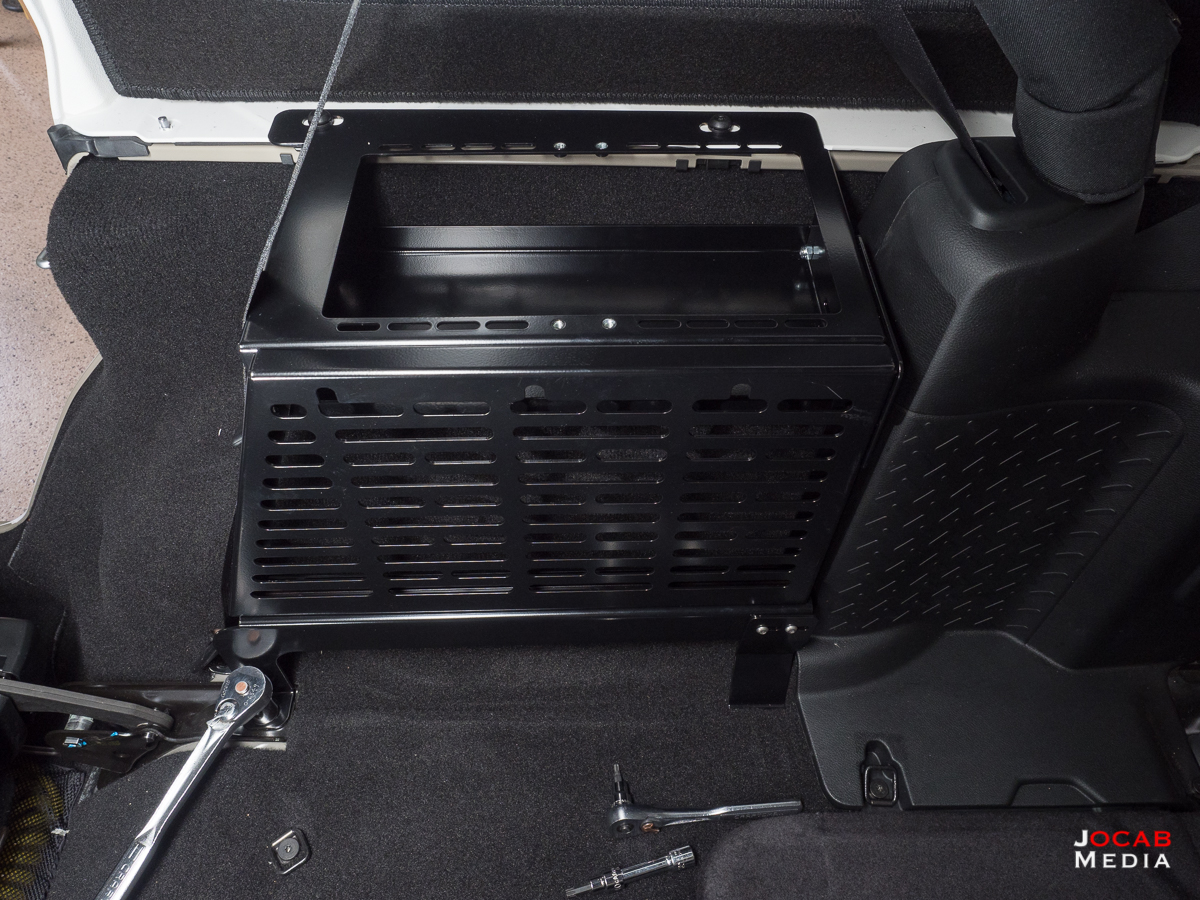
The instructions say the install will only take an hour for each side, but at my pace, it took me three hours for both. It is fairly straightforward, but you need to put each rack together loosely (not tightening all bolts), install, and then tighten what is accessible. Then you have to remove the rack from the Jeep and tighten all the side rack bolts, and then reinstall.
These were nearly $400 shipped to California, so they are a bit pricey. But they offer great cargo management possibilities. I was able to use Quick Fist clamps to secure the shovel vertically and it has held up in this manner on trails without issue. I have not heard any rattling noises from the shovel during normal road driving.
The MOLLE compatible panels on the side racks now allows me to attach pouches and bags. But my one complaint is the difficulty in attaching MOLLE pouches to the side racks after they are installed. Even with my small Asian hands, it takes a lot of maneuvering. I highly suggest using pouches that utilize a hook and loop (e.g. Velcro) tear away panel.
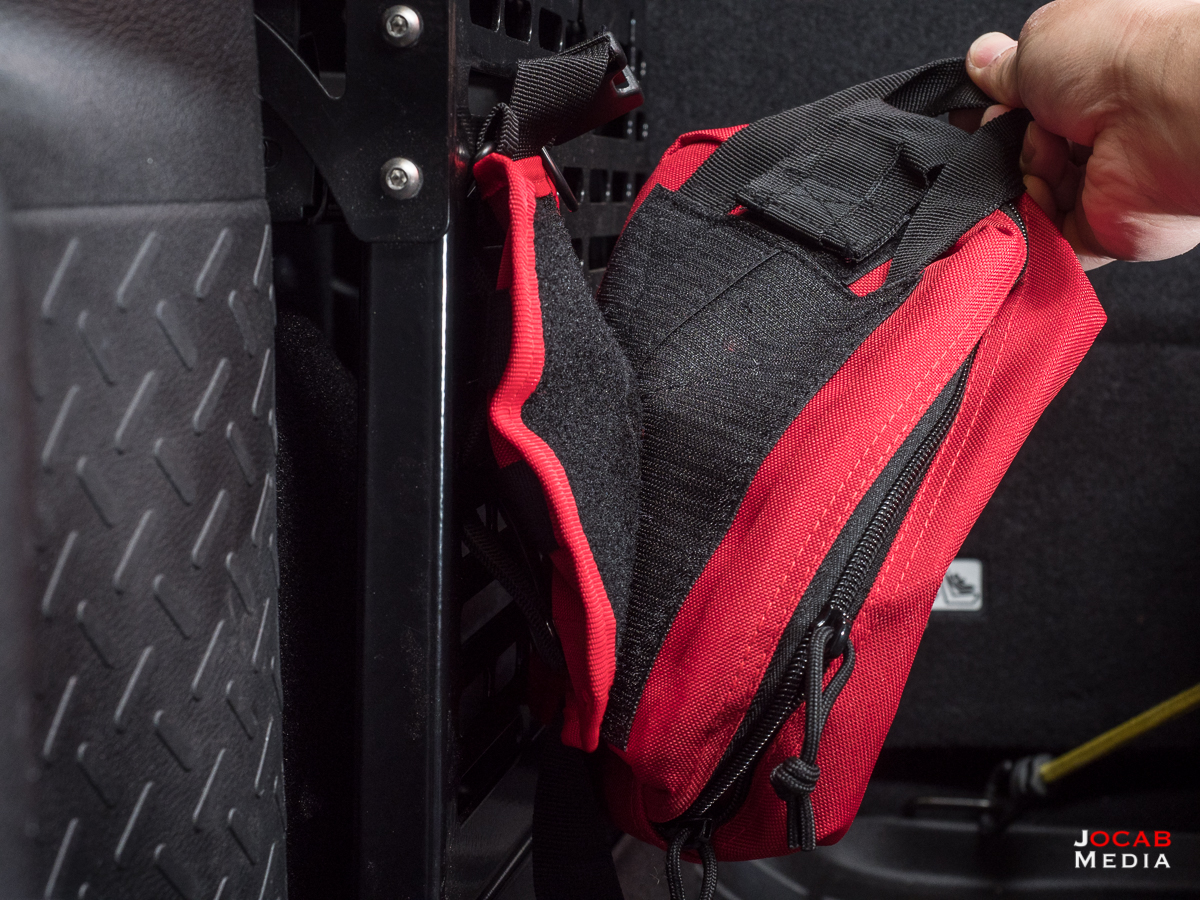
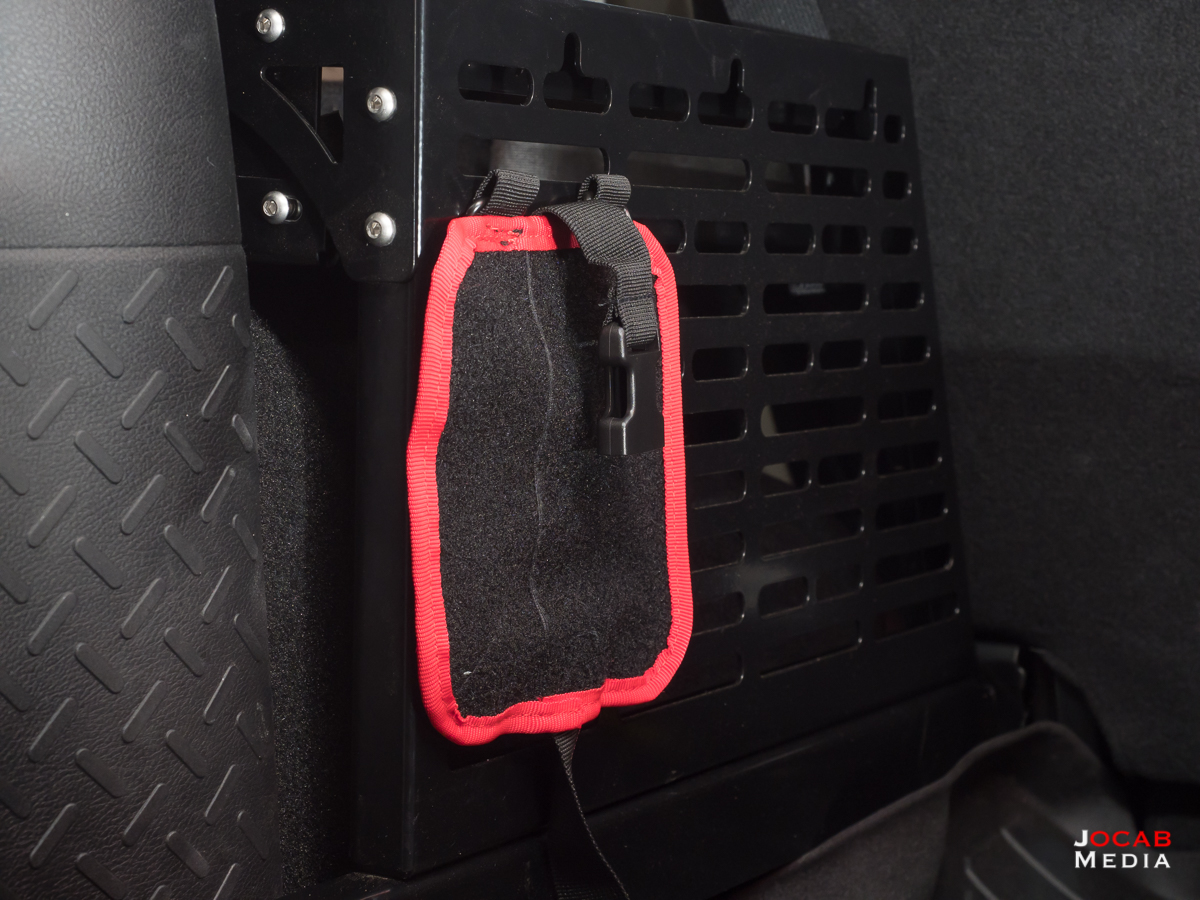
This makes it easier to get the MOLLE webbing threaded into to the side rack without having to deal with the bulk of the pouch during install. But it also allows you to remove the pouch from the rack and reattach it without having to thread the webbing again. This is very important for items like a first aid or trauma kit where you will most likely want to take the bag from the vehicle to where the injured person is.
The side racks have “cubby holes” in the top that will accommodate rectangular items such as an ammunition can.
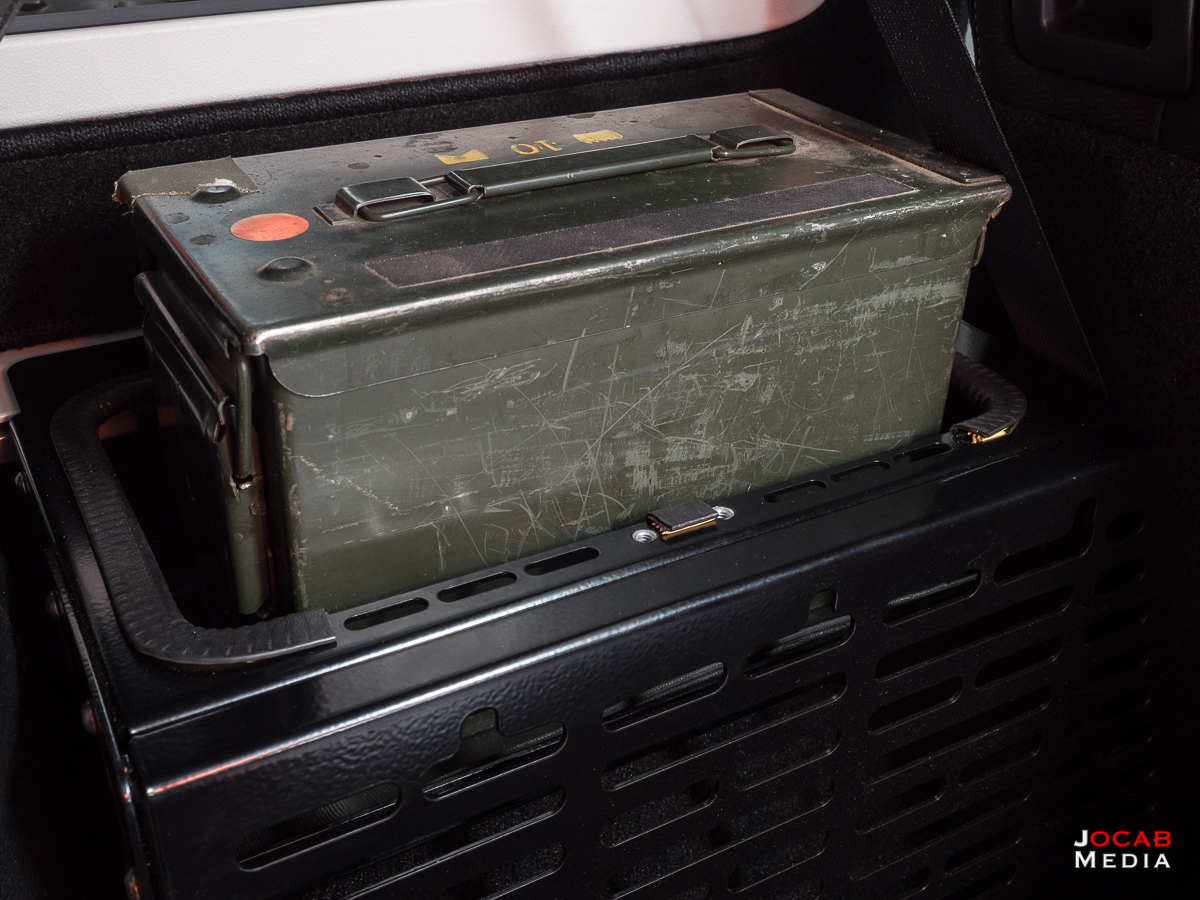
The opening is about 13″x7″. I only have USGI 5.56 NATO ammo cans (and some older WWII and post-WWII era 30cal cans) and not a true USGI 50CAL can, but both will fit. The 5.56 NATO ammo can actually is smaller on both dimensions, so it will move around.
I also acquired a commercial 50CAL-style ammo can and this also has some gap.

Given this, I decided to make two enhancements to the Springtail Solutions side racks. One being liner on the bottom. I used some drawer liner that I bought many years back from a local home improvement store. I did this to help provide some grip for boxes or items kept in the cubby hole and to mitigate any noise as well as damage to the painted surfaces of the cubby bottom (e.g. metal ammo can).
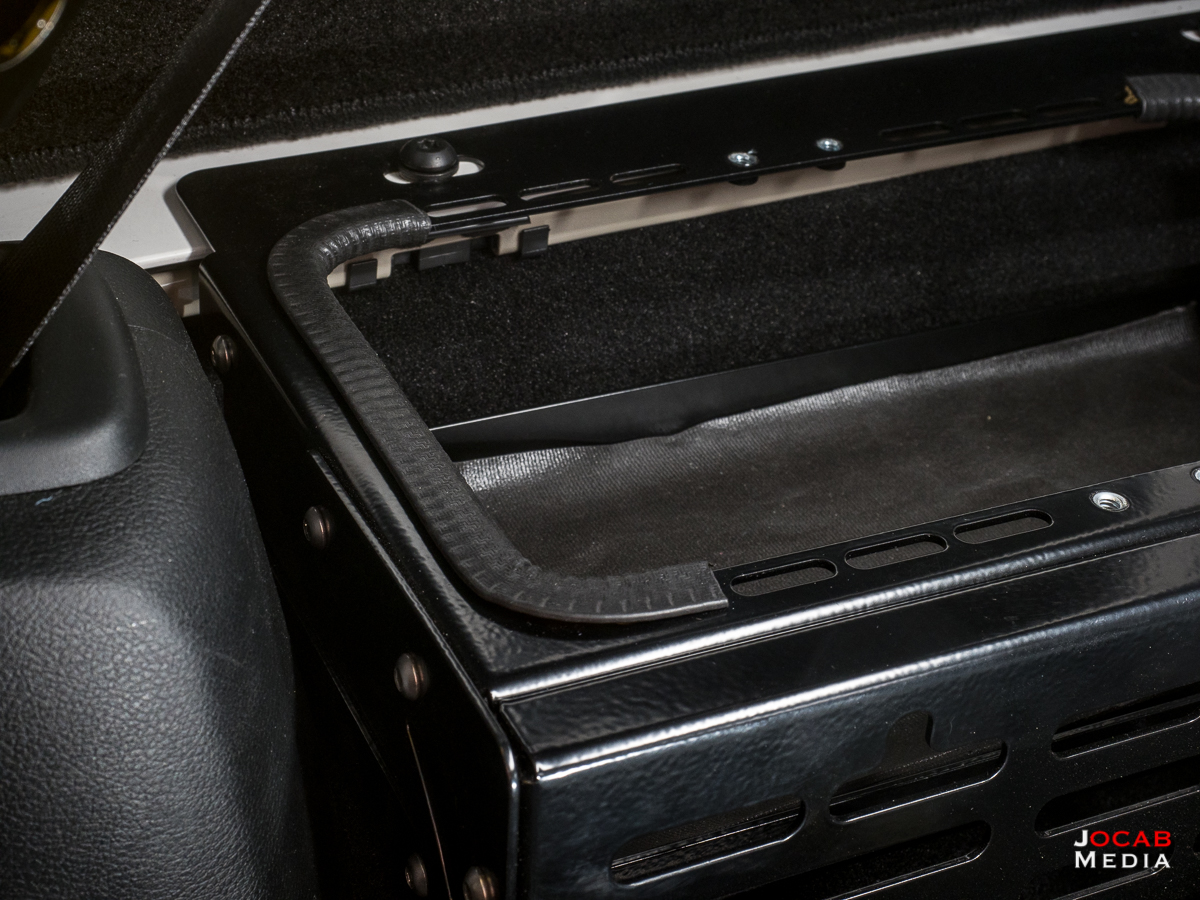
The second modification I made was to add edge trim. The edges of the cubby are painted, but I wanted to put some sort of trim on there so that if ammo boxes happen to slide or tilt during driving, they won’t hit the edges directly and either scrape the paint off the racks or the box, or make excessive noise. After using calipers to measure the thickness of the metal (roughy 0.100″ or 2.5mm), I went on Amazon and ordered some edge trim that looked like it would work for the side rack cubby. It just so happens that the edge trim fit perfectly.
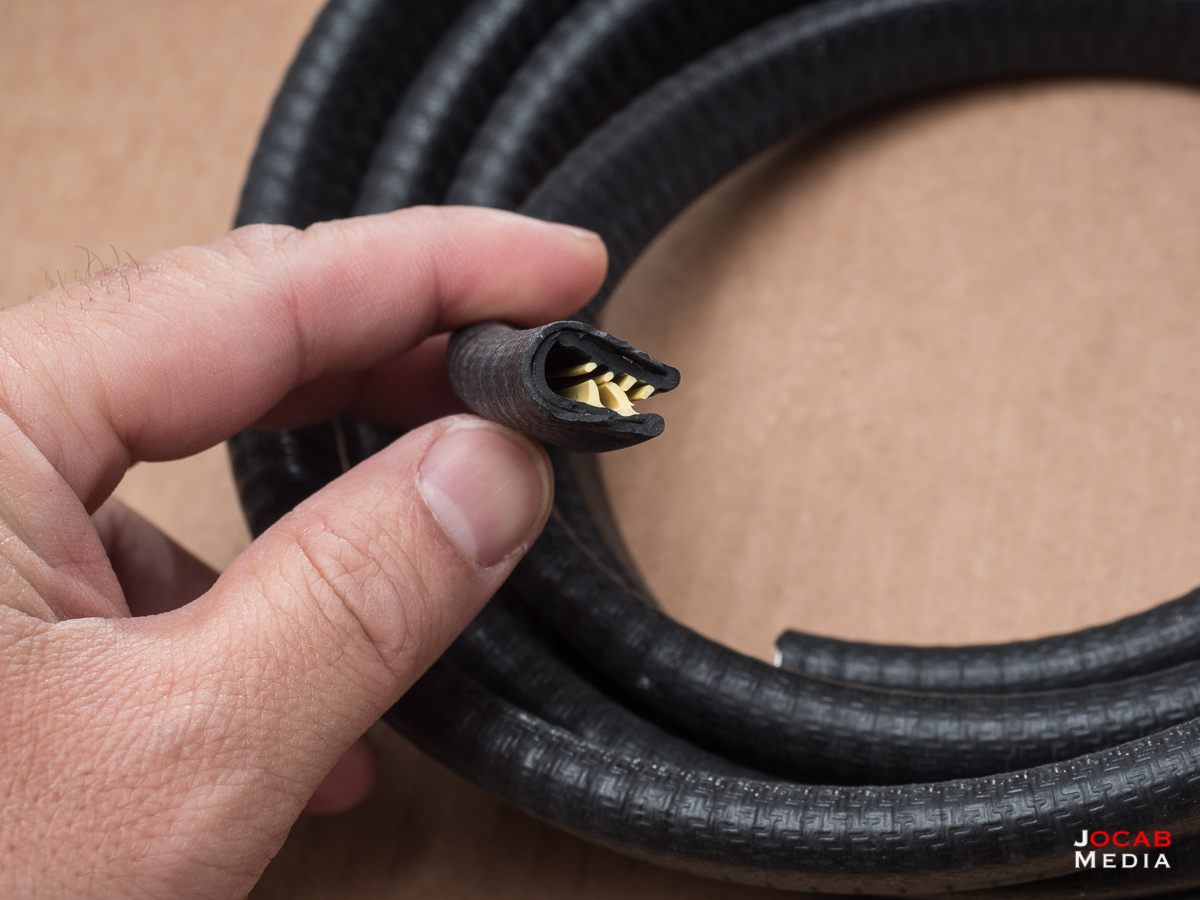
Thankfully, the product pages for the edge trim on Amazon do have dimensional diagrams and measurements, and tell you what range of thicknesses that the trim will be able to accommodate. The edge trim I found on Amazon indicated it has a grip range of 1.0mm to 4.0mm.
I am currently using a commercial MTM 50 Caliber style ammo can in the cubby of one of the side racks to hold my Power Tank onboard air accessories.
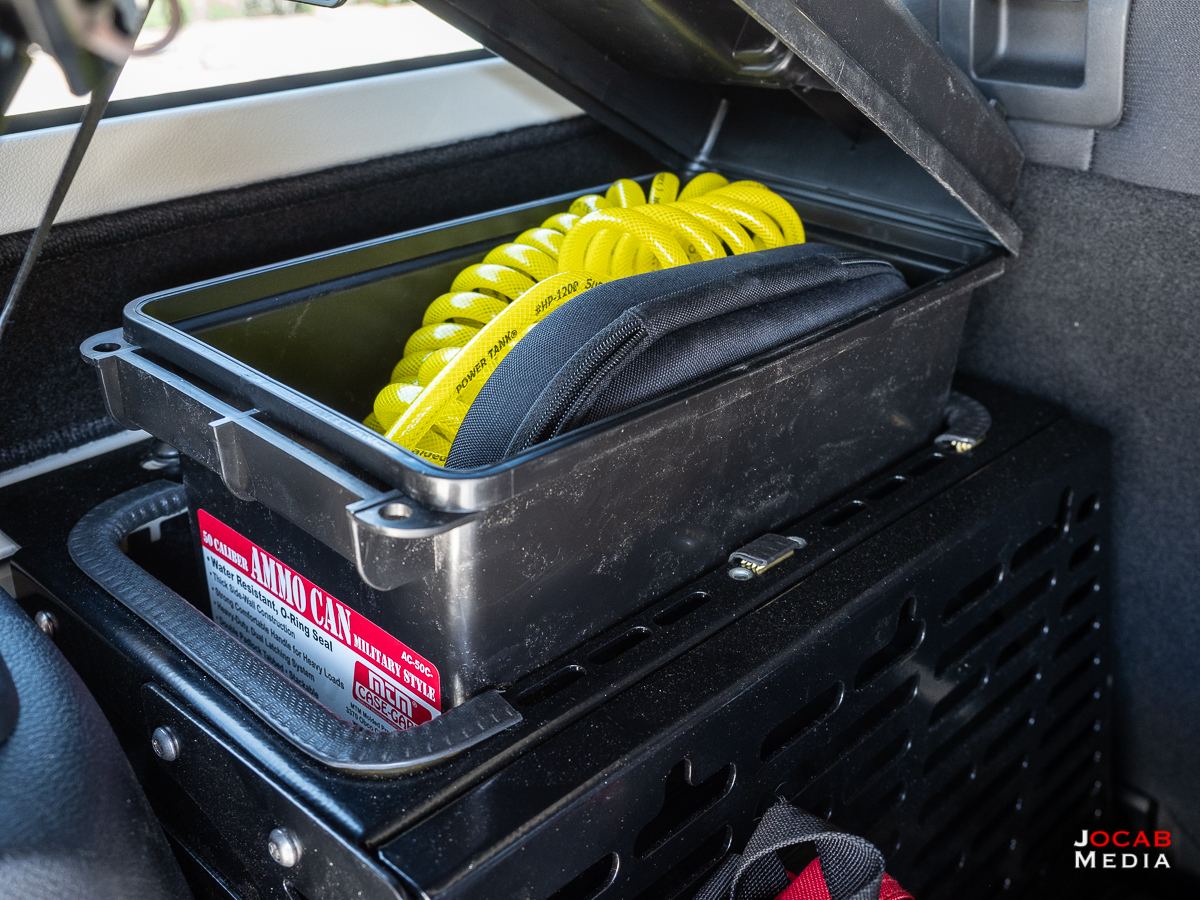
So the cargo space of my 2018 Jeep Wrangler JK Unlimited Rubicon on a normal day looks like this:
This sums up my “first 100 days” of JK Unlimited Rubicon ownership. Where I go from here is still up in the air. I am looking into getting an SPOD because I want to add some off-road lights. I definitely want to get a 10″ light bar (driving pattern) mounted above the Hawes fairlead for legit road use as a daytime running light. Technically, I can just run my headlights, but I would rather run my fog lights as DRL, but the fog lights only function if the headlights are on. Also, I would be nice to have some windshield mounted lights in a flood configuration (angled out 45 degrees or so) for when I do pre-dawn or after-dusk shooting range sessions.
I am also prioritizing a rear bumper upgrade. I am still debating between the LoD Offroad Destroyer rear bumper (with tire carrier) and the Poison Spyder RockBrawler II rear bumper (with tire carrier). After the rear bumper, I will then decide if I want to go ahead and go with an aftermarket front bumper (will most likely go with the same manufacturer as the rear), or go with a lift kit first.
Time will tell.
At this point I will probably do a minor “first six months” of ownership update, or skip that and do a one-year update, depending on what transpires.
Be sure to check out the other Jeep Wrangler JK Unlimited articles and videos I post for more detailed coverage on specific topics (e.g. CB radio rig walkthrough).
sPOD Bantam with HD Smart Panel Installation Overview – ocabj.net
[…] now that I got the sPOD connector cable routed into the cabin, then what? If you read my 100 day update on Jeep Wrangler ownership, you would have seen that I have a 67 Designs Jeep JK 2-ball base […]
Vehicle Everyday Carry – Medical Kits – ocabj.net
[…] Read more on the Springtail Solutions Side Rack install in my “The First 100 Days” ownership article on my Jeep. […]
2018 Jeep Wrangler JK Unlimited Rubicon: The First 365 Days – ocabj.net
[…] 2018 Jeep Wrangler JK Unlimited Rubicon: The First 100 Days […]